You’ll know oil’s ready when it steadies at 350‑375 °F (175‑190 °C). Use a deep‑fry thermometer for exactness, or drop a small bread cube; it should turn golden in 15‑30 seconds. A thin, silvery shimmer and gentle bubbling also signal the right heat, while a batter drop should sizzle and rise. Avoid smoke or rapid darkening, which means it’s too hot. If you keep these cues in mind, you’ll achieve perfect frying temperatures.
Quick Guide
- Use a deep‑fry thermometer; target 350‑375 °F (175‑190 °C) and watch for a quick dip when food is added.
- Look for a thin, silvery shimmer on the oil surface; this indicates the oil is near the desired temperature.
- Perform the bread‑cube test: a 1‑inch cube should turn golden brown in 15‑30 seconds at the correct heat.
- Drop a small amount of batter; it should sizzle and rise to the surface within 10‑12 seconds, showing 360‑375 °F.
- Observe light foam or small bubbles forming; heavy, rapid bubbling or smoke signals the oil is overheating.
What Is the Ideal Frying Temperature?

What temperature should you aim for when frying? You should keep oil between 350‑375°F (175‑190°C). Consistency matters, so maintain around 375°F and avoid spikes above it, because adding food drops temperature. Use a deep‑fry thermometer; a bread cube will brown in 15‑30 seconds at target ranges. This range yields crisp exteriors without burning interiors. Just as with cooking eggs too long, overheating can trigger glucose caramelization that causes unwanted browning. Higher smoke point oils are less likely to smoke during extended use.
Choose Oil That Supports Your Frying Temperature
Pick an oil with a neutral flavor so the food’s taste stays true, and make sure its smoke point sits well above your frying temperature to prevent burning. High‑smoke‑point choices like refined avocado, peanut, or canola oil give you that safety margin while staying stable under heat. Look for varieties that resist oxidation—often refined, monounsaturated or polyunsaturated oils—so they won’t break down quickly during cooking. Just as eggplant seeds are edible and cook best to reduce bitterness, choosing the right oil helps keep flavors clean under high heat. Algae cooking oil, with a smoke point of 535°F, offers an even higher safety margin for frying.
Neutral Flavor Oils
Ever wonder which oil lets you fry without compromising flavor or hitting the smoke point? Choose a neutral‑flavor oil like canola, vegetable, peanut, soybean, or grapeseed. These oils stay bland, so your food’s taste shines, and they handle typical frying ranges (350‑375°F) without smoking. Check labels for allergens—peanut and soy can appear—then pick the one that fits your diet and temperature needs.
High Smoke Point Options
If you’re aiming for a fry temperature of 375 °F or higher, choosing an oil with a high smoke point is essential to keep the food crisp and the oil stable.
Refined avocado oil tops the list at 520 °F, followed by refined peanut and safflower oils around 450‑500 °F.
Canola and sunflower oils also work, offering 400‑450 °F smoke points and neutral flavors for consistent results.
Stable, Oxidation‑Resistant Varieties
Where does your oil stand when it’s repeatedly heated? Choose a stable, oxidation‑resistant variety.
Extra‑virgin olive oil, high in monounsaturated fats and polyphenols, stays safe up to 180 °C for hours, producing few polar compounds. Avocado, peanut, and almond oils also perform well, while saturated options like coconut, ghee, or palm oil handle the highest temperatures with minimal degradation.
Spot the Right Frying Temperature Instantly
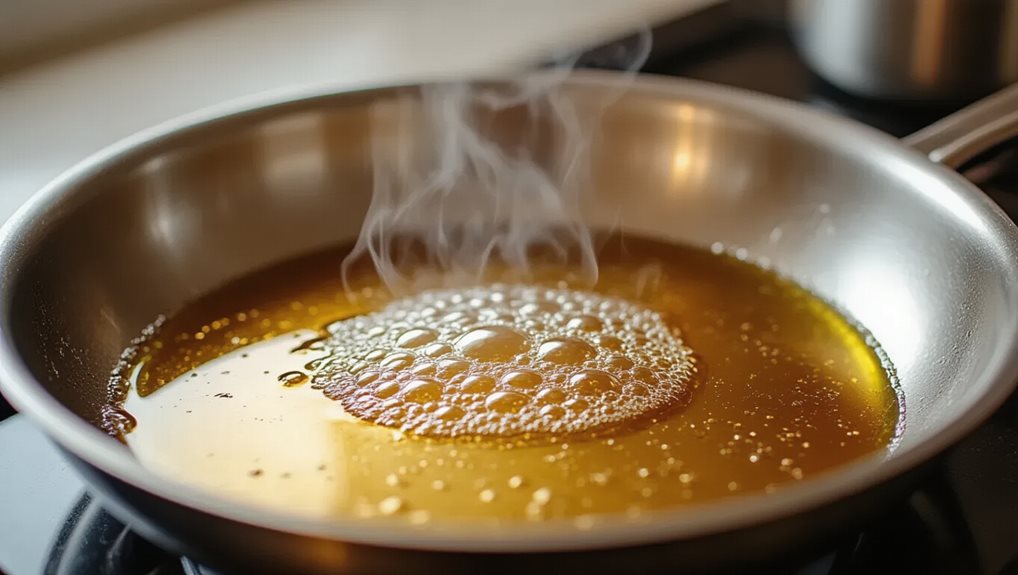
When the oil starts to shimmer and a few gentle bubbles form, you’ve hit the sweet spot for frying; this visual cue tells you the temperature is near the ideal 350‑375°F range.
You can confirm it instantly by dropping a tiny piece of bread or a breadcrumb into the oil—if it sizzles and turns golden in about 10 seconds, the heat is right.
For added certainty, keep a deep‑fry thermometer handy; it will show a quick dip when food is added, letting you adjust the burner to bring the oil back to the target temperature.
Shimmer and Bubble Cue
You’ll know the oil is ready the moment a thin, silvery shimmer spreads across the surface and small bubbles start popping along the pan’s edge.
That shimmer signals 350‑375°F, while steady edge bubbles confirm it.
As temperature climbs, bubbles become more vigorous and the shimmer deepens.
Together they give you an instant, reliable cue that the oil has reached optimal frying heat.
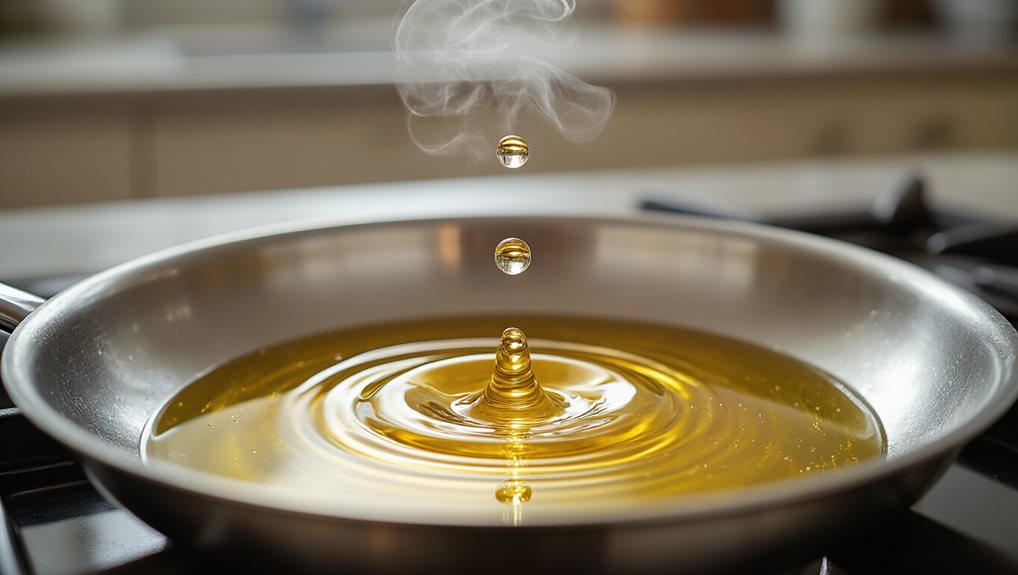
Drop Test Confirmation
How can you be sure your oil is at the perfect frying temperature in an instant? Drop a blueberry‑sized batter piece; it should sizzle and rise quickly, surfacing in 360‑375°F. If it browns instantly, the oil exceeds 375°F—cool it. If it sinks or rises slowly, the temperature is below 360°F; wait, then test again after a brief cooldown. This simple drop test confirms the right heat for sealing batter.
Thermometer Drop Detection
Ever wondered how a thermometer can instantly tell you if your oil’s ready for frying? Clip it to the pot side, avoid the bottom, and watch the digital readout.
High‑precision sensors give exact temperatures—160‑180 °C for deep frying, 180‑200 °C for searing—so you spot the right heat without guesswork.
This method prevents burning, saves oil, and keeps results consistent.
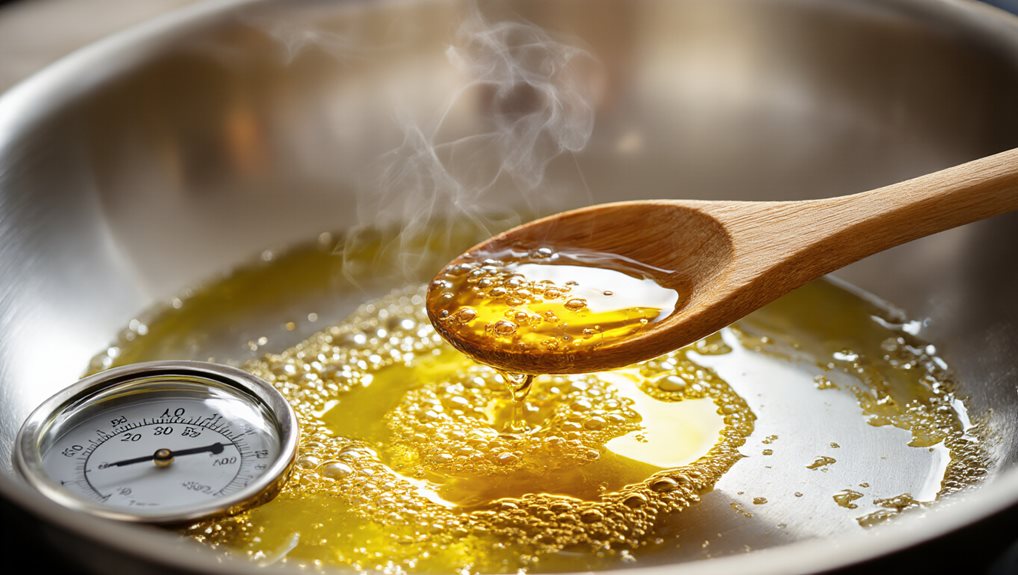
Use a Deep‑Fry Thermometer to Set Frying Temperature
A deep‑fry thermometer lets you set the oil temperature precisely, so you avoid undercooking or burning food. Choose a digital probe like ThermoPro TP511 for quick, 2°F accuracy, clip it securely to the pot, and watch the backlit display.
Stainless‑steel probes resist rust, while pro‑series models give reliable readings across 32‑482°F, ensuring consistent frying results.
To keep leftovers fresher after frying, a vacuum sealer with 95 kPa suction can help reduce freezer burn during storage.
Perform the Oil‑Drop Test to Verify Frying Temperature
Can you tell if your oil is hot enough without a thermometer? Drop a tiny blueberry‑sized piece of batter into the oil; a quick sizzle and rapid rise to the surface means it’s ready, usually around 360°F. If it browns instantly, the oil is too hot—reduce heat and try again. Use BPA-free plastics for any prep containers you keep near the stove, and hand-wash them with warm, soapy water when dishwasher safety is uncertain. You can also test a grain of rice; it should pop and cook at the correct temperature. This simple drop test gives you reliable feedback before each batch.
Read Bubbles & Shimmer to Gauge Frying Temperature
How do you know when oil has reached the right temperature without a thermometer? Watch the bubbles and the shimmery surface. Small, steady bubbles mean 325‑350°F; larger, faster bubbles push it toward 350‑375°F, the crisping range. When the oil glistens and ripples, it’s around 350°F. Consistent bubbles and a clear shimmer together confirm you’re ready to fry. Just as the two-hour rule matters for keeping fresh-cut watermelon safe at room temperature, timing matters with hot oil—start frying as soon as the visual cues line up.
Watch for Smoke, Foaming, and Darkening to Avoid Over‑Heating
Ever notice a thin wisp of smoke curling up from your pan? That thin smoke means you’re hitting the oil’s smoke point, usually around 400 °F for vegetable oils, so you should lower the heat.
If you see light foam, the oil is near 350‑375 °F; heavy bubbles signal it’s too hot.
A golden‑brown hue shows proper temperature, while rapid darkening warns of overheating and possible fire risk.
Top 5 Temperature‑Judgment Mistakes and How to Fix Them
Why do so many home cooks misjudge oil temperature, and what can you do to avoid those pitfalls?
Relying on smoke misleads you; instead watch steady bubbles around a wooden spoon and time a bread cube for 30‑40 seconds.
Add food only when oil steadies at 360‑375 °F, avoid low‑smoke‑point oils, and fry in small batches to keep temperature consistent and oil life long.
Troubleshoot Low‑Oil‑Absorption Frying Problems
Can you pinpoint why your fried foods still feel greasy even when you follow the usual temperature guidelines?
After frying, steam stops, and surface oil drips into pores; 64% of oil enters during cooling. Drain promptly on paper towels and let food rest a few seconds. Keep oil fresh, avoid high viscosity, and use low‑porosity coatings to limit post‑fry absorption.
Wrapping Up
By mastering the right temperature, you’ll fry foods that’re crisp outside and tender inside without greasy after‑effects. Use a thermometer, the oil‑drop test, or watch for bubbles and shimmer to stay within the ideal range. Avoid smoke, foaming, and darkening, because they signal overheating. Remember, the right oil and temperature prevent excess absorption and keep your dishes consistent. With these quick checks, you’ll fry confidently every time.
