Rinse the rice three‑to‑five times until the water runs clear, gently swirling to loosen dust without crushing grains. Lightly coat the pot and the rinsed rice with a thin layer of oil, then add water measured by the finger‑knuckle trick (one knuckle for white or jasmine, two for brown). Bring to a boil, lower to a gentle simmer, and cover tightly without lifting the lid. After the water’s absorbed, turn off the heat, cover with plastic wrap, and let the rice rest ten to fifteen minutes before fluffing with a fork—more tips await if you keep going.
Quick Guide
- Rinse rice 3‑5 times until water runs clear, then lightly coat grains with a few drops of oil or a pinch of salt.
- Apply a thin layer of oil to the pot bottom before adding rice to create a non‑stick barrier.
- Use the finger‑knuckle method to measure water depth (one knuckle for white rice, two for brown) and keep heat low after boiling.
- Cover tightly, simmer without lifting the lid, then turn off heat and let rice rest 10‑15 minutes under a snug cover.
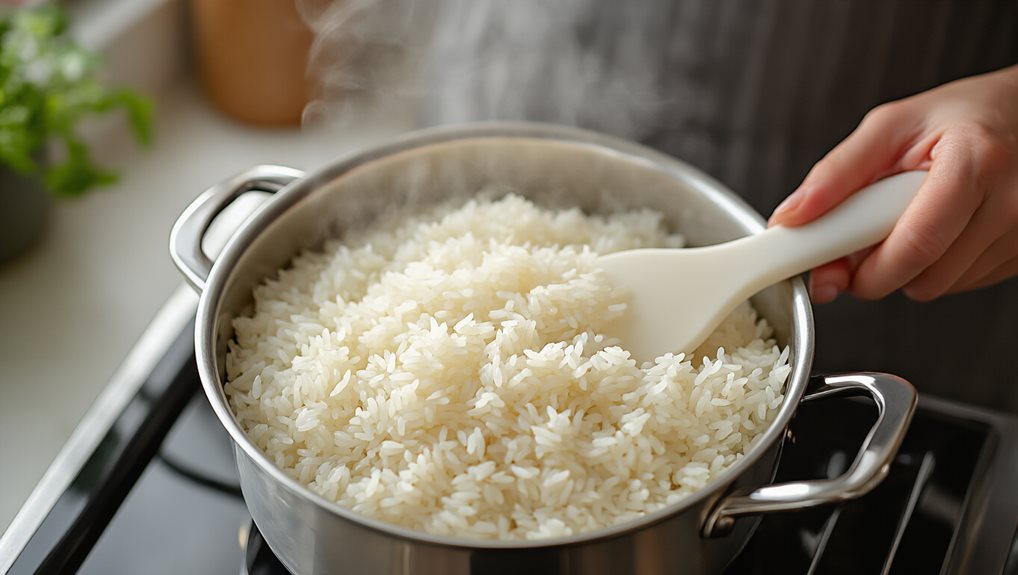
- After resting, fluff gently with a fork; if sticking occurs, add hot water and scrape the bottom while the rice is still warm.
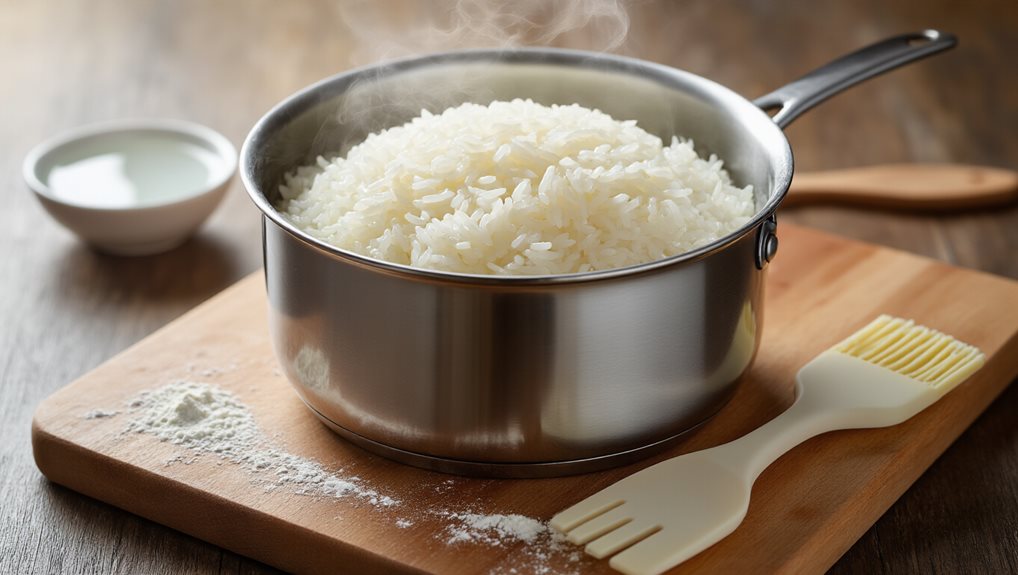
How to Cook Non‑Sticky, Fluffy Rice Every Time
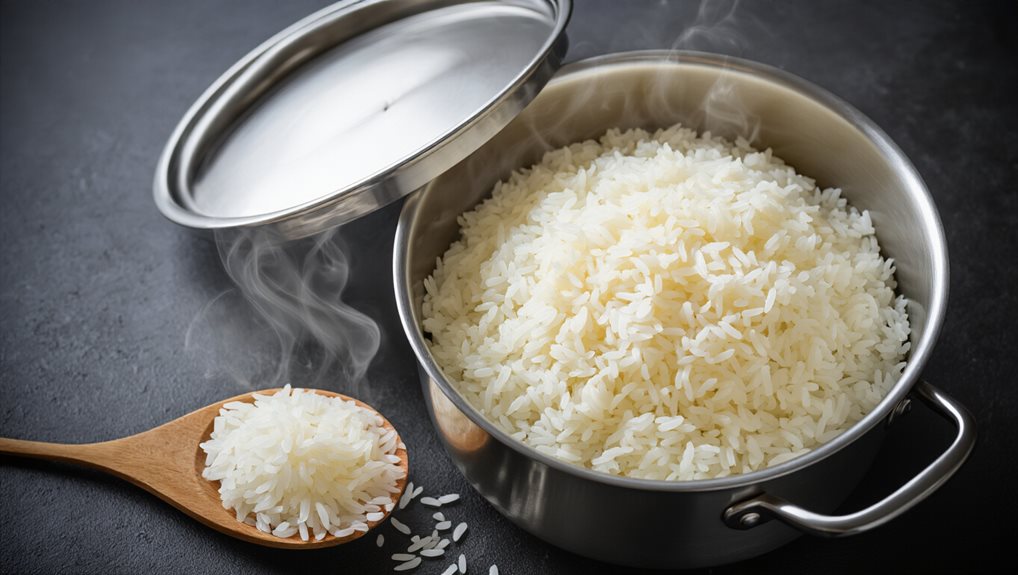
How can you guarantee fluffy, non‑sticky rice every time you cook it? Choose the right grain, measure water precisely, and use a tight‑fitting lid. Start with a boil, then reduce heat to a gentle simmer for the exact time the rice type requires. Avoid lifting the lid early, and let the rice rest off‑heat for five minutes before fluffing with a fork. Just as dairy desserts like cheesecake need 36F to 40F storage to stay fresh, keeping your rice pot sealed and controlled helps prevent unwanted texture changes.
Rinse the Rice Thoroughly to Remove Starch and Prevent Stickiness
You’ll start by filling the bowl with cool water until it runs clear, then give the rice a gentle swirl to lift the surface starch. Keep repeating the rinse‑and‑swirl cycle until the water stays transparent, which means the grains are free of excess starch. For easy meal prep, you can portion any extra cooked rice into 24‑oz containers and freeze it for later. This simple, multiple‑rinse routine leaves the rice clean and ready for fluffy, non‑sticky cooking. Draining the boiled rice significantly reduces its starch content.
Clear Water, Clear Grains
Why does a simple rinse make such a difference? You’ll see clear water when surface starch and arsenic have been washed away, leaving grains that stay separate.
Use cool, filtered water (10‑15 °C) and a strainer for laminar flow; it removes up to 91 % of starch in 90 seconds.
Adding a pinch of citric acid further enhances efficiency, especially in hard‑water areas.
Starch removal is maximized when the water temperature stays between 10‑15 °C, ensuring optimal dissolution without excessive nutrient loss.
Multiple Rinse Cycles
Ever wondered why a few quick rinses can alter a pot of rice from clumpy to fluffy? Rinse three to five times, watching the water turn clear. The first rinse sweeps away dust; the second tackles surface starch, and each subsequent rinse removes more amylose and amylopectin. Clear water signals most starch is gone, giving you separate, fluffy grains without over‑rinsing.
Gentle Swirl Technique
Rinsing the rice a few times removes most of the surface starch, but the final step that really prevents sticking is the gentle swirl. You measure the rice, add water, then move your hand in a loose circular motion, loosening dust without squeezing grains. Discard the cloudy water, repeat once or twice, and add a pinch of salt or a few drops of vinegar for extra separation before cooking.
Coat the Pot and Rice With Oil for Non‑Sticky Results
You’ll want to coat the pot’s bottom with a thin layer of oil before the rice hits the pan, creating a slick barrier that stops grains from sticking. Then, drizzle a little oil over the rinsed rice and stir until each grain is lightly coated, which helps distribute heat evenly and avoids crunchy bits at the bottom. Choosing tools made from food-grade materials can also help prevent unwanted reactions and keep your cooking surfaces safe and easy to clean over time.
Choosing a neutral oil keeps the flavor neutral, while a flavored oil can add a subtle taste without compromising the non stickysticky result.
Oil Coat Technique
A thin layer of oil works like a natural lubricant, keeping each grain from clinging to the pot’s surface.
First, drizzle a teaspoon of oil into the clean pot and swirl it until the bottom is evenly coated; this creates a barrier that prevents direct contact.
Then, toss the rinsed rice with a little oil, stirring until every grain glistens.
The combined coating minimizes sticking and yields fluffy, separate rice.
Even Grain Coverage
Ever wonder why some batches of rice turn out perfectly separate while others cling together?
To keep grains from sticking, coat the pot and rice lightly with oil before adding water. Then level the rice evenly, pour water gently to fill gaps, and give the pot a brief shake. This creates a uniform layer, ensuring each grain cooks at the same rate and stays separate.
Prevent Sticking Bottom
Why does the rice sometimes cling to the bottom of the pot? Because starch and heat create a sticky layer that bonds to the surface. Coat the pot’s bottom with a thin film of oil—peanut for Thai, grapeseed or olive for Mediterranean—to form a barrier. Then toss the rinsed grains with a little oil, stir evenly, and you’ll prevent both grain‑to‑grain and pot‑to‑grain sticking.
Measure Water Precisely With the Finger‑Knuckle Trick
How do you know exactly how much water to add without a measuring cup? Place your finger vertically in the pot after rice is leveled, then pour water until it reaches the first knuckle from your fingertip—about 1‑1.5 inches above the rice. White, jasmine, and basmati all work with one knuckle; brown rice needs two. This simple depth ensures consistent absorption, prevents excess moisture, and yields non‑sticky rice across pot sizes. Just as removing excess air helps prevent freezer burn, precise water depth avoids unwanted texture changes from too much moisture.
Reduce Heat When Rice Boils to Keep It Non‑Sticky
Once you’ve set the water level with the finger‑knuckle trick, turn your attention to the heat. When bubbles appear and rice begins to cream, lower the flame to medium‑low. This gentle simmer stops aggressive boiling, keeping grains intact and limiting starch release. Watch for soft steam and occasional bubbles; maintain a steady, low flame so water absorbs evenly and the pot bottom stays free of crust. Just as keeping produce at a steady 37–42°F helps preserve texture, maintaining consistent low heat helps rice cook evenly without turning sticky.
Rest the Rice Under a Plastic Cover to Retain Steam
Ever wondered how a simple plastic cover can keep your rice from turning into a sticky mess?
After you turn off the heat, place a snug, food‑grade plastic wrap over the pot and let the rice rest ten to fifteen minutes.
The cover traps steam, keeping grains moist and separate, preventing surface drying and clumping.
Lift the cover only when the rest period ends for fluffy, non‑sticky rice.
Quick Fixes for Stuck‑On‑Bottom Sticky Rice
Scrape the crust off the pot while it’s still hot, then pour a splash of hot water over the bottom and let it sit for a minute. Next, add a mix of dish soap, white vinegar, and water, bring it to a gentle boil, and watch the bubbles loosen the residue. For stubborn spots, sprinkle Nappysan, let it sit, then scrub with a wooden spatula. This quickly restores a clean pan.
Wrapping Up
By rinsing, oiling, and measuring water accurately, you’ll keep rice from sticking and get fluffy results every time. Reduce the heat once it boils, then let it rest under a plastic cover to retain steam. If rice does stick, a quick soak and gentle scraping will rescue it. Follow these steps consistently, and you’ll enjoy perfectly non‑sticky rice without fuss.

