Shield the rim as soon as you shape the crust, using a tight‑fit foil strip, parchment, or a reusable silicone band, then bake at a moderate temperature (around 375 °F) on a lower rack. Keep the oven calibrated, and if you blind‑bake at higher heat, use a lower rack and a shield to block direct radiant heat. Brush the edge with egg wash for extra protection, and remove the shield near the end if you want a deeper color. Continue on to discover more tricks.
Quick Guide
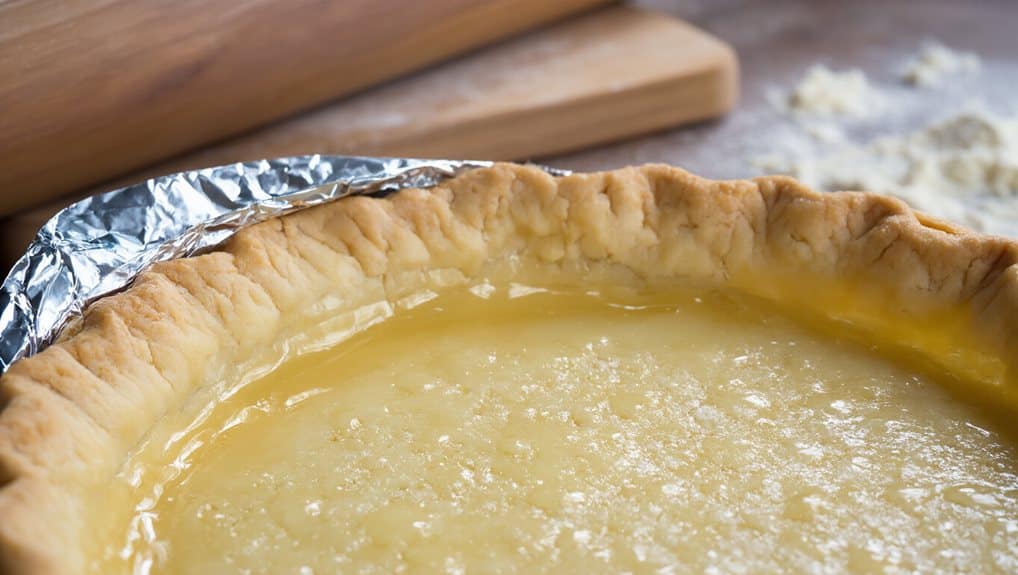
- Use a pie shield (foil, silicone, or parchment) placed around the crust before baking to block direct radiant heat.
- Position the pie on a lower oven rack and bake at a moderate temperature (≈375 °F) to reduce edge exposure.
- Brush the rim with egg wash or milk to create a protective glaze that slows browning.
- Apply the shield immediately after shaping the crust and keep it snug throughout the bake for consistent coverage.
- Remove the shield during the final minutes if deeper browning is desired, or use a silicone shield for reusable, curve‑conforming protection.
Why Pie Edges Burn and How Heat Gets There
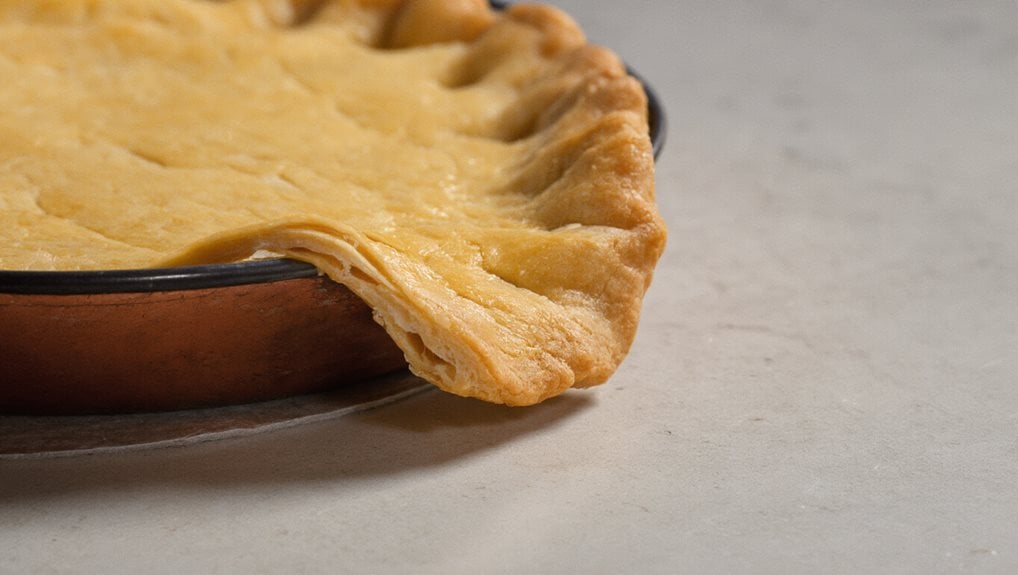
Why do pie edges burn while the center stays perfect?
Your oven’s radiant heat hits the fluted, exposed rim more directly than the flat middle, and the crust’s bumps and creases let heat concentrate there. Extended high‑temperature baking needed for fruit fillings pushes the temperature beyond the set point, especially if the oven isn’t calibrated, so the edges over‑brown before the center finishes. Like a water reservoir that helps regulate moisture levels in a herb keeper, a pie shield helps regulate how much heat the rim absorbs during a long bake. An adjustable silicone shield can be placed over the rim to protect it from excess heat.
When to Apply a Shield to Prevent Pie Edge Burn
When should you put a shield on your pie to keep the edges from burning? You apply it right after you shape the crust and before the pie enters the oven.
Whether you use folded aluminum strips, a purchased shield, or parchment, place it tightly around the edge pre‑baking.
This early, consistent coverage reflects heat from the start, preventing premature browning.
For best results, keep conditions stable temperature throughout baking, since avoiding swings helps prevent uneven browning.
Pick the Best Shield: Foil, Silicone, or Parchment
You can start with the simplest option—aluminum foil—because it’s cheap and easy to cut, but it doesn’t hug the crust’s curves and may shift during baking.
Silicone shields offer flexibility, fitting crimped edges and staying in place while delivering even browning and easy cleanup.
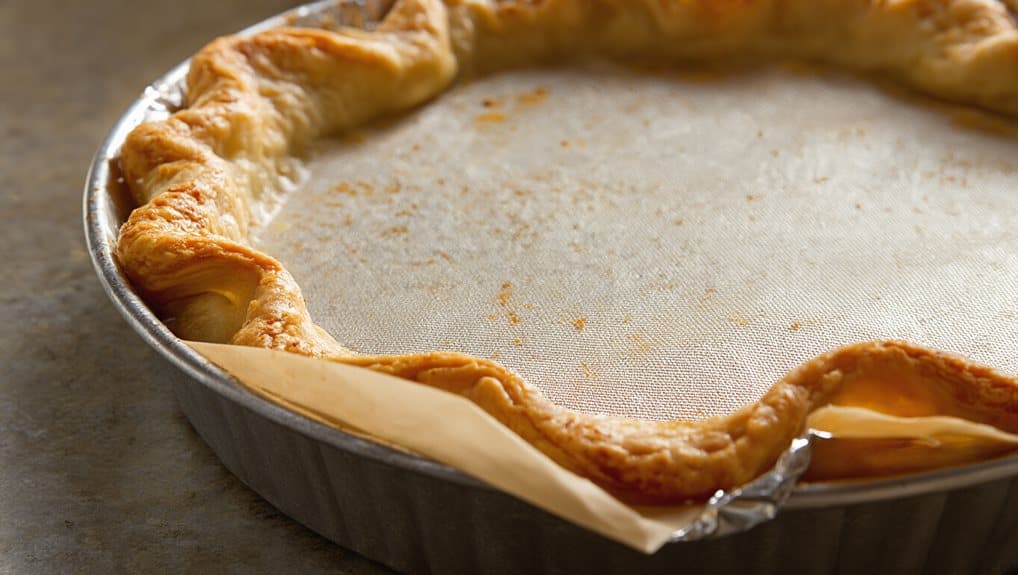
If you prefer an eco‑friendly choice, parchment paper provides a disposable barrier that’s compostable, though it lacks the durability of silicone and the rigidity of foil. Store perishable produce like radishes in the fridge to extend radish shelf life and avoid spoilage.
The adjustable silicone shield can protect the crust edge and prevent foil from shifting.
Il Shield Simplicity
Ever wondered which shield will keep your pie crust from burning without fuss? Foil, silicone, and parchment each bring distinct advantages: foil is cheap, disposable, and fits a standard 10‑inch crust with a simple fold; silicone offers reusable, non‑stick protection that molds to any edge and survives repeated high‑heat bakes; parchment provides a low‑cost, single‑use layer that lets you watch browning through its translucent surface.
Choose foil for instant, low‑cost protection; silicone when you bake often and need durability; parchment for occasional pies and visual monitoring.
Silicone Shield Flexibility
After noting how foil and parchment each have their own perks, the real advantage shows up when you look at silicone’s flexibility. Its pliable material hugs crimped edges, sealing gaps that foil leaves exposed. You can adjust it for 8‑ to 10.5‑inch pans, lock it, or drape loosely. It resists up to 450°F, stays odorless, and protects crusts uniformly without flattening decorative designs.
Parchment Shield Eco‑Friendliness
Can parchment paper really be the most eco‑friendly shield for pie crusts? It’s convenient but disposable, generating waste after one to three uses. You’ll need new rolls, adding packaging and non‑biodegradable landfill content.
Aluminum foil recycles, yet it’s energy‑intensive and can contaminate streams.
Silicone mats outlast both, offering infinite reuse, zero waste, and durable heat resistance, making them the greener choice.
DIY Aluminum Foil Shield to Stop Pie Edge Burn (5 Simple Steps)
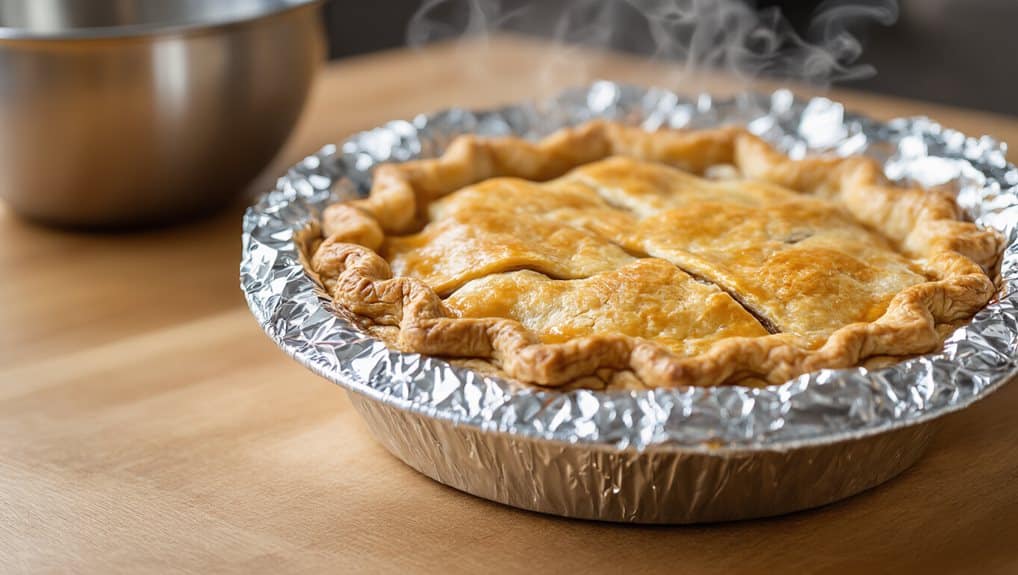
You’ll start by trimming the foil strips to the right length and folding them for extra strength, then you place the first strip around the crust edge and press it snugly against the pan.
Next, you add the overlapping strips until the entire rim is covered, making sure each piece stays tight to deflect heat.
Finally, you bake the pie with the shield in place, removing it toward the end if you want a deeper brown on the top. If you’re prepping toppings like prosciutto while the pie bakes, keep it in the fridge’s coldest part (34–40°F) until you’re ready to use it.
Prep and Trim
Ever wondered how a simple foil shield can keep your pie crust from burning?
Cut three 8‑12‑inch strips, each 2‑3 inches wide, then fold them lengthwise to double the thickness. The doubled strips reflect heat and stay sturdy.
Place each strip around the crust edge, folding it tightly inside and outside the dish. Overlap slightly to eliminate gaps, ensuring uniform protection before the bake.
Apply and Bake
After folding the foil strips lengthwise, you’ll shape them into a loose ring that fits snugly over the crust edge. Lay the ring gently around the pie, pressing the foil down tightly against the plate both inside and out. Bake as the recipe directs, checking mid‑bake; if edges darken early, keep the shield on. Remove it for the final ten minutes to achieve a golden, evenly baked crust.
Crafting a Reusable Silicone Shield for Flexible Pie Rims
A silicone shield gives you a flexible, heat‑resistant barrier that protects pie rims from burning while letting the center rise freely. Choose a shield that fits 8‑11.5‑inch pans, lock it in place, and press it against the crust before baking. Its non‑stick surface prevents adhesion, and you can remove it midway if the edge browns evenly. Reusing it saves time, cuts waste, and outperforms foil. Store the shield in an airtight container in a cool, dry spot to help keep it fresh and ready to reuse.
Set Oven Temperature & Rack Height to Keep Pie Edges Cool
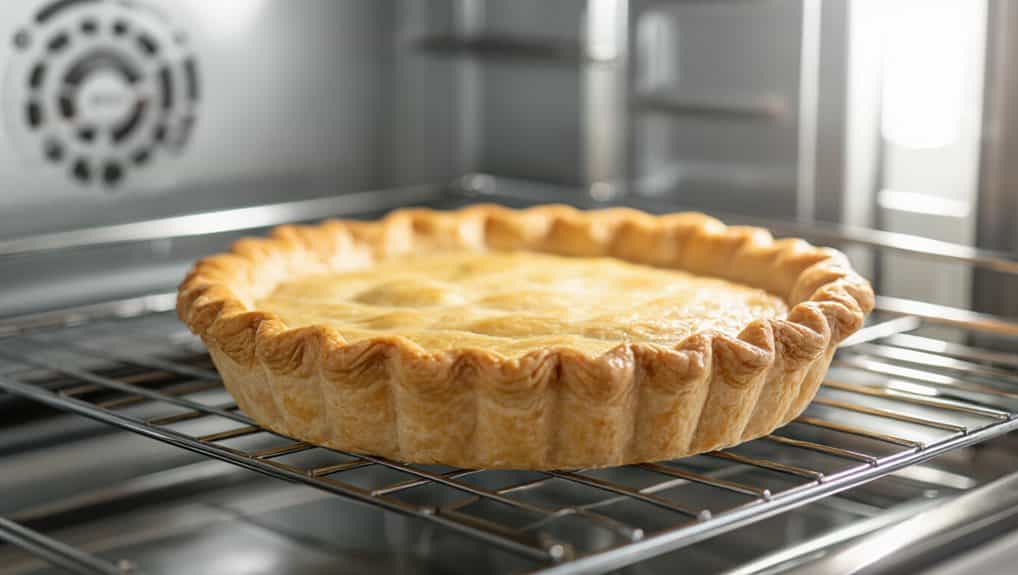
How can you keep pie edges from scorching while the filling bakes? Set the oven to 375 °F for most pies, but lower the rack to the middle or lower third. This spreads heat evenly and shields the rim from direct top heat. If you blind‑bake, use 425 °F on a lower rack. Avoid the top rack at high temperatures to prevent edge burning.
Fix Common Edge-Burn Problems Quickly
You’ve already set the oven temperature and rack height, but if the edges still scorch, a quick fix is to shield them during baking. Slip a flexible silicone pie shield over the crust edge, or crimp small foil strips midway through. Brush the rim with beaten egg or milk for a protective glaze, then lower the temperature after ten minutes to finish evenly.
Extra Tips for Keeping Pie Edges From Burning
Wondering how to keep those pie edges crisp without turning them into charcoal? Use a silicone shield for a snug, reusable fit, or fashion an aluminum foil or parchment paper shield that follows your crust’s outline. Calibrate your oven and lower temperature after ten minutes if edges brown fast. Brush the crust with egg wash or milk for even browning, and keep shields on throughout baking.
Wrapping Up
By using a foil, silicone, or parchment shield at the right time, you’ll keep pie edges from burning without sacrificing flavor. Adjust the oven temperature and rack height, and monitor the crust as it bakes. If you notice early browning, apply the shield promptly and continue baking. These simple steps—plus a few extra tips—ensure a perfectly golden rim every time, letting you enjoy a flawless pie without the hassle of burnt edges.
