Clear the work area, set a non‑slip mat, and place the cake on a turntable or flat board. Cool the cake completely, then run a ruler along the side and stick toothpicks at the desired height around the perimeter. Hold a sharp serrated knife parallel to the cake, rest it on the toothpicks, and slice in one smooth motion, keeping the knife at a 90° wrist angle. Chill the cake briefly before frosting, trim the sides if needed, and you’ll have a flat top without a leveler—keep going for more tips.
Quick Guide
- Cool the cake completely, then insert toothpicks at the desired height around the perimeter to create a leveling guide.
- Place a ruler against the cake side and align a serrated knife parallel to the toothpick line for a straight cut.
- Use a sturdy turntable or flat board; rotate the cake slowly while slicing to remove the dome in one smooth pass.
- After cutting, trim the sides with a long serrated knife and a damp paper towel to steady the cake for even edges.
- Chill the leveled layers before frosting to maintain stability and prevent shifting.
Prepare Your Workspace for Cake Leveling

Where do you start when you’re about to level a cake? Clear your work area, then place a non‑slip mat or marble stand for stability. Set a turntable or flat surface beneath a cake board, ensuring the cake won’t slide. Keep your serrated knife, ruler, and buttercream within arm’s reach. Arrange a cake lifter, bench scraper, and spatulas nearby for smooth, safe handling. Store any leftover spices or flavorings you’ll use in frosting in airtight jars with BPA-free silicone gaskets to keep them fresh and moisture-free while you work. Make sure the cake is completely cool before you begin, as a warm cake can hard to slice.
Level the Cake With a Serrated Knife and Toothpick Guide
Place the ruler against the side of the cake, push a toothpick in halfway at the desired height, and repeat around the perimeter so you have a clear guide line.
Then hold the serrated knife parallel to the cake surface, letting the blade rest on the toothpicks as you slice, keeping the cut even and steady.
A sharp, high-carbon stainless steel blade with 56–62 HRC hardness helps maintain a clean, controlled slice with better edge retention.
As you deepen the cut, the toothpick markers keep the layers level, making it easy to achieve a flat top without a dedicated leveler.
Use a sharp serrated knife parallel to the cake stand for the cleanest cut.
Serrated Knife Positioning
Ever wondered how to keep a serrated knife steady while you level a cake? Place the cake on a turntable with a non‑slip board, center it, and elevate the setup 6–8 inches.
Hold the long, sharp bread knife horizontally, wrist at 90°, and align it with the side height line. Keep a firm hand on the cake top, use gentle downward pressure, and avoid sawing motions.
Toothpick Height Marking
How do you turn a simple toothpick into a reliable height guide for leveling a cake? First, cool the cake completely and place a ruler against the side to set your target height. Insert eight toothpicks horizontally at the midpoint, half‑buried in the sponge, spaced evenly around the perimeter. The exposed ends mark the cutting line, letting your serrated knife slice uniformly around the cake.
Use a Turntable to Keep Cake Leveling Even
Place your cake on a sturdy board atop a smooth turntable that spins without wobble, then use a ruler to mark a consistent height around the edge.
As you rotate the table slowly, guide a sharp, long serrated knife along the marked line, keeping the blade level and applying even pressure.
This steady motion lets you slice off the dome in one smooth pass, leaving a uniform surface ready for stacking.
For best results, let the cake cool fully first—similar to the guideline to avoid storing hot food and refrigerate cooled food within two hours for safety.
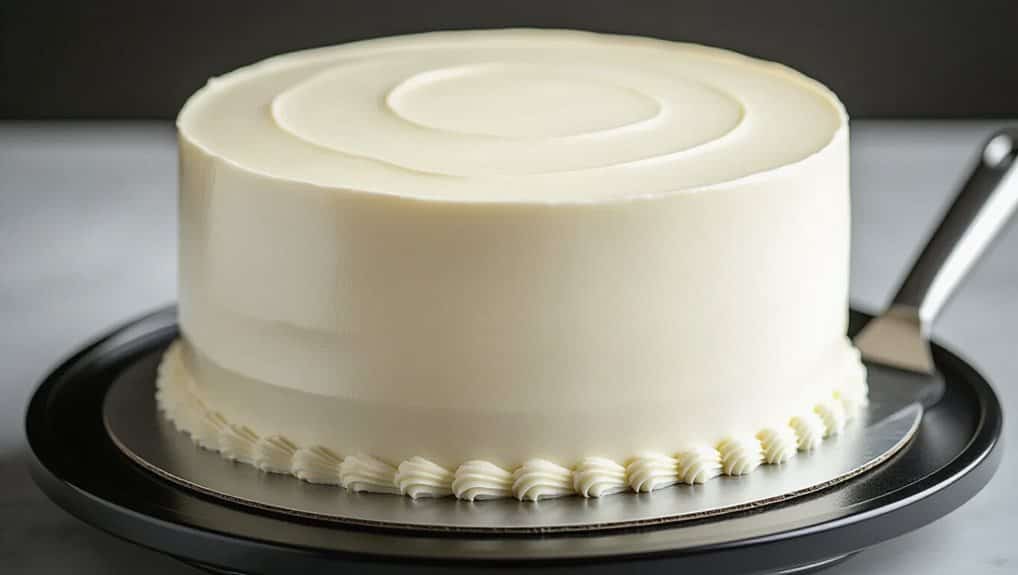
Smooth Turntable for Stable Rotation
Why settle for uneven frosting when a smooth turntable can keep your cake level with minimal effort? Place the cake on a non‑slip mat or a sturdy plate, then spin the aluminum or stainless‑steel turntable. The stable base prevents tipping, while the grip surface reduces slippage. Manual or electric rotation lets you apply frosting evenly, and the consistent motion speeds up leveling without breaking decorations.
Even Slicing With Guided Marks
Ever wondered how to get perfectly even slices without a fancy slicer? Position the knife at your desired height, hold it steady, and let the turntable rotate. Score a shallow, level line around the cake, pausing to check alignment. Then deepen the cut gradually with each turn, keeping the blade level and eye‑level view steady for consistent, even slices.
Consistent Pressure for Uniform Height
How can you keep each slice the same height while the cake spins?
Secure the cake on a flat turntable with a thin icing layer, then position it centrally on a cardboard base for stability. Hold the serrated knife horizontally, keeping it parallel to the surface, and rotate the turntable slowly. Apply gentle, consistent sawing pressure, letting the knife’s edge do the work while you monitor resistance. This steady motion yields uniform layers and a flat top.
Chill and Briefly Freeze the Cake Before Slicing
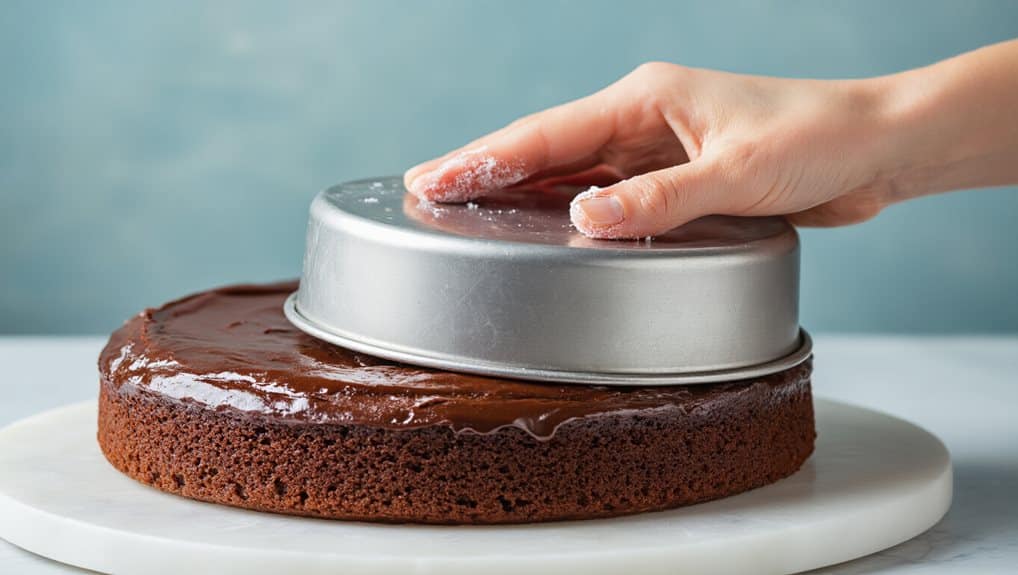
Ever notice how a warm cake crumbles the moment you try to level it? Chill the cake for about 30 minutes, or freeze briefly until it’s firm but not solid. This makes the buttercream set, reduces shifting, and lets a serrated knife glide cleanly. You’ll get precise cuts without breaking layers, and the cake stays sturdy for stacking and frosting. Just like storing produce properly to prevent it from turning soft or soggy, chilling your cake helps it hold its shape for cleaner slices.
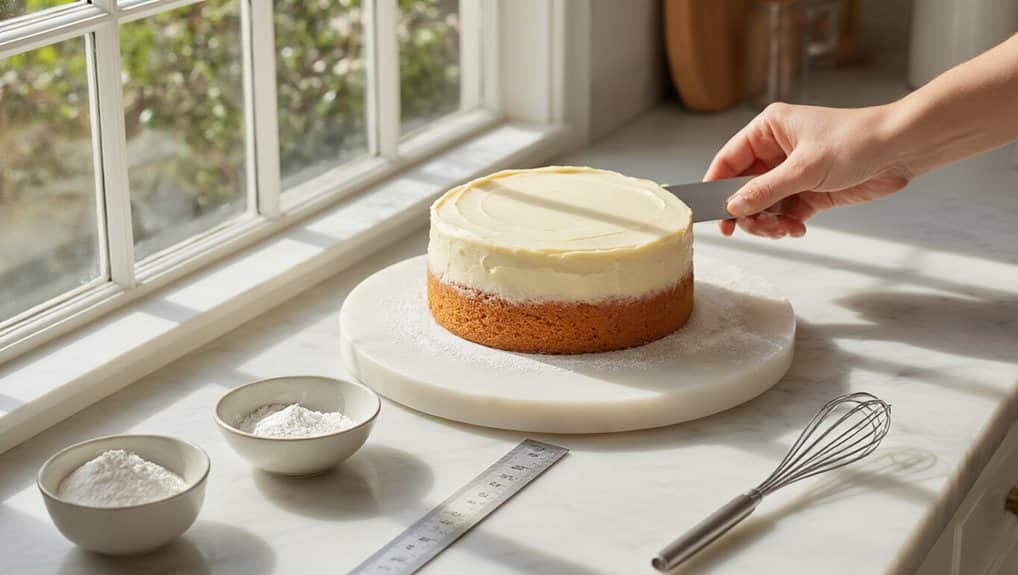
Trim the Sides After Cake Leveling for a Neat Finish
Why bother trimming the sides after you’ve leveled the cake? You remove hard crusts, so frosting adheres without gaps and the texture stays moist. Use a long serrated knife, a turner, and a damp paper towel to steady the cake. Slice gently, rotating the turntable for even cuts. The result is clean edges, a professional look, and easier frosting application. Much like how eggplant seeds are best when cooked to reduce bitterness, trimming away tough crusts helps keep each bite smoother and more pleasant.
Troubleshoot Common Cake‑Leveling Mistakes
After trimming the sides for a neat finish, the next step is to check the cake for common leveling errors that can undermine stability. Look for uneven layers; a serrated knife evens them and prevents wobble. Verify doneness—underbaked centers collapse, so use a thermometer and bake a few minutes longer. Avoid over‑mixing batter, which creates holes and weak crumb. Measure leavening precisely; too much causes sinking. Chill layers before stacking to retain moisture and eliminate trapped air.
Wrapping Up
Now you’ve got a solid, level base for any cake, even without a fancy leveler. By prepping your workspace, using a serrated knife with a toothpick guide, and keeping the cake steady on a turntable, you’ll achieve even slices. A quick chill or brief freeze helps prevent crumbs, and trimming the sides afterward gives a clean finish. Follow these steps, avoid common pitfalls, and your cakes will look professional every time.

