Chill the cake for at least three hours, then place it on a non‑slip board and use a sharp serrated knife. Score the side with a toothpick to mark even angles—30° gives twelve wedges, for example. Start each cut at the outer edge and slice inward, keeping the knife flat against the frosting to avoid smears. Wipe the blade between slices, and use the classic wedge method or a half‑circle approach for uniform party‑size pieces. Adjust pressure for buttercream, meringue, or cream‑cheese frosting, and you’ll keep layers intact and crumbs minimal, plus you’ll discover even more tips ahead.
Quick Guide
- Chill the cake for 2‑3 hours, then level layers with a turntable or leveler before slicing.
- Use a sharp, serrated 5‑8 inch knife on a non‑slip board; wipe the blade clean between cuts.
- Mark even reference points (e.g., toothpick marks or degree angles) and cut from the outer edge inward.
- Apply the half‑circle or classic wedge method, removing a thin outer slab first for stability.
- Wipe the knife and offset spatula after each slice to prevent frosting smears and maintain clean edges.
What Proper Cake Cutting Looks Like and Why It Matters

Why does proper cake cutting matter? You’ll see that even slices keep the cake’s layers intact, avoid squishing frosting, and make each serving look professional. Using classic triangle cuts, grid methods, or scoring guarantees uniform portions, maximizes the number of pieces, and preserves texture. Consistent cuts also reduce crumbs, keep leftovers fresh, and enhance the visual appeal for any celebration. For storing leftovers, snap-lock lids with silicone seals help keep slices airtight and prevent odor absorption in the fridge. A small serrated knife provides the cleanest cuts, preventing crumbly edges.
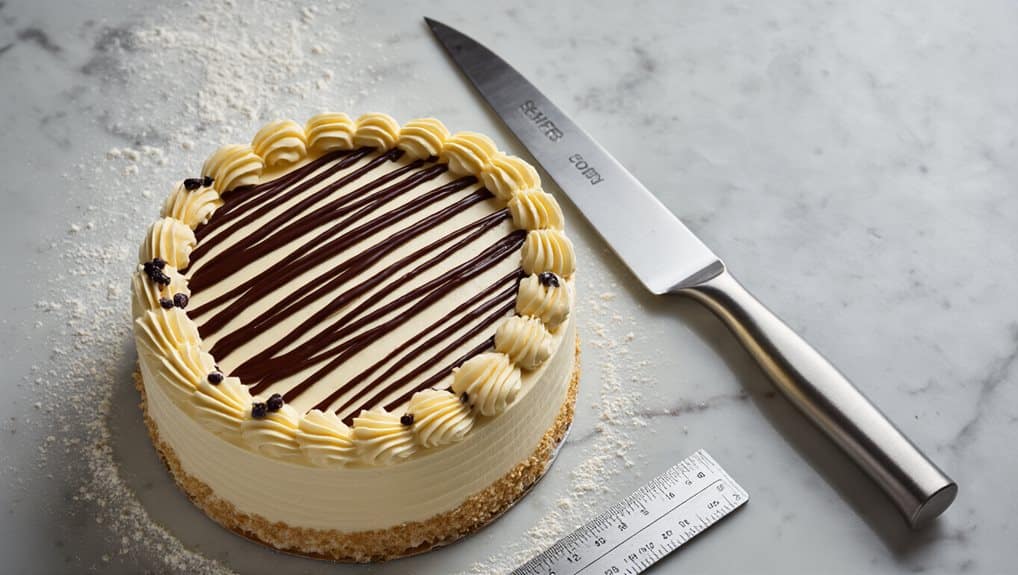
Choose the Right Knife and Board for Clean Slices
You’ll want a serrated knife with a 5‑8‑inch blade so the gentle sawing motion cuts through frosting without smearing it, and a non‑slip cutting board will keep the cake steady as you work.
Keep the knife clean between slices by wiping it with a kitchen towel or sponge, which prevents frosting from sticking and ruining the next cut.
Pairing a sharp, sturdy blade with a stable board gives you the clean, even slices every cake‑cutter needs.
Choosing a blade material like high‑carbon stainless steel ensures the edge stays sharp longer.
If you’re freezing leftover slices, double heat seal vacuum sealing can help maintain freshness and prevent freezer burn.
Serrated Knife Essentials
Choosing the right serrated knife and cutting board can make slicing a cake feel effortless rather than frustrating. Pick a 14‑inch blade for large cakes, a 10‑inch for deep cuts, or an 8‑inch for smaller pies; longer blades prevent dragging. Tall, pointy serrations bite cleanly, while high‑carbon stainless steel keeps the edge sharp. An ergonomic wooden handle offers a firm grip, reducing fatigue and ensuring precise, even layers.
Non‑Slip Cutting Board
A solid, non‑slip cutting board keeps your serrated knife steady and lets you slice cake layers without wobble. Choose a board with silicone feet or textured corners—Epicurean paper composite, MK Free’s sugarcane mix, or Elihome’s natural wood fiber—so it grips the countertop.
Opt for a size that fits your cake, like 12×16 in. or 18×15 in., and ensure/guarantee it’s dishwasher‑safe and non‑porous for easy cleanup.
Knife Hygiene Between Slices
Ever wondered why a clean knife makes every cake slice look perfect? Use a sharp, serrated chef’s knife on a wooden or plastic board, then hand‑wash it with warm, soapy water after each cut. Rinse, pat‑dry with a paper towel, and avoid abrasive sponges. Keep the board sanitized, dry, and free of hard surfaces to preserve blade sharpness and prevent crumbs or frosting from contaminating the next slice.
Chill Your Cake Layers Before Cutting
Three simple steps can make your cake slices look professional: chill the layers, trim them, and then assemble. Chill the cake for at least three hours in the freezer or overnight for best firmness.
Remove from the pan, place on a cooling tray, then freeze on a flat cardboard round. This firms the sponge, reduces crumbling, and preserves shape for clean cuts. To keep the cake from drying out while it chills, store it in an airtight container to minimize air exposure.
Score the Cake Side to Mark Even Cutting Points
First, chill the layers so they firm up and stay in place while you work. Then, use a toothpick or similar marker to draw a line at the cake’s mid‑height, keeping your eye level with the line for accuracy. Finally, follow that scored line with a steady, gentle sawing motion to create even, clean cuts. If you’re adding chocolate syrup to finish, store it in a cool, dark place and refrigerate after opening for 12–18 months of best quality.
Chill Layers First
Why chill your cake layers before you start cutting? Cold layers firm up, so they won’t crumble or slide when you score the side.
After a 2‑3‑hour room‑cool, refrigerate or freeze them for 15 minutes to set fillings and stabilize the stack.
This firm surface holds your marks, keeps the cake’s shape, and lets you cut evenly without ruining any layer.
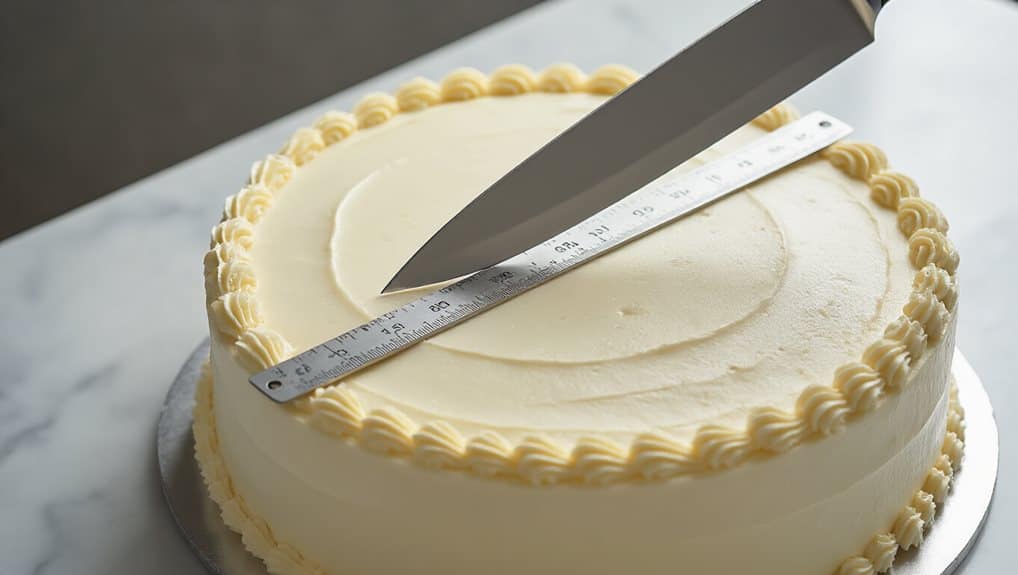
Mark Mid‑Height Points
After the layers have set, you’ll want to create visible reference points along the side of the cake so each cut lands at the same height. Use a ruler or yardstick to mark equal intervals, then lightly score the frosting with a toothpick or dental floss. Cross‑stitch hoops or a paper template can reinforce the marks. Keep indentations shallow to avoid damaging layers, ensuring consistent, even slices.
Use Eye‑Level Reference
Ever wondered how to keep each slice of a multi‑layer cake at exactly the same height? Position yourself at eye level with the cake side and score a shallow line halfway up using a small paring knife. The eye‑level view aligns your sight perpendicular to the surface, giving a precise halfway mark.
Move slowly, keep the knife shallow, and repeat around the circumference for accurate, even cuts.
Cut From the Outside In for Clean Edges
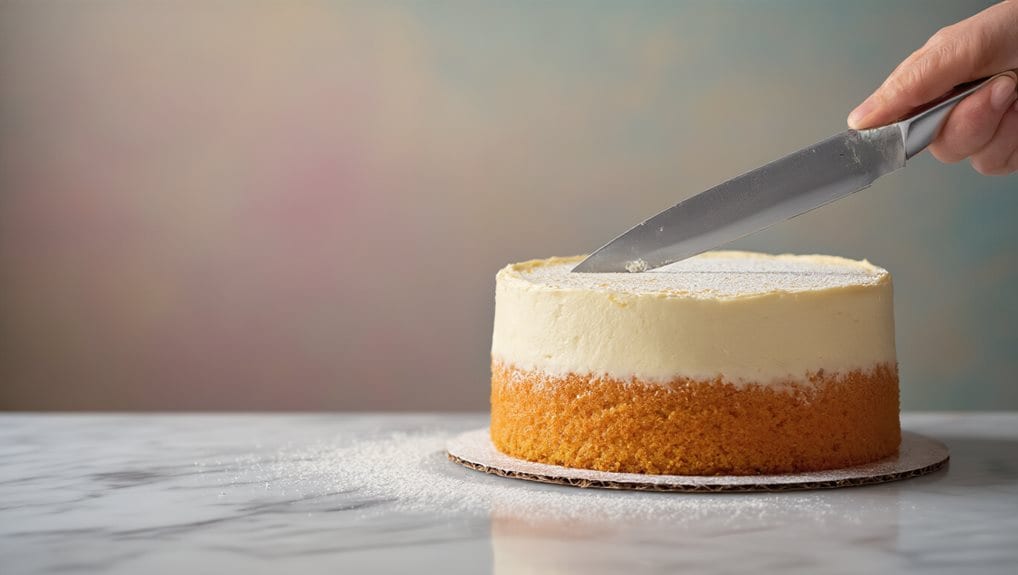
A clean edge starts by aligning the knife with the cake’s outer perimeter and moving inward, which keeps the blade parallel to both cake and frosting layers.
You’ll avoid dragging the blade between alternating layers, creating crisp slices that look great on camera.
Use a serrated knife, wipe it between cuts, and trim the outer slab first for buttercream‑heavy cakes.
This method works with buttercream, cream cheese, or Swiss buttercream, delivering sharp, mess‑free edges.
If you’re serving mashed potatoes alongside dessert, remember the two-hour rule so cooked foods aren’t left at room temperature long enough for harmful bacteria to grow.
Apply the Half‑Circle Method for Stable Slices
How can you keep each slice stable while still cutting quickly?
First, halve the cake down the middle with a long knife, wiping it clean between cuts.
Then, remove a 2‑inch round edge slab, split it into three pieces, and set them aside.
This half‑circle method creates stable, even sections, letting you finish the rest without wobbling.
Master the Classic Wedge Technique for Uniform Portions
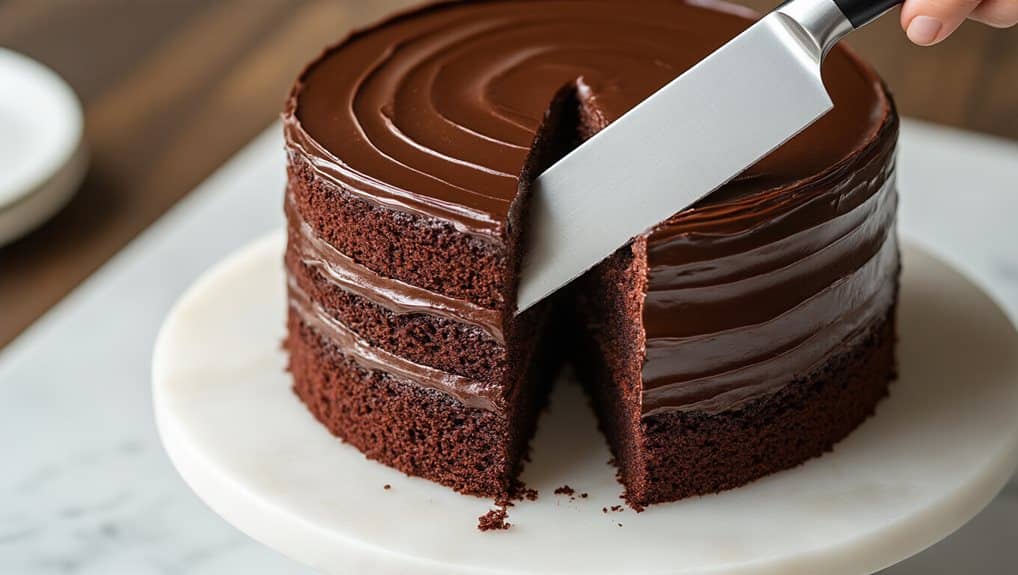
You’ll want to keep a damp cloth handy so you can wipe the knife between cuts and prevent frosting from smearing onto the next slice.
By measuring each angle—say 30 degrees for twelve pieces—you ensure every wedge has the same ratio of crust to interior.
Consistent, vertical strokes with a serrated knife will give you uniform slices without tearing the cake.
Knife Wiping Tips
Ever wondered why your cake slices end up uneven or smeared? Keep the knife clean between cuts. After each wedge, wipe the blade with a kitchen towel or sponge, removing frosting and crumbs. A clean blade slides smoothly, preventing snags and smears, even if you’ve warmed it in hot water. Consistently wiping guarantees uniform, neat portions without extra effort.
Equal Slice Ratio Guidance
A clean knife lets you focus on the geometry of each cut, and the classic wedge technique is the easiest way to keep every slice the same size. Start by eyeballing the cake’s center, then cut a straight line through it. Rotate the cake, repeat the cut, and push the pieces together. This creates uniform wedges, each with the same cake‑to‑frosting ratio, ensuring consistent portions.
Create Party‑Size Geometric Pieces Without Mess
How can you turn a simple birthday cake into a set of tidy, party‑size pieces that stay neat on the plate? Use the geometric cutting style: first slice a thin horizontal slab, flip it for stability, then cut one‑inch wide columns.
For round cakes, halve the cake, then slice into rectangles or diagonal wedges. This yields uniform, mess‑free portions that fit plates cleanly.
Tweak Your Cut for Different Frostings
Why does the frosting type matter when you cut a cake? A sideways slice follows the frosting layer, preventing smearing with dense buttercream or chocolate fudge. Use the same technique for Swiss meringue buttercream because its silky texture stays sharp. For cream cheese frosting, cut sideways for crisp edges on red velvet. Chill crumb coats and frosting before slicing to keep layers intact.
Troubleshoot Common Cake‑Cutting Mistakes Quickly
Ever notice how a simple slip while slicing can ruin a perfectly baked cake?
If your layers dome, level them with a serrated knife on a turntable or a cake leveler before stacking; add extra frosting between domes. Hold the palette knife at its tip, flat against the cake, to prevent buttercream spilling over edges. Keep the offset spatula clean and use it for smooth edges. If a piping tip bursts, switch to a new bag with a smaller hole, then re‑insert the original bag. Freeze buttercream briefly to firm repairs and avoid dents. Hold scrapers at the bottom, apply light pressure, and clean them between passes to keep surfaces even.
Wrapping Up
By following these steps you’ll cut cake cleanly, keep frosting intact, and serve uniform pieces every time. Use the right knife, chill the layers, score the sides, and work from the outside in. Master the wedge method for classic slices and try geometric cuts for larger gatherings. Adjust your technique for different frostings, and you’ll avoid common mishaps. The result is a neat, tasty presentation that looks as good as it tastes.
