Grab a cup of whole milk, add one tablespoon of white vinegar, apple‑cider vinegar, or lemon juice, stir briefly, then let it sit at room temperature for about five minutes. The acid will curdle the milk, thickening it into a tangy buttermilk that’s ready for any recipe. You can use 2 % milk for a lighter texture, but avoid skim. If you need a thicker result, double the acid or add a pinch of cream of tartar. Keep it refrigerated for later use, and the next section shows how to store and customize it.
Quick Guide
- Use whole milk for the thickest texture; 2% works for lighter results, but avoid skim milk.
- Add 1 Tbsp of white vinegar, apple cider vinegar, or lemon juice per cup of milk, pouring the acid first.
- Stir gently, then let the mixture sit at room temperature for 5–10 minutes until it thickens and curdles.
- For a thicker consistency, double the acid to 2 Tbsp or add ¼ tsp citric acid, and rest up to 30 minutes.
- Use immediately in recipes or store in a sealed container in the refrigerator for up to 1 week.
Choose the Right Milk and Acid for Instant Buttermilk
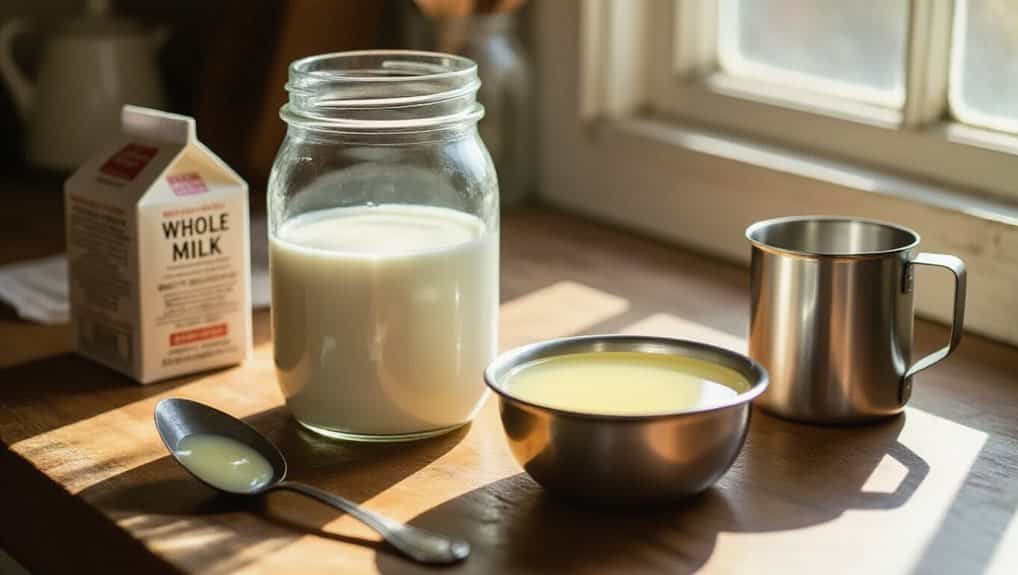
Choosing the right milk and acid is the first step to a reliable instant buttermilk. Use whole milk for the thickest texture, or 2 % if you prefer a lighter result; avoid skim. Add one tablespoon of white vinegar, apple cider vinegar, or lemon juice per cup, pouring the acid first, then fill to the line. The acid will curdle the milk in five minutes, leaving no noticeable taste. Like cooking eggplant seeds to reduce bitterness, letting the mixture rest briefly helps mellow any sharp edge. To enhance tenderness, you can also add a pinch of cream of tartar which boosts acidity for a softer crumb.
Measure and Mix: The Instant Buttermilk 1‑to‑1 Ratio
First, pour the measured acid—vinegar or lemon juice—into your bowl, then add the milk and give it a gentle stir. Let the mixture sit for about five minutes so it can thicken and develop the right tang. If you’re saving it, keep it in a cool, dark place or refrigerate to extend its shelf life. Use it right away in your recipe, or cover and refrigerate for later use. This method works well for a variety of baked goods, as the quick 5‑minute preparation ensures you have a reliable buttermilk substitute without a store trip.
Acid First, Then Milk
When you pour the acid into a measuring cup before adding milk, the liquid can settle to the exact 1‑cup line without the extra volume pushing the milk over the mark, which keeps the 1-to-1 ratio precise.
Use white vinegar or lemon juice, then fill the cup to the line with room‑temperature whole milk.
The acid displaces milk, so the total volume stays correct, giving a slightly curdled texture ready for baking.
Stir Gently, Wait
You’ll usually stir the milk‑and‑acid mixture just enough to blend the two liquids, then let it sit undisturbed for about five minutes. Use a glass measuring cup, pour the acid first, then fill milk to the line‑level at eye level. Stir gently, avoid vigorous mixing, and watch the surface thicken slightly. Keep the batch at room temperature; five minutes yields a ready‑to‑use buttermilk texture.
Use Immediately Or Store
Ever wonder whether you should use your instant buttermilk right away or stash it for later? You can whisk it into a batter as soon as it thickens after five‑to‑ten minutes at room temperature. If you prefer to store, cover it tightly and refrigerate; it stays functional for up to two weeks. Use a glass or plastic container, not metal, to preserve flavor.
Instant Buttermilk Quick‑Set: How Long to Thicken?
You’ll find that the acid‑milk ratio you use directly influences how quickly the mixture thickens, so a 1‑to‑1 proportion of vinegar or lemon juice to milk is a reliable baseline.
After whisking, let the blend rest for at least five minutes; most methods show noticeable curdling by ten minutes, though a full set can take up to thirty minutes.
For best flavor in dressings, use a fresh oil and discard any with signs of rancidity like a crayon-like smell or bitter taste.
Adjusting the resting time lets you control the texture, from a thin pour to a creamy consistency ready for baking or dressings.
Acid‑Milk Ratio
How long does it take for instant buttermilk to thicken once you add acid? You’ll see a noticeable set in 5‑10 minutes when you use the standard 1 tablespoon acid per cup of room‑temperature whole milk. For a thicker texture, double the acid to 2 tablespoons, or use ¼ teaspoon citric acid. Scale proportionally for smaller volumes, keeping the 1 tablespoon‑per‑cup base. Whole milk yields richer results than lower‑fat options.
Resting Time Effects
What happens when you let instant buttermilk sit after adding acid? The mixture begins thickening within ten minutes, reaching a smooth, creamy consistency suitable for recipes. You can extend the rest up to two hours without quality loss, especially if the milk is warmed 30‑45 seconds in the microwave beforehand. This brief pause lets the acid fully react, giving reliable texture for any dish.
Why Does My Buttermilk Curdle? Quick Fixes
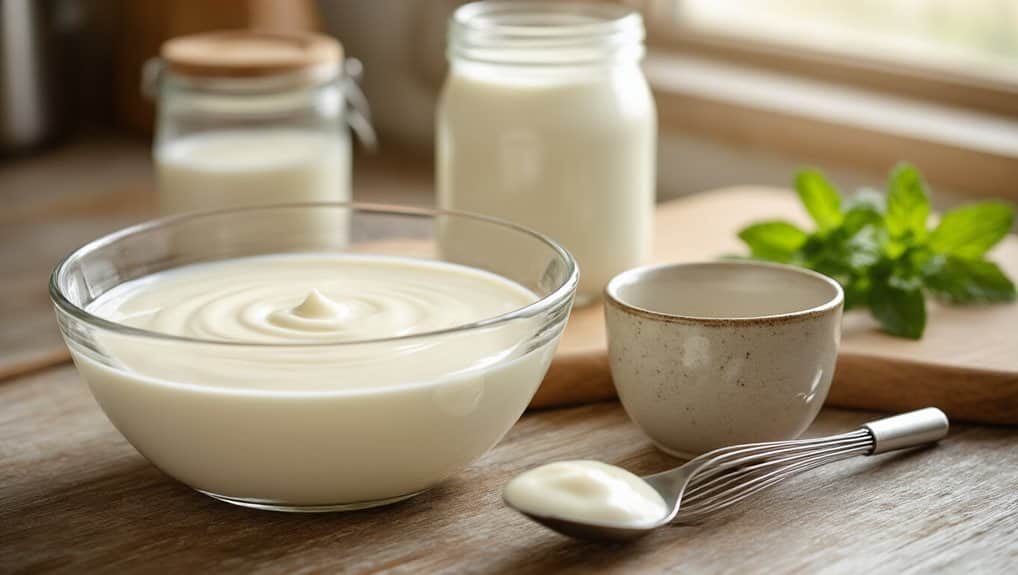
Ever wondered why your homemade buttermilk sometimes turns into lumpy curds instead of a smooth pour? Acid reacts with milk proteins, especially in whole or ultra‑pasteurized milk, and high temps or uneven mixing create pockets that coagulate.
Quick fixes: strain through cheesecloth, add a teaspoon baking soda per cup, dilute with fresh milk 1:1, or whisk vigorously 30 seconds to re‑emulsify.
If you plan to stash it, remember that freezing can cause texture changes in dairy because ice crystals disrupt protein networks.
Use Instant Buttermilk in Baking and Cooking
Ever wondered how instant buttermilk can simplify your baking? You just whisk 4 Tbsp powder with 1 cup water, stir until smooth, and add it to cornbread, biscuits, or soda bread for consistent tang and tenderness. The acidity works with baking soda, creating gas bubbles that lift cakes and cookies. Brands like SACO, King Arthur, and Bob’s Red Mill ensure reliable flavor, especially in recipes under one cup. For leftover buttermilk, portion it into a BPA-free container rated down to -20°F so it stays safe and fresh in the freezer.
Store Instant Buttermilk: Refrigeration & Freezing Tips
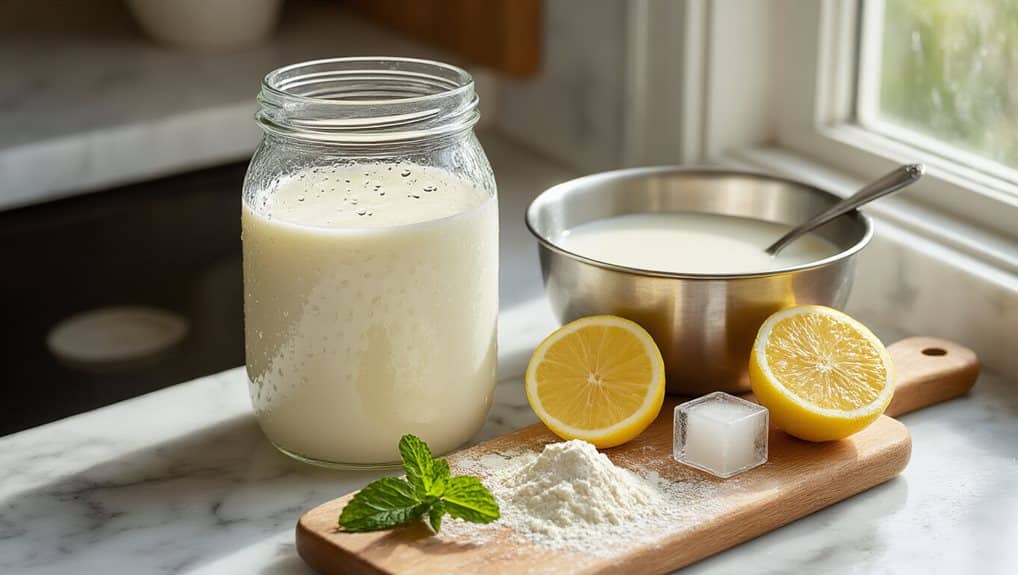
Where do you keep your instant buttermilk powder? Store opened containers in the refrigerator, away from light, moisture, and heat, and you’ll get about three months of usable life.
For longer storage, freeze the powder in airtight, oxygen‑absorbing bags or vacuum‑sealed containers at 0°F or below; quality can last five to ten years. Use silica packets and keep the freezer dry.
Grow More Buttermilk With a Simple Culture Trick
How can you keep the buttermilk supply endless without buying new starter each time? Reserve two tablespoons of your previous batch for each cup of fresh milk, or use a quarter‑cup per quart, half‑cup per half‑gallon, and one cup per gallon. Mix the starter into clean milk, stir vigorously, then let it ferment 8‑24 hours at 70‑77 °F. Keep the lid loose for airflow, and repeat weekly for an ongoing culture.
How to Substitute Instant Buttermilk and Adjust Recipe Quantities
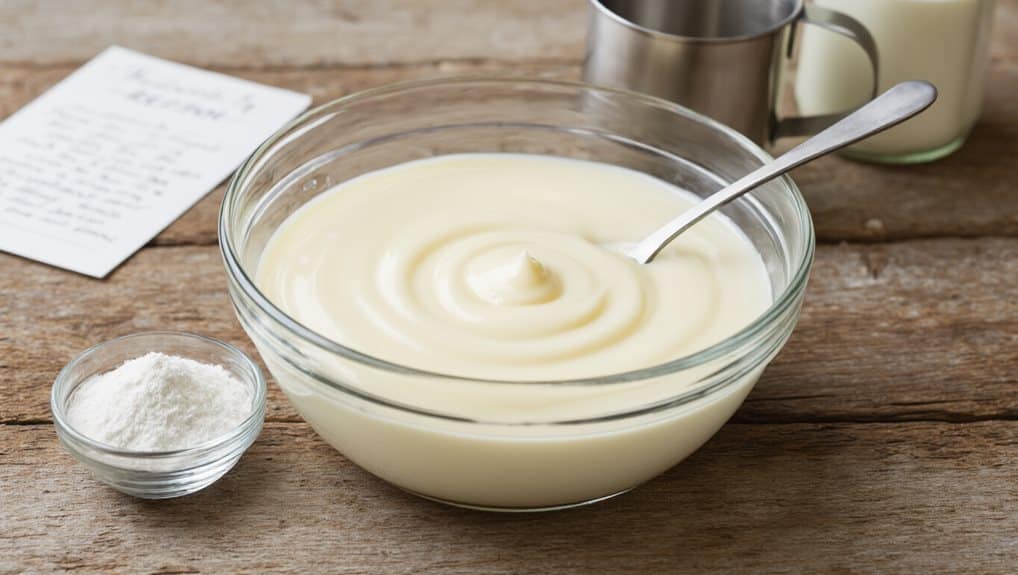
Wondering how to replace buttermilk when you run out? Mix 1 Tbsp lemon juice or vinegar into milk, fill to the desired volume, and let sit five minutes. Use whole or semi-skimmed milk for best thickness.
For dairy substitutes, blend ¾ cup yogurt or sour cream with ¼ cup milk. Plant‑based options follow the same acid‑to‑milk ratio, and you keep the original recipe’s liquid amount.
Best Glass Measuring Cups for Instant Buttermilk
Ever wondered which glass measuring cup will give you the most reliable results when you’re whipping up instant buttermilk? Choose Pyrex: its indestructible design, clear clean feel, and 4‑cup size that doubles as a bowl make mixing effortless.
The three‑size set covers all needs, stays spotless after washing, and handles greasy ingredients better than silicone alternatives.
Wrapping Up
Now’ve learned how to turn ordinary milk into buttermilk in minutes, using the right milk‑acid combo and a simple 1‑to‑1 mix. The mixture thickens quickly, and you can troubleshoot curdling with a few easy fixes. Use it in recipes, store it properly, or even grow more with a culture trick. Adjust quantities when substituting, and pick a reliable glass measuring cup for best results. This method saves time, money, and keeps your dishes tender and flavorful.