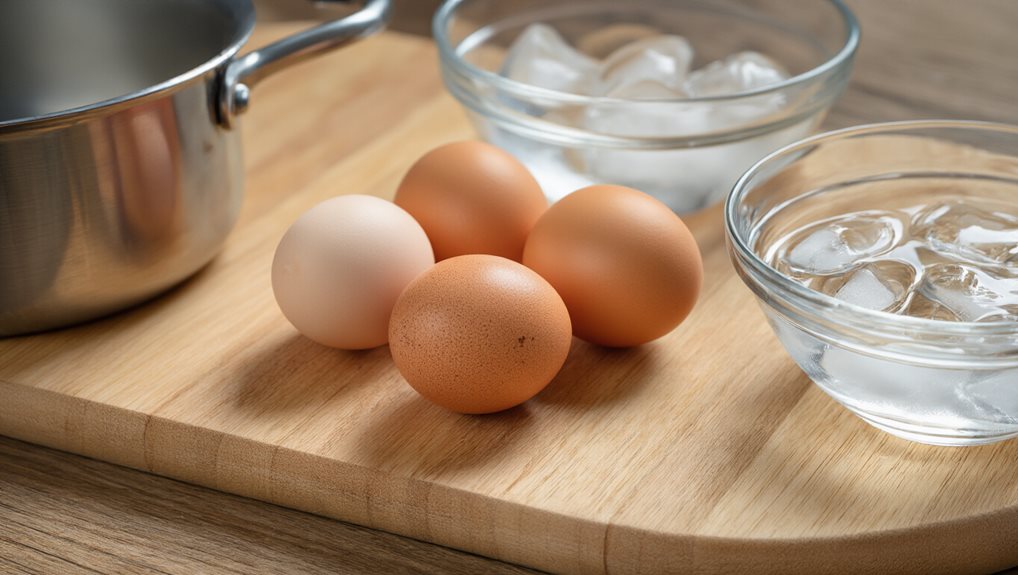
Start by placing large eggs (≈2 oz) in a pot and covering them with cold water about an inch above. Bring the water to a gentle simmer—small bubbles, no rolling boil—then set a timer for 10 minutes for firm whites and fully set yolks, or 7 minutes if you prefer a runny center. When the time’s up, transfer the eggs to an ice-water bath for at least 5 minutes to stop cooking and make peeling easier. This method prevents green yolks and rubbery whites, and if you keep going you’ll uncover extra tricks for induction tops and low-temp alternatives.
Quick Guide
- Start eggs in cold water, cover by an inch, and bring to a gentle simmer; avoid a rolling boil.
- For large eggs, cook 10 minutes from boiling water for firm whites and fully set yolks; adjust time for other sizes.
- Immediately transfer cooked eggs to an ice‑water bath for 10 minutes to stop cooking and simplify peeling.
- Use the “pause‑and‑resume” test: briefly lift the pot, then observe if the egg’s motion resumes—if so, it’s done.
- Store peeled or unpeeled eggs in an airtight container in the refrigerator for up to 7–10 days.
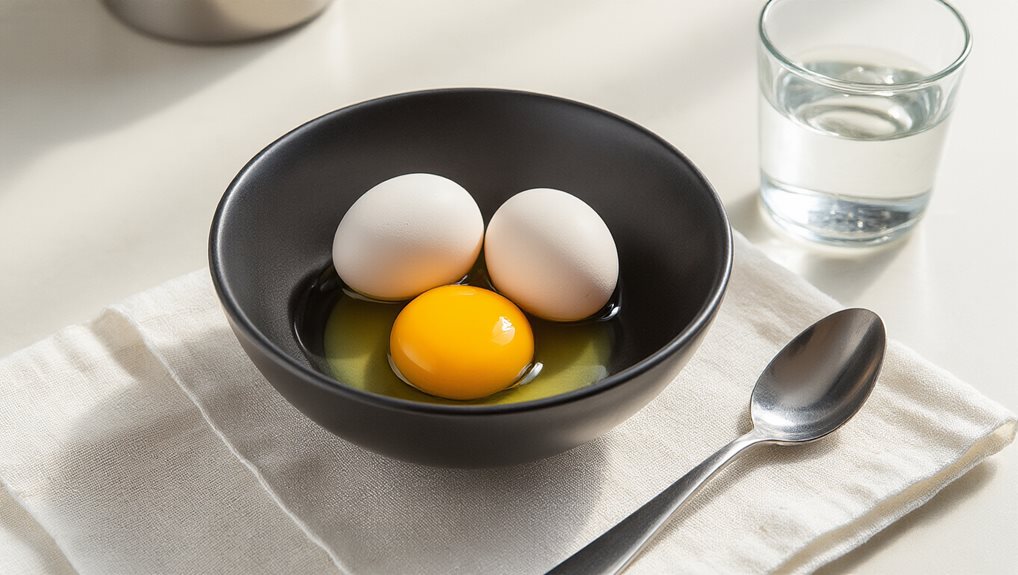
Choose the Right Egg Size for Hard‑Boiled Results
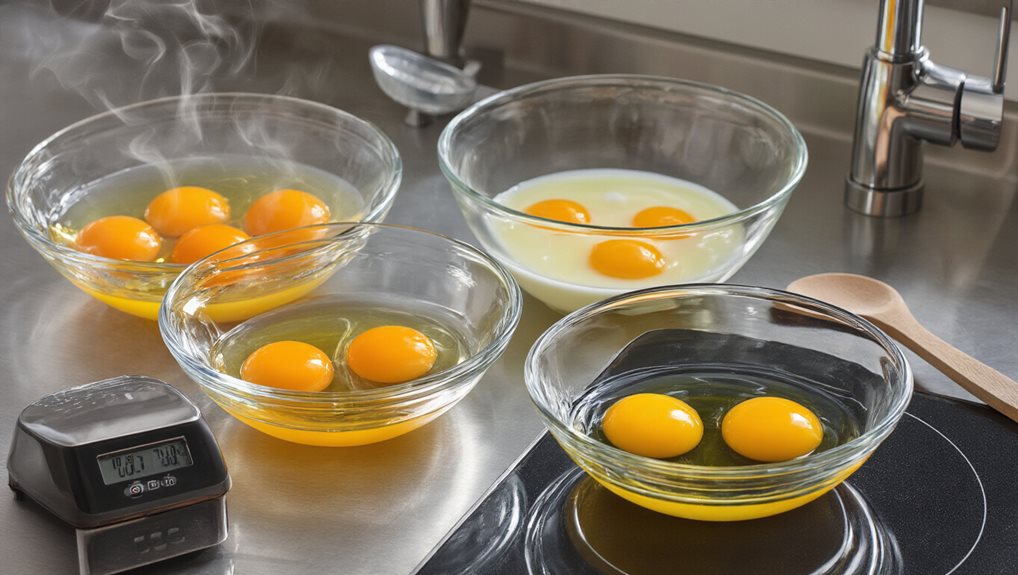
Why does egg size matter when you’re aiming for perfect hard‑boiled eggs? You need a size that matches your recipe’s liquid balance. Large eggs (≈2 oz) give consistent results; medium eggs (≈1.8 oz) require more units to reach the same volume, while extra‑large or jumbo eggs add extra liquid, altering texture. Just as bread products can keep their quality for up to 3 months when frozen at 0°F, weighing eggs or using a reliable conversion chart guarantees your yolks set evenly and your whites stay tender. Jumbo eggs exceed 68.51 g, so they can make the whites slightly rubbery if not adjusted.
Start With Cold Water and Gentle Boil
Choosing the right egg size sets the stage, but how you cook them determines the final texture. Place your eggs in a pot, cover them with cold water an inch above, and cover the pot.
Heat gently until the water reaches a low simmer, not a rolling boil. This gradual heat prevents cracking, keeps the shells intact, and ensures the whites and yolks cook evenly. Once cooked, keep them refrigerated in an airtight container for up to 7-10 days to maintain freshness and safety.
The ice bath stops the cooking by shocking the eggs in cold water.
Set Timing: 10 Min (Large), 7 Min (Soft), 13 Min (Induction)
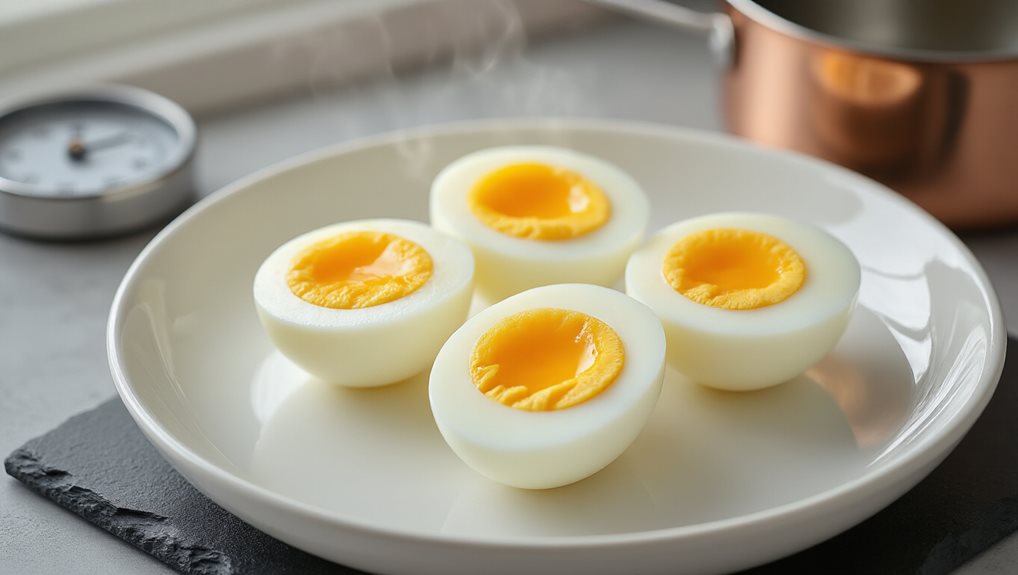
How long should you cook each egg type? For large eggs, boil for ten minutes if you start with boiling water; that yields firm whites and fully set yolks.
Soft eggs need seven minutes under the same conditions for a gently runny center.
Induction cooktops generally require thirteen minutes because the water heats faster and stays hotter, so you may need to adjust slightly based on your pot.
For a quick party-planning reference, remember that a peck is approximately 25 oysters.
Why a Gentle Simmer Beats a Rolling Boil
After setting the right timing for each egg size, the next step is to control the heat.
A gentle simmer keeps the water just below boiling, producing small, occasional bubbles that don’t shake the shells. This low, steady temperature prevents proteins from tightening too quickly, preserving a creamy yolk and tender white.
A rolling boil creates vigorous bubbles, over‑cooking the proteins and making the eggs rubbery and difficult to peel.
If you’re prepping ahead for breakfast, consider batching a few eggs and storing them like other refrigerated foods with a 3-7 days freshness window in an airtight container.
Shock Eggs in Ice Water: Chill Time and Peeling Benefits

Usually, you’ll finish cooking the eggs and then plunge them straight into an ice water bath, which halts the cooking process instantly. Fill a bowl half with ice and half with cold water while the eggs boil, then transfer them with tongs. Let them sit at least ten minutes; the shock contracts the whites, creates an air pocket, and makes peeling effortless, even without ice if you change the water. For food safety, keep your eggs refrigerated to slow down bacterial growth before and after boiling.
Crack‑and‑Tap: Peeling Technique That Works Every Time
Treating an egg to a quick spoon tap before it hits the boil can make peeling a breeze. You tap the rounded bottom gently until you hear a faint membrane‑separation sound, creating a hairline fracture. During boiling, water see through the crack, loosening the shell. After cooling, the first shell chunk lifts easily, reducing white loss and simplifying the peel.
Prevent Green Yolk: Temperature and Timing Tips
You’ll keep the yolk bright by timing the turn‑off point precisely and using a gentle simmer instead of a rolling boil.
A quick 12‑minute stand after the heat is removed lets the egg finish cooking without over‑exposing the yolk to sulfur.
Then plunge the eggs into an ice‑water bath right away to halt any further reaction and prevent the green ring.
Control‑Turn Timing
Ever wonder why a perfectly cooked hard‑boiled egg sometimes shows a green ring around the yolk? Control the turn timing by bringing water to a gentle simmer, then turning off the heat and covering the pot. Set a timer for twelve minutes for medium eggs, eighteen for extra‑large, and move the eggs to an ice bath immediately to stop cooking.
Gentle Boil Method
How can you keep a hard‑boiled egg’s yolk bright without a green ring?
Simmer the water gently instead of rolling boil, and keep the temperature just below a vigorous boil. Cook for about twelve minutes, no more than fifteen, to limit sulfur production. Use filtered, low‑iron water and fresh eggs for best results. These steps prevent the iron‑sulfur reaction that creates the green discoloration.
Rapid Ice‑Bath Cooling
After simmering the eggs gently, the next step is to stop the cooking instantly with a rapid ice‑bath. Fill a bowl with ice and cold water, ensuring the water covers the eggs completely. Transfer them with a slotted spoon, plunge directly, and keep them there for at least ten minutes. This cold shock halts cooking, prevents the green ring, and makes peeling easier.
Induction‑Stove Guide: Slower Boil and 10‑5‑10 Method
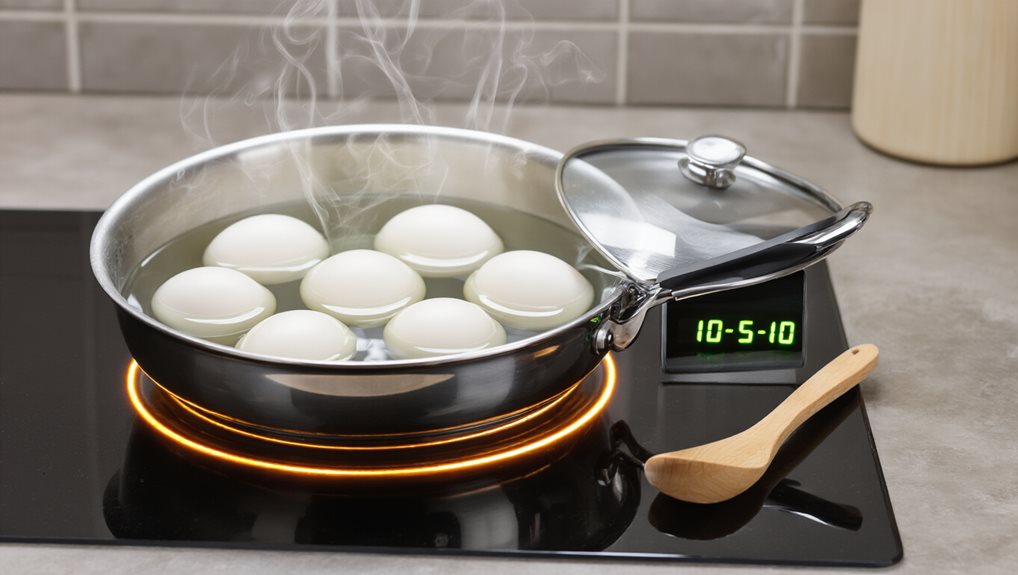
You’ll set the induction stove to a low‑midpoint setting after the water reaches a rolling boil, letting the eggs simmer gently for two to three minutes instead of a rapid boil.
Then you follow the 10‑5‑10 method: remove the pot from heat, cover it and let the eggs sit for ten minutes, transfer them to an ice bath for five minutes, and finally chill them for another ten minutes before peeling.
This slower boil and timed cooling keep the yolks centered and prevent the green ring that often appears with high‑heat cooking.
Slower Boil Settings
Ever wonder why your induction cooktop makes hard‑boiled eggs turn out rubbery or runny? Reduce power to 50‑60 % after the water reaches a rolling boil, then keep the temperature near 200 °F. Use a midpoint setting (level 4‑5) and adjust periodically to maintain gentle steam. This slower boil lets yolks set fully while preventing over‑cooking.
10‑5‑10 Timing Method
How does the 5‑5‑10 method simplify perfect hard‑boiled eggs on an induction stovetop? You boil the eggs for ten minutes after the water reaches a rolling boil, then let them rest in hot water for five minutes, allowing residual heat to finish cooking. Finally, plunge them into an ice bath for ten minutes to halt cooking and separate shells, ensuring easy peeling.
Low‑Temp Alternatives: 150 °C Oven or Sous‑Vide for Foolproof Eggs
Looking for a reliable way to get perfect hard‑boiled eggs without the guesswork of stovetop timing? Try a 150 °C oven or a sous‑vide bath.
In the oven, steam the eggs for 15 minutes, then plunge them into an ice bath for 10‑15 minutes.
With sous‑vide, set the water at 165 °F for 30‑60 minutes, then ice‑bath to stop cooking.
Both methods prevent over‑cooking, keep yolks bright, and make peeling easy.
Quick Spin Test: Tell If an Egg Is Hard‑Boiled or Raw?
Quickly figuring out whether an egg is hard‑boiled or still raw can save you a mess in the kitchen, and the spin test does exactly that with just a flat surface and a moment of patience. Place the egg on a smooth countertop, give it a firm spin, and watch. A hard‑boiled egg whirls smoothly and stops quickly when you tap it; a raw egg wobbles, spins slower, and often resumes motion after a brief pause. This simple test lets you verify doneness without cracking the shell.
Wrapping Up
By perfecting egg size, water temperature, and timing, you’ll consistently get perfect hard‑boiled eggs. Start cold, bring to a gentle simmer, and follow the 10‑minute guide for large eggs—or adjust for softer or longer results. Shock the eggs in ice water to stop cooking and simplify peeling, and avoid the green ring by keeping heat steady. Whether you use a stovetop, induction, oven, or sous‑vide, these steps ensure reliable, tasty eggs every time.