Use a 6‑inch non‑stick or ceramic pan, heat it low‑medium, and add a thin layer of grapeseed oil after a couple of minutes. Crack the egg on a flat surface, drop it into a bowl, and gently slide the yolk back into the whites until the bowl empties. Slip a thin spatula under the egg when the whites are set but the yolk is still soft, then lift and flip with a quick, smooth motion, or cover the pan with a lightly‑sprayed lid and flip the whole assembly. If you keep the oil mobile and the lid sealed, the yolk stays intact, and the next steps will show you how to master multi‑egg flips and steam‑cook alternatives.
Quick Guide
- Use a non‑stick 6‑inch pan on low‑medium heat, add a thin layer of grapeseed oil, and lightly spray the lid with cooking spray.
- Cook the egg until the whites are set but the yolk remains soft, then slip a thin spatula under the edge, testing for a clean lift.
- For a lid‑flip, place an upside‑down lid over the pan, spray the lid, and flip the whole assembly in one motion to protect the yolk.
- To steam‑cook, add an inch of water, cover tightly, and steam 4½ minutes for a runny yolk or 7 minutes for a jammy center, eliminating the need to flip.
- When flipping multiple eggs, position the pan handle at the 9 o’clock, rock the pan toward yourself, and ensure the oil moves freely for a smooth arc.
How to Keep the Yolk Intact When Flipping an Egg
How can you keep the yolk intact while flipping an egg? Try the lid‑flip technique: slide the egg onto a plate, then place the skillet upside‑down over the lid and flip the whole assembly. The yolk stays protected by the lid, preventing mess. Lightly spray the lid with cooking spray to keep the egg from sticking. Alternatively, use the steam method—add water, cover quickly, and let steam set a thin white film over the yolk, eliminating the need to flip at all. Just as eggplant seeds are edible and often best cooked to reduce bitterness, gently applying heat can make delicate foods easier to handle without falling apart.
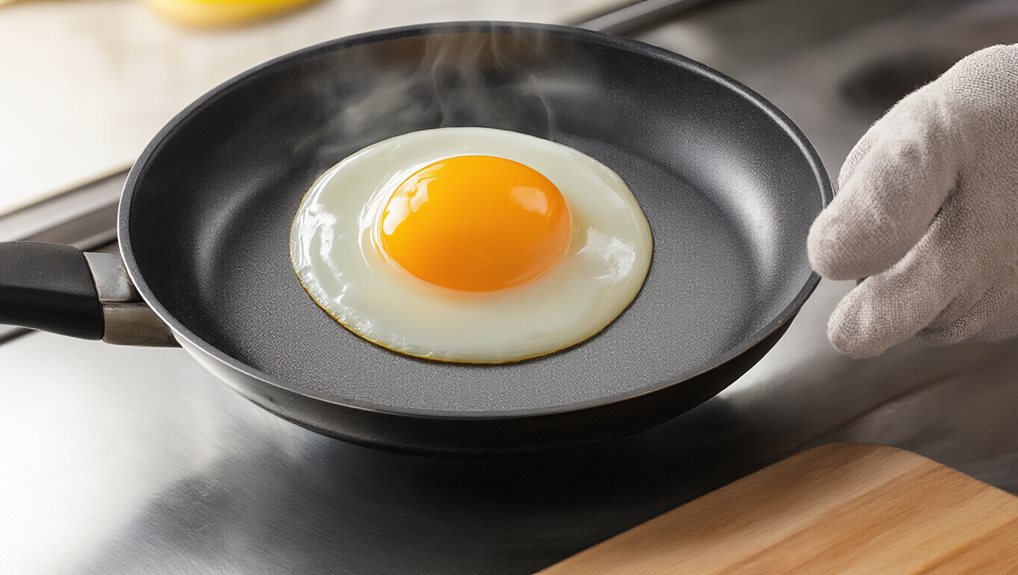
Pick the Right Pan & Fat for Flipping Eggs Without Breaking the Yolk
After mastering the lid‑flip or steam method, the next step is choosing the right pan and fat to keep the yolk intact during the flip. Use a 6‑inch non‑stick or ceramic pan; its smooth surface and sloped sides let you glide the spatula without scraping the yolk. Heat the pan low‑medium, add a thin layer of grapeseed oil after two and a minutes, and you’ll get a gentle release that protects the yolk. Store delicate spices away from heat and humidity in airtight jars with BPA-free silicone gaskets to prevent flavor transfer. Nonstick surfaces are essential for easy release.
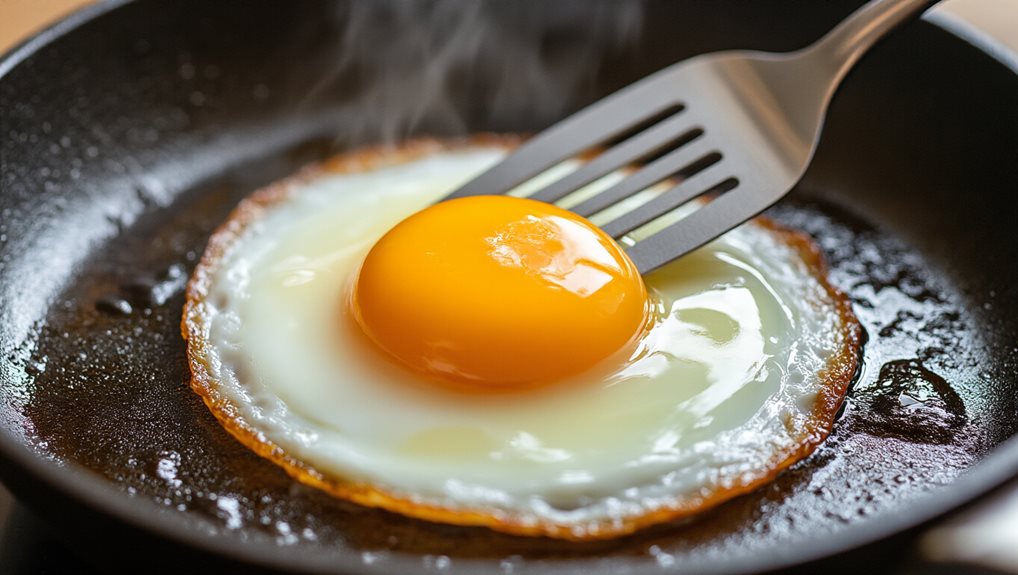
Slide a Thin Spatula Under the Egg Without Cracking the Yolk
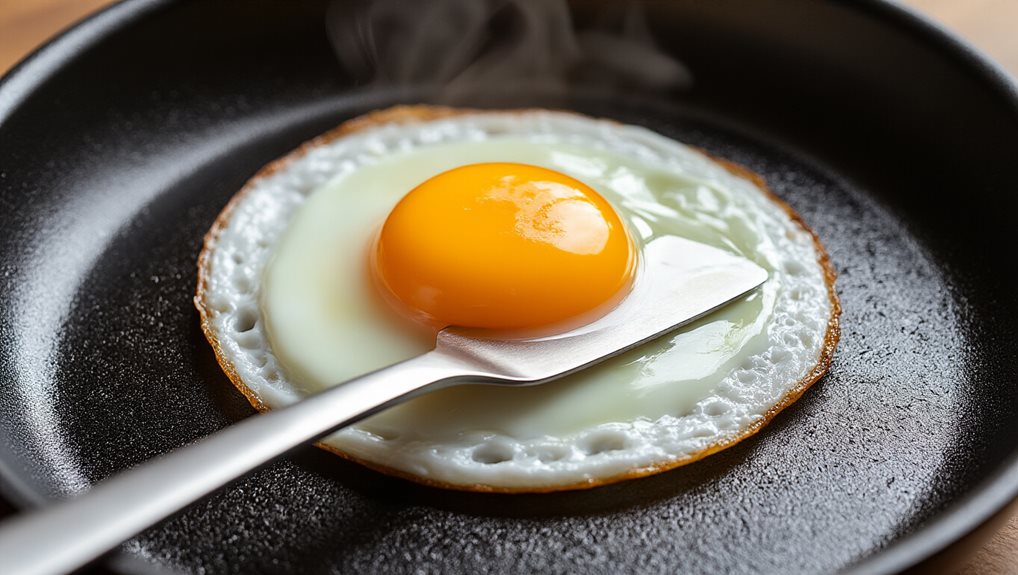
A thin spatula is the key to slipping under a fried egg without crushing the yolk, because its slender edge can glide between the white and yolk without applying pressure.
First, loosen the egg’s edges gently, then test the spatula’s edge to assure it lifts cleanly.
Slide the spatula when the white firms but the yolk stays soft, using a grated or holed silicone tool for minimal weight.
Position the handle at 9 o’clock and 3 o’clock for balance, and keep the yolk facing up to avoid puncture.
This method lets you flip without cracking the yolk.
Just as airtight containers help preserve frozen honeydew’s quality, a thin, well-fitted spatula helps protect a delicate yolk during the flip.
Master the Lid‑Flip Technique for Perfect Over‑Easy Eggs
A thin spatula lets you lift the egg cleanly, but the lid‑flip technique takes that control one step further by using the pan lid as a protective shield.
Heat butter, crack eggs into a bowl, then pour into the pan.
When whites set, shake gently, slide the egg onto an upside‑down lid, and flip the pan and lid together 180°.
This protects the yolk, reduces impact, and yields perfect over‑easy results.
For a refreshing pairing, sip Yakult for its 8 billion helpful bacteria that support digestion and gut health.
Use the Mid‑Air Pan Flick Safely and Time It Right
Ever wondered how to perfect the mid‑air pan flick without splattering yolk? Warm a 7‑inch non‑stick pan on low heat until the oil moves freely, then let the whites set.
Give a quick shimmy, flick upward with your wrist, and catch the egg when the yolk sits at 9 o’clock. Keep the motion controlled, avoid high throws, and let the egg settle a few seconds before moving again. After you nail the flip, lock in leftovers with a vacuum sealer featuring double heat seal technology for leak‑proof closures.
Position Your Pan for Flipping Multiple Eggs Without Yolk Breakage
You should place the handle at the nine‑o‑clock position and rock the pan toward yourself when you flip, which gives you a stable grip and a smooth arc.
Before you start, check that the oil moves freely across the surface; this tells you the pan’s hot enough and the non‑stick layer is ready.
With the handle set and the oil confirmed, you can coordinate the motion and keep the yolks intact while flipping several eggs at once.
Handle Handle at Nine‑O‑Clock
Why does placing the pan’s handle at the nine‑o’clock position make flipping multiple eggs easier? You tilt the pan using the handle as a lever, letting the natural curve roll each egg to nine‑o’clock and three‑o’clock spots. This synchronized roll keeps yolks centered, avoids partial flips, and lets you flip a whole batch with a single, gentle motion.
Rock Pan Toward Self
How do you position the pan so that a gentle rock toward yourself flips several eggs without cracking the yolks?
Tilt the pan using its natural curvature, keeping medium‑low heat so whites set fully.
Ensure each egg slides freely after a light shake, then rock the pan inward slowly.
The rolling motion protects yolks, and a uniform white base lets two or three eggs flip together safely.
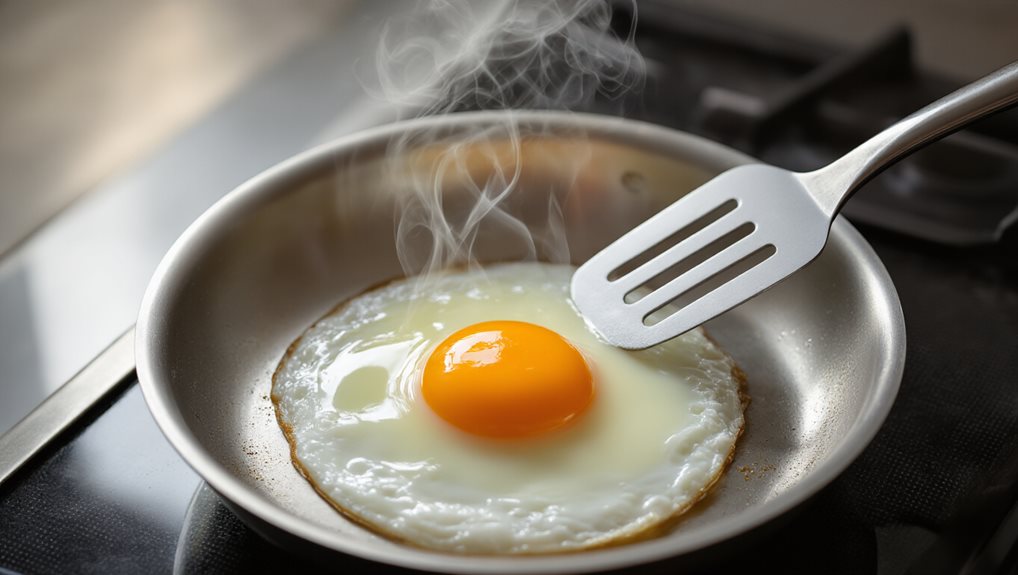
Check Oil Mobility First
Ever noticed how a thin film of oil can glide across a pan like water on glass? Before you crack any eggs, tilt the pan and watch the oil spread evenly, forming a gentle sheen and tiny bubbles.
Rock the pan slightly; the oil should flow freely to all edges. When it moves without sticking, you’ve confirmed readiness for multiple‑egg flips without yolk breakage.
Crack‑and‑Transfer Tips to Keep Shells and Yolk Intact
Ever wondered why a simple crack can ruin a perfect yolk? Crack the egg on a flat surface using firm, gentle pressure, preferably when it’s cold, and drop it into a small bowl first.
Hold the shell with two hands, split it evenly, and let the whites fall while the yolk rests on the cracked side.
Transfer the yolk back and forth until the bowl drains completely, keeping the yolk intact without hand contact.
Steam‑Cook Eggs for Perfect Yolk – No Flip Needed
You’ll start by adding just the right amount of water—about an inch in a pot or the level recommended for your steamer—so the steam can build without drowning the eggs. Make sure the lid fits tightly; a good seal keeps the heat inside and lets the steam cook the yolk evenly. Then set a timer for the desired doneness, whether you want a jammy center or a firm yolk, and let the steam do the work without ever flipping a shell.
Water Amount
How much water should you use to steam‑cook eggs for a perfect yolk without flipping? Pour about one inch of water into a medium saucepan, ensuring it just touches the bottom of the steamer basket—roughly three‑quarters to one inch, depending on basket size. The water must reach a rolling boil before adding eggs, then reduce heat to medium‑low to maintain steady steam throughout cooking.
Cover Tightness Timing
What makes a perfect steam‑cooked yolk is the lid’s seal and the timing that follows. Tighten a stainless steel lid so steam stays inside; a loose lid lets steam escape and leaves whites undercooked.
Start the timer as soon as you drop the eggs into the steamer.
For large eggs, four‑and‑half minutes yields a runny yolk; seven minutes from cold eggs gives a jammy center. Adjust for size and preference.
Wrapping Up
By mastering the right pan, using a thin spatula, and timing your flips—whether with a lid, a mid‑air flick, or a steam‑cook method—you can keep yolks intact every time. Practice the techniques, adjust heat, and stay steady; the egg’s structure will hold, giving you perfect over‑easy results without mess. Consistency and gentle handling are the keys to reliable, yolk‑preserving flips.
