
Use gentle, indirect heat and keep the bowl dry. Choose a double‑boiler, low‑power microwave, or a water‑bath; each lets you melt chocolate without scorching. For a double‑boiler, simmer 1–2 inches of water, place a dry stainless bowlsteel bowl over it, and stir constantly for 5–6 minutes, never letting the bowl touch the water. In the microwave, set 50 % power, stir every 20‑30 seconds, and use short bursts. Monitor temperature with a candy thermometer and stop at 86‑90 °F. If you keep these steps, you’ll avoid graininess and can learn more about rescue and storage.
Quick Guide
- Use a dry, heat‑proof bowl and keep it at least an inch above simmering water in a double‑boiler to avoid direct contact.
- Melt chocolate over low heat (≈45‑50 °C for dark, 40‑45 °C for milk/white) and stir constantly with a candy thermometer.
- If using a microwave, set to 50 % power, heat in 20‑30‑second bursts, and stir after each burst until smooth.
- Stop heating when chocolate is just melted; any excess heat will cause scorching—transfer to a cooler bowl if needed.
- Store melted chocolate at 65‑70 °F in an airtight container; reheat gently with a double‑boiler or low‑power microwave, adding a teaspoon of oil for shine.
How to Choose the Best Method to Melt Chocolate
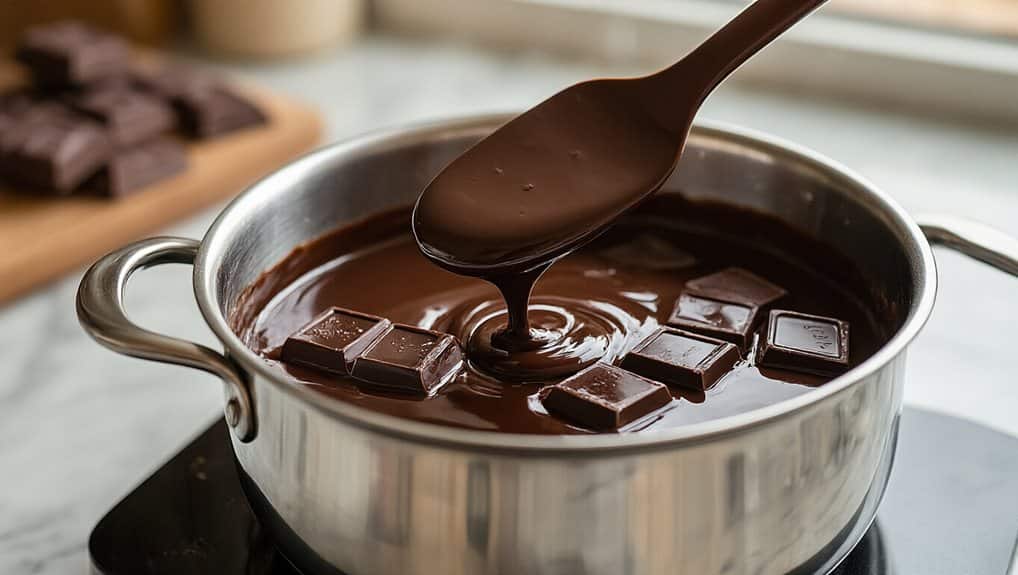
How do you decide which melting technique fits your needs? You compare time, equipment, and risk.
The double boiler offers gentle steam heating, about three minutes, but demands constant watch over water level and bowl edges.
Microwaves melt fastest using 50% power and short bursts, yet require frequent stirring.
Water‑bath and sous‑vide provide balanced heat with low scorching, while ovens handle bulk at low temperature, needing careful stirring and protective gloves. For sous‑vide, a double heat seal vacuum bag helps keep water out and your chocolate dry.
Choose the method that matches your quantity, patience, and kitchen setup. Temper can be achieved by adding one‑third unmelted chocolate after melting.
Gather Tools & Prep Chocolate for a Smooth Melt
Pick a bowl that’s big enough to let the chocolate move around without spilling, then weigh out the exact amount you need so you won’t have to guess later. Make sure the bowl is completely dry—any moisture will cause the chocolate to seize and ruin a smooth melt. With the right size and a dry surface, you’re set to start melting efficiently. Use a candy thermometer to monitor the temperature and prevent overheating. After melting, let any extra chocolate cool before storing it in airtight containers to prevent odor transfer and freezer burn.
Select Right Bowl Size
Ever wonder why some chocolate melts smoothly while other batches scorch? Choose a bowl that fits snugly over a saucepan with at least one inch of simmering water. A stainless steel bowl about eight inches wide and three‑quarters tall works well; it stays above the water, preventing direct heat. Too small touches water, too large hangs, reducing efficiency. Silicone bowls work for microwaves, but for stovetop, metal guarantees even steam heating.
Measure Chocolate Quantity
Ready to measure out the chocolate you’ll melt? First, chop the bar into uniform, bite‑size pieces; this promotes even heating and prevents hot spots. Weigh the total amount, then set aside roughly one‑third in a separate bowl. Place the remaining two‑thirds in the double‑boiler bowl, and later add the reserved third to lower temperature and keep the melt smooth. Ensure all tools are dry to avoid grainy texture.
Dry Bowls Only
A dry bowl is the single most important tool for a smooth chocolate melt, because any moisture will cause the chocolate to seize and become grainy. Choose a heat‑safe glass or metal bowl, keep it completely dry, and place it securely over simmering water without touching it.
Use a dry metal or silicone spoon, chop chocolate uniformly, and avoid steam by not covering the pot. This guarantees even melting without graininess.
Melt Chocolate With a Double‑Boiler (Step‑By‑Step)
How can you melt chocolate evenly without risking a burnt mess?
Fill a pot with 1‑2 inches of water, bring it to a low simmer, and place a heat‑proof bowl over it, ensuring the bowl never touches the water. Add uniformly chopped chocolate, cover the pot, and stir constantly for 5‑6 minutes until smooth. Remove the bowl before steam dries and avoid overheating. For best results, keep any raspberry garnish chilled at 32-36°F so it stays fresh and doesn’t weep moisture into the chocolate.
Melt Chocolate Quickly in the Microwave (Grain‑Free)
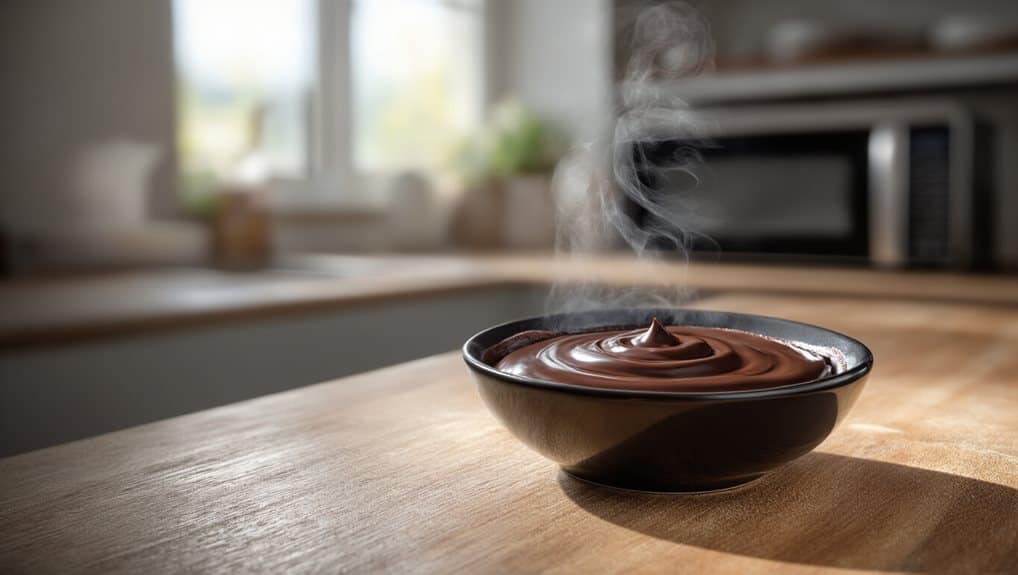
You’ll set the microwave to a low or defrost power level, then melt the chocolate in short bursts while keeping a dry bowl to prevent steam.
Stirring every 20‑30 seconds distributes heat evenly and stops the chocolate from seizing.
If you’re topping it with whipped cream afterward, keep it chilled and stored at or below 40°F (4°C) to help prevent spoilage.
Power Level Settings
Ever wondered why chocolate burns in the microwave while you’re trying to melt it quickly? Start at 50 % power or use the defrost setting; this halves the magnetron on‑time and keeps heating gentle. Begin with a one‑minute burst, then shorten to 30‑second, 15‑second, and finally 5‑second intervals as the temperature climbs, stopping before fully melted.
Stirring Intervals Timing
Starting with a 30‑second burst on medium power, stir the chocolate thoroughly before moving to the next interval; this first stir distributes the heat gathered during the initial burst and prevents hot spots. After the first stir, microwave for 20‑25 seconds, then stir again. Continue with 15‑second bursts, stirring each time, until the chocolate is smooth, adjusting for white or milk varieties as needed.
Dry Bowl Requirement
Why does a dry bowl matter when you’re melting chocolate in the microwave? Moisture makes chocolate seize, turning it grainy and dull. Use a microwave‑safe plastic bowl, because plastic releases heat quickly and avoids the lingering warmth glass retains. Keep the bowl and spatula completely dry; even a drop triggers clumping. This dry setup ensures a smooth, glossy melt at the ideal 87‑89°F range.
Melt Chocolate Gently With a Water Bath (Low‑Heat)
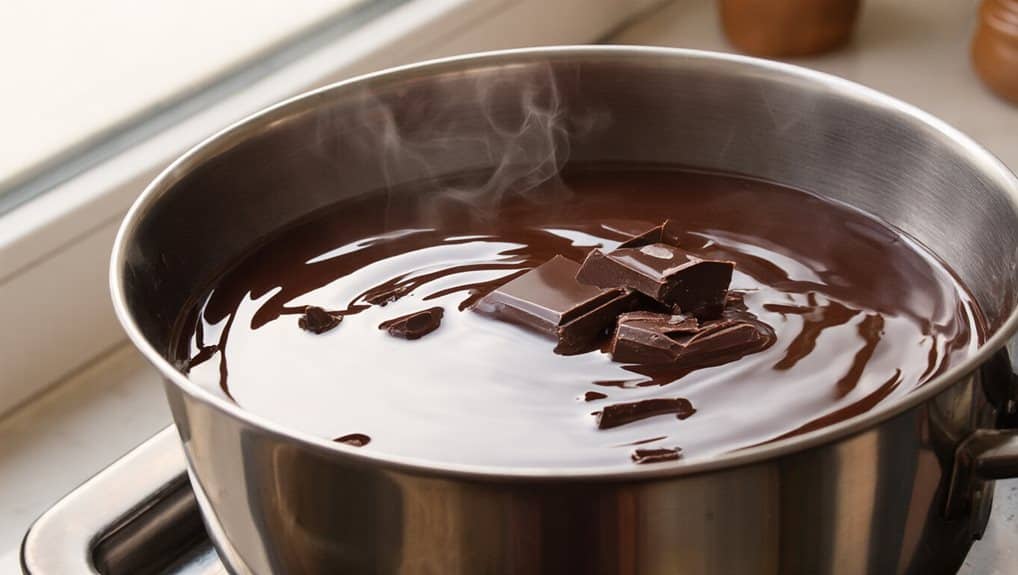
How do you melt chocolate without risking a burnt mess? Fill a pot with water, bring it to a boil, then turn off the heat. Place a dry, wider bowl over the pot, never letting water touch the bowl. Add chopped chocolate or chips, stir continuously with a heat‑proof spatula, and wipe any condensation. When the chocolate reaches a smooth, silky texture, remove the bowl and use it promptly. For a light, refreshing pairing afterward, try sipping Yakult for its 8 billion probiotics and sweet‑tangy flavor.
Rescue Over‑Heated or Seized Melted Chocolate
Ever found your chocolate turning grainy or clumping into a thick, “elephant‑skin” mess? Remove it from heat, transfer to a cooler bowl, then stir in a handful of unmelted chocolate pieces or a teaspoon of warm milk, adding slowly while you monitor temperature.
Aim for 86‑90°F, or blend in a little oil or butter to restore smoothness.
How to Keep Melted Chocolate Glossy When Storing & Reheating
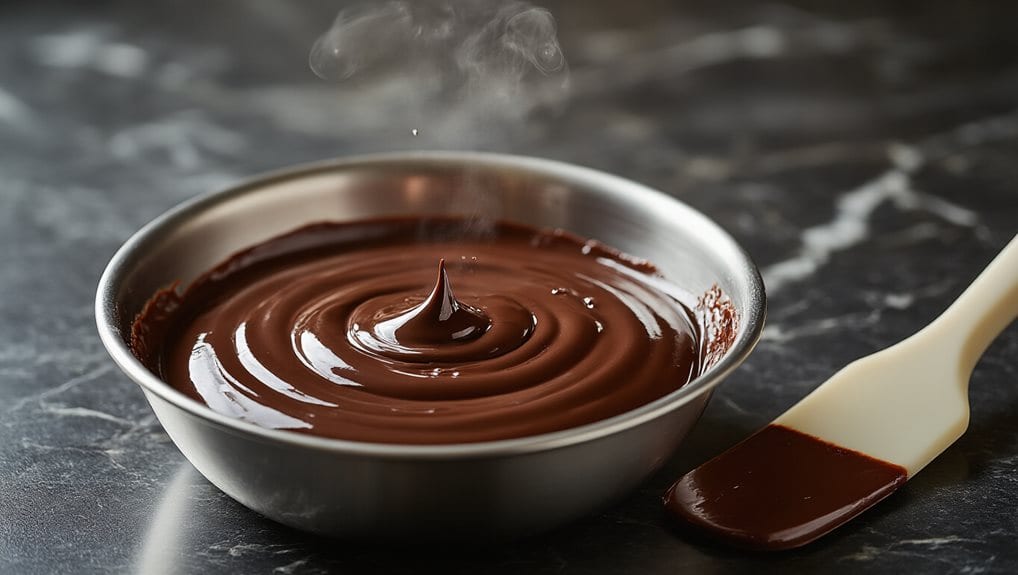
Ever notice that glossy sheen of freshly melted chocolate fading after a day in the pantry? Store it at 65‑70 °F in a dark, dry spot, avoiding sunlight and heat. If you must refrigerate, use an airtight bag and let it warm to room temperature before use. Reheat gently in a double boiler or low‑power microwave, stirring constantly, and add a teaspoon of coconut oil or cocoa butter for lasting shine.
Wrapping Up
Now you’ve learned how to pick the right method, set up your tools, and melt chocolate without scorching it. Whether you use a double‑boiler, microwave, or gentle water bath, keep the temperature low and stir constantly. If the chocolate seizes, rescue it with a bit of warm liquid. Store it in a sealed container and reheat gently to retain its gloss. Follow these steps, and you’ll enjoy smooth, glossy chocolate every time.


