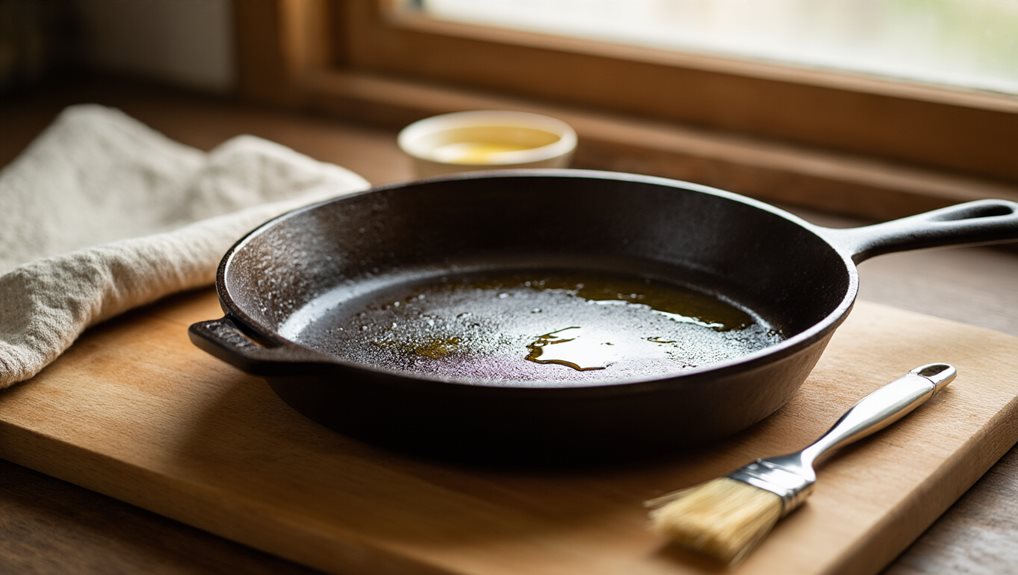
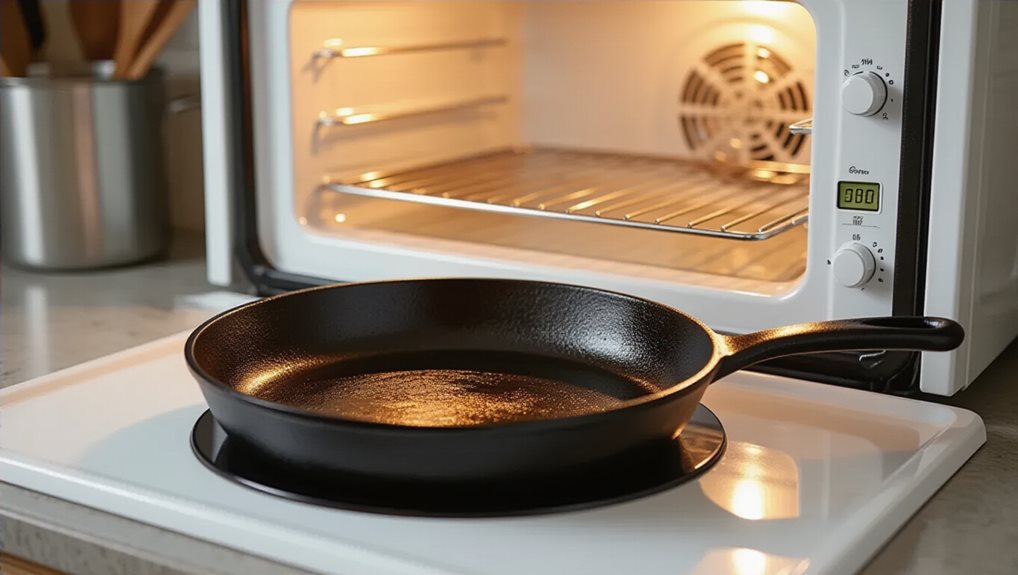
Dry the pan completely, then heat it on low for a few minutes to evaporate any remaining moisture. Apply a thin, even coat of a high‑smoke‑point oil—canola, grapeseed, or avocado works well—wiping off excess so the surface looks dry, not shiny. Preheat your oven to 200 °F, place the pan upside‑down, and bake briefly, then raise the temperature to 300 °F for 10‑15 minutes. Increase to 450‑500 °F for about an hour to polymerize the oil, let the pan cool inside the oven, and store it dry with a light oil film. Follow these steps and you’ll build a durable, non‑stick finish, and the next sections will show how to maintain it.
Quick Guide
- Dry the pan completely after washing; any moisture will prevent oil adhesion.
- Apply a thin, even coat of high‑smoke‑point oil (e.g., canola or grapeseed) and wipe off excess until the surface looks dry.
- Preheat the oven to 200 °F, heat the pan on the stovetop briefly to evaporate remaining water, then bake upside‑down at 300 °F for 10–15 minutes.
- Increase oven temperature to 450–500 °F and bake for about 60 minutes, then let the pan cool inside the oven; repeat 2–6 coating for a durable, glossy finish.
- Store the seasoned pan dry, upright, with a light oil film; perform a low‑heat maintenance cycle yearly or after heavy use.
Season Your Cast‑Iron Pan: Step‑by‑Step Overview

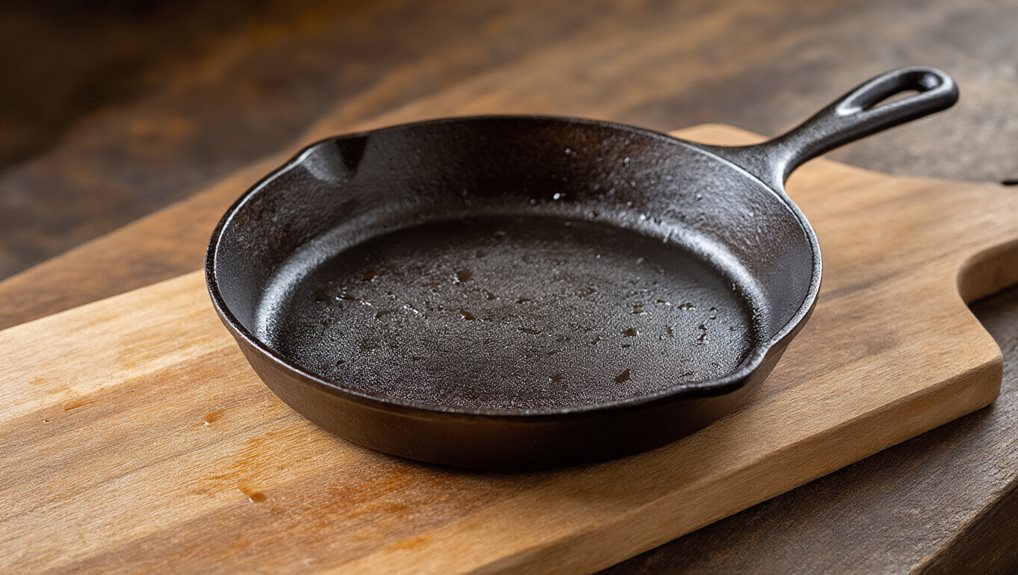
Seasoning a cast‑iron pan starts with drying it completely so the oil can bond to the metal without moisture interfering.
Preheat the oven to 200 °F, heat the pan on the stove, then bake it for ten minutes to evaporate any remaining water.
Apply a thin coat of oil, wipe away excess, and bake upside down at 300 °F for 10‑15 minutes.
Increase to 450‑500 °F, bake an hour, cool inside, and repeat two to six times for a durable, glossy finish. While you wait between coats, store any leftover oil in BPA-free containers to help prevent unwanted chemical leaching.
Use absorbent paper towels to remove excess oil before baking.
Choosing the Right Oil to Season Your Cast‑Iron Pan
You’ll want an oil with a high smoke point so it can polymerize without burning, and grapeseed, avocado, or sunflower oils fit that bill while also supplying plenty of polyunsaturated fats for a durable coating.
If you’re after an especially hard finish, flaxseed oil works well despite its lower smoke point, so use it at a cooler temperature or combine it with a higher‑smoke‑point oil. Avoid creating thermal stress by letting the pan cool gradually between seasoning cycles instead of shocking it with sudden temperature changes.
Choosing the right oil balances smoke point, fat composition, and the seasoning layer you aim to achieve. Organic canola oil is also highly recommended for its neutral flavor and high smoke point.
High Smoke Point Oils
What makes an oil ideal for seasoning a cast‑iron pan? It needs a high smoke point, neutral flavor, and polymerizing fats. Canola, grapeseed, sunflower, avocado, and peanut oils all meet these criteria. Avocado tops the list with the highest smoke point, while grapeseed and sunflower provide strong polyunsaturated fats for durable layers. Choose one, heat until shimmering, and coat evenly.
Flaxseed Oil Benefits
Why consider flaxseed oil for your cast‑iron pan? It’s a drying oil rich in omega‑3s, providing about 7 g per tablespoon, and it polymerizes into a hard, non‑stick barrier. This creates a smooth, scratch‑resistant surface that outperforms vegetable oils.
Plus, the oil’s anti‑inflammatory and heart‑healthy properties give you extra health benefits while you season.
Applying a Thin Oil Layer to Season Your Cast‑Iron Pan
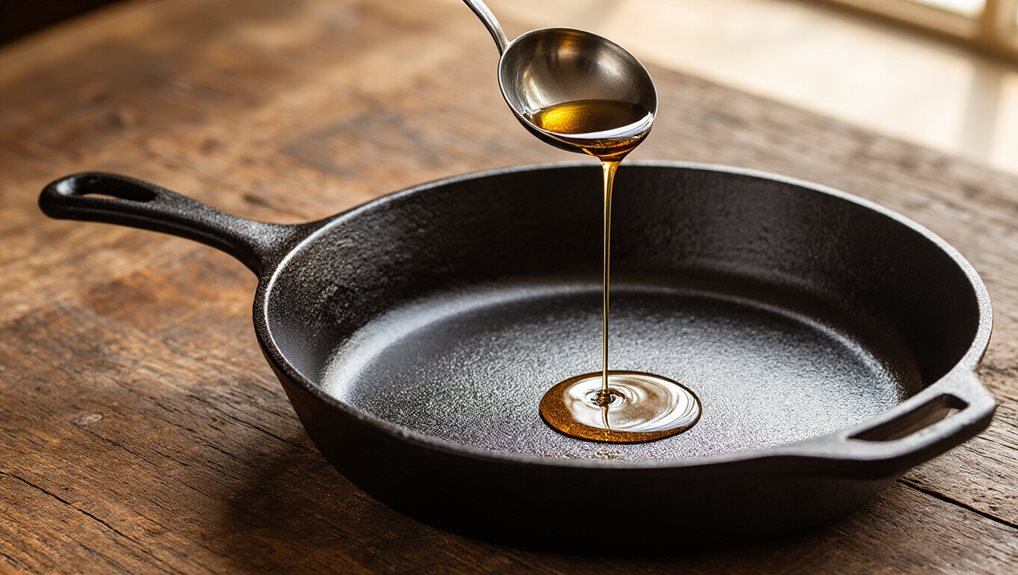
Pick a high‑smoke‑point oil so it won’t burn during baking, then pour just a little into the pan and spread it evenly with a cloth or paper towel. Make sure the coat is so thin that no drips appear when you tilt the pan, and wipe away any excess until the surface looks dry, not shiny. Using a clean, dry towel (and remembering to hand wash and dry your tools right after) helps prevent moisture from interfering with the finish. This minimal, uniform layer lets the oil polymerize properly and sets the foundation for a durable, non‑stick seasoning.
Choose High‑Smoke‑Point Oil
Choosing a high‑smoke‑point oil is essential when you apply a thin layer to season your cast‑iron pan, because the oil must heat close to its smoke point without actually smoking.
Avocado oil offers a neutral flavor and sleek finish, while grapeseed works well for initial layers.
Vegetable, canola, sunflower, and peanut oils provide affordable, reliable options.
Each oil polymerizes effectively when heated just below its smoke point, creating a durable, non‑stick coating.
Apply Minimal Even Coat
A thin, even coat of oil is the key to a durable, non‑stick seasoning, and you’ll want to start with a small amount that spreads smoothly across the entire surface. Warm the pan, then drizzle a few drops of high‑smoke‑point oil onto a lint‑free rag. Rub it in until the film is barely visible, covering sides, bottom, and handle. Tilt the pan; if any oil runs, wipe it away. This barely‑visible layer bonds uniformly when you bake the skillet upside‑down at 450‑500°F, creating a smooth, lasting patina.
Wipe Excess Thoroughly
Why wipe excess oil off your skillet before you bake it? A thin, even layer prevents pooling, which would create sticky spots and uneven polymerization. Use paper towels or a lint‑free cotton cloth to rub the surface until it looks dry. Inspect for residue, then bake at 300°F. Repeat after each coat; this yields a smooth, durable black patina without drips.
How to Set Up Your Oven for an Even, Safe Bake
How do you set up your oven for an even, safe bake when seasoning a cast‑iron pan? Preheat the oven to 200°F and let it run ten minutes to dry any moisture. Place the pan upside down on a foil‑lined rack, ensuring excess oil can drip off. After the low‑heat step, gradually raise the temperature to 300°F, then to 400°F, and finally to 500°F for polymerization. Turn the oven off and let the pan cool inside for thirty to sixty minutes before removing it. For best results, keep your kitchen setup in a 32-36°F range to support consistent temperature control.
Bake the Pan: Low‑Heat Drying Then High‑Heat Polymerization
Ever wondered why a cast‑iron pan needs two distinct baking stages? First, dry it on low heat or towel‑dry to evaporate moisture, preventing steam from blocking oil adhesion. Then, bake upside‑down at 450‑500°F for an hour, letting oil polymerize into a hard, nonstick film. Turn off the oven and let the pan cool slowly for two hours before handling. Just like controlled moisture helps prevent condensation and mold in herb keepers, fully drying your pan first ensures water won’t interfere with the oil bonding to the iron.
Add a Thin Oil Coat Mid‑Bake for a Smoother Finish
When you finish the low‑heat drying stage, a thin coat of oil applied at about 200 °F opens the iron’s pores and prepares the surface for the high‑heat polymerization that follows. After 15 minutes at 300 °F, pause, wipe excess oil with a lint‑free towel, and redistribute a fresh thin layer.
This mid‑bake wipe prevents pooling, yields a smoother, semi‑gloss finish, and builds an even, durable patina across multiple coats.
How to Cool and Remove Your Cast‑Iron Pan After Seasoning?
Why rush the cooling process? Let the pan stay in the turned as it cools naturally; gradual temperature drop prevents thermal shock and lets the oil polymerize fully. After the oven is off, wear mitts, grip the handle firmly, and set the pan on a heat‑safe surface away from drafts. Once completely cool, store it dry, upright, and free of moisture to preserve the seasoned coating.
How Many Seasoning Cycles Needed for a Perfect Cast‑Iron Pan?
How many seasoning cycles does a cast‑iron pan really need to reach a perfect, non‑stick surface?
You’ll want three to four full oven cycles at 450‑500°F for the initial build‑up, each with a thin oil coat and a one‑hour bake.
After that, the dark, semi‑glossy finish signals readiness.
For maintenance, repeat two cycles yearly or after heavy use, and add a final low‑heat cycle at 430‑440°F to eliminate stickiness.
Maintaining Your Seasoned Cast‑Iron Pan After Each Use
After completing the initial seasoning cycles, the real work begins each time you finish cooking. Rinse the pan in warm, soapy water right away, then use a paper towel or a chain‑mail scrubber—no steel wool—to remove food particles. Dry it thoroughly, heat briefly on low to evaporate moisture, and coat the whole surface with a thin layer of high‑smoke‑point oil. Heat the pan lightly so the oil bonds, then store with that light film to prevent rust.
Wrapping Up
Now you’ve seasoned your pan, it’ll develop a natural, non‑stick surface that improves with each use. Keep the coating strong by wiping it clean, drying it promptly, and applying a light oil film after every cooking session. Avoid harsh detergents and metal scrubbers, as they can strip the seasoning. With regular care, your cast‑iron will stay resilient, flavorful, and ready for any recipe you throw at it.

