
If your dough is over-proofed, gently deflate it by pressing down with your fingertips to release excess gas, then reshape it into a smooth ball to restore surface tension. Handle it carefully to avoid damaging the gluten network, and give it a shorter second rise—about 20 minutes—until it has a slight lift. Proper techniques and timing can save your loaf and improve your baking results, so stay with us to uncover more helpful tips.
Quick Guide
- Gently deflate the dough by pressing down to release excess gas and restore structure.
- Reshape the dough into a tight ball to re-establish surface tension.
- Allow a brief second proof, monitoring for proper rise without over-expanding.
- Use a dough scraper or fingertips to handle delicately, avoiding gluten damage.
- Consider reducing proofing time or temperature in future to prevent over-proofing.
How to Recognize Over-Proofed Dough
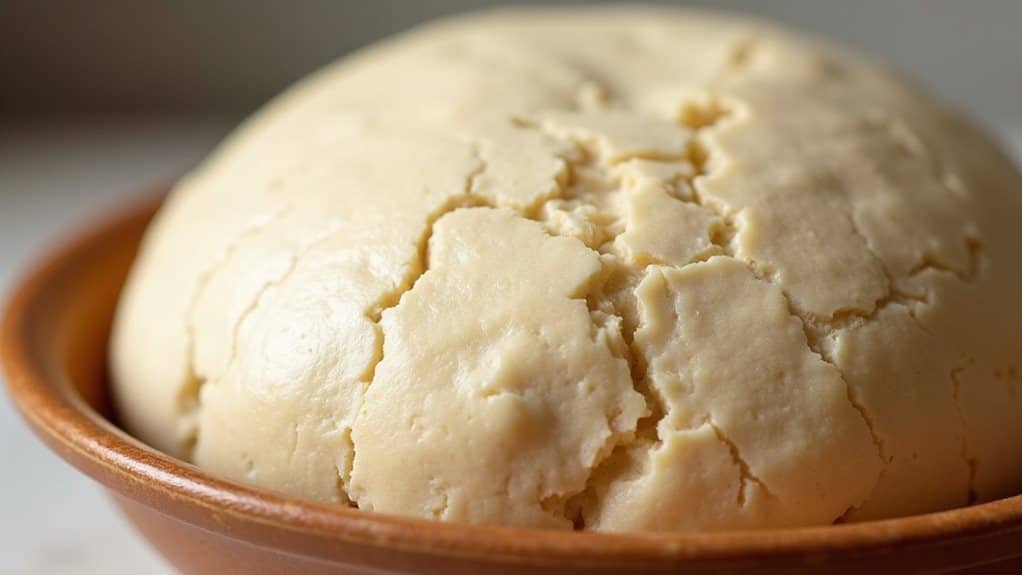
How can you tell if your dough is over-proofed? An over-proofed dough often looks puffy and may rise beyond the pan’s rim.
To check, perform a poke test: gently press your finger into the dough; if the indentation stays without bouncing back, it’s over-proofed. This indicates weakened gluten and a loss of elasticity, signaling it’s time to reshape or refashion. Like cooking eggplant seeds to reduce bitterness, applying gentle heat can support gluten elasticity when working with dough.
Why You Should Deflate and Reshape Over-Proofed Dough
When dough becomes over-proofed, it has expanded too much and lost its ability to hold its shape during baking.
Deflate the dough to release excess gas, which helps restore its structure and prevent collapse.
Reshape the dough afterward to re-establish surface tension, making the loaf more even, attractive, and improving its overall texture and elasticity.
For longer storage after reshaping, you can portion and freeze the dough using a vacuum sealer with 95 kPa suction.
How to Properly Degas and Reshape Your Dough
To properly degas and reshape your over-proofed dough, start by gently pressing down on it with your fingertips to release excess gas. This process, called degassing, helps redistribute the air.
Then, fold the edges into the center repeatedly, rotating the dough, to create surface tension and tighten the gluten network.
Finish by forming a smooth, tight ball.
Monitoring and Controlling the Second Rise
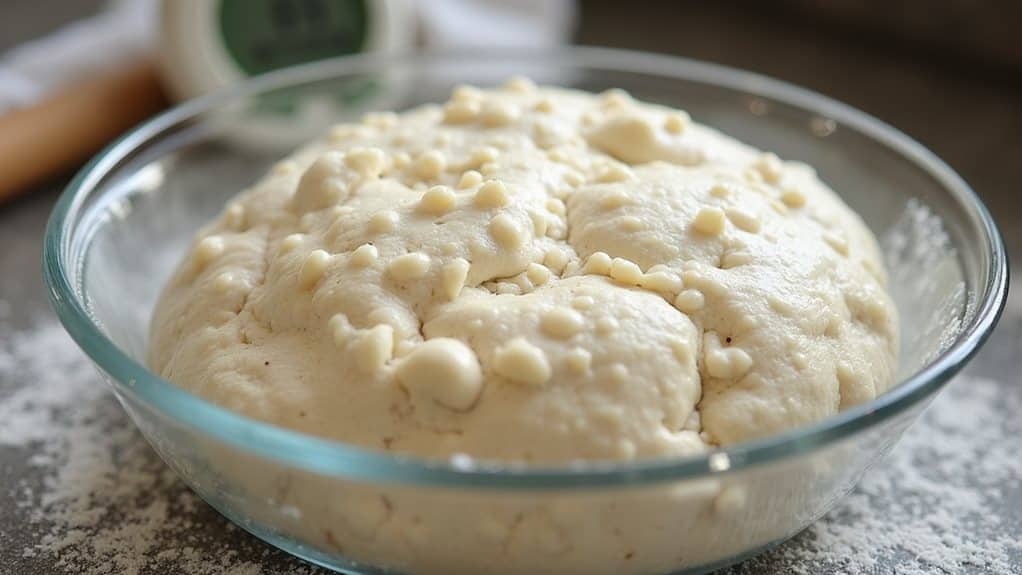
Monitoring the second rise carefully helps prevent your dough from becoming over-proofed. Keep it covered to preserve moisture and watch its height, aiming for about 1 inch above the pan rim.
Set a timer for roughly 20 minutes, and check the surface tension and appearance. Using visual cues guarantees the dough reaches the right point without over-proofing. A pizza stone can help retain steady heat in the oven, supporting a more consistent rise and bake.
Tips for Baking Your Rescued Loaf for Best Oven Spring
To get the best oven spring from your rescued loaf, start by ensuring your oven is fully preheated to a high temperature, around 450°F to 500°F, so the bread rises quickly and evenly.
Handle the dough gently when transferring it to the oven, and score the top just before baking to allow gases to escape smoothly.
Using a preheated baking stone or steel, along with steam in the first few minutes, will help create a crisp crust and maximize the loaf’s rise.
Just as melted chocolate can firm up in about 20-30 minutes in the fridge depending on thickness and conditions, give your loaf enough uninterrupted time in the hot oven to set its structure for better spring.
Proper Oven Temperature
Baking your rescued loaf at the right temperature is essential for achieving the best oven spring and crust quality. An oven temperature of 450°F to 475°F (230°C to 246°C) helps the dough expand rapidly during baking’s first moments.
Preheating thoroughly and using a baking stone or steel can improve oven spring and crust development, ensuring a well-baked loaf.
Accurate Proofing Height
Achieving the right proofing height is key to ensuring your loaf rises properly in the oven.
Aim for the dough to be about 1 inch above the pan rim during the second proof.
If it over-proofs and rises 2 inches or more, it may collapse or deflate during baking, reducing oven spring.
Reshape and gently deflate to prevent this.
Gentle Handling Techniques
Handling over-proofed dough requires a gentle touch to prevent further damage to its delicate structure. Use gentle handling techniques, like floured hands or a dough scraper, to avoid tearing the weakened gluten.
When shaping, apply light pressure to maintain surface tension.
Handle the dough delicately during transfer and scoring to protect its fragile gluten network and encourage good oven spring.
Troubleshooting Common Problems When Saving Over-Proofed Dough
When saving over-proofed dough, it’s important to recognize the signs of over-proofing, such as a fragile surface or a permanent dent, so you can take the right corrective steps.
Proper reshaping techniques, like gentle deflation and careful re-rolling, help restore gluten structure without damaging the dough.
Monitoring the timing during the second rise guarantees you prevent further over-expansion, keeping your bread on track for a successful bake.
Just as you’d watch for signs of spoilage by checking for changes in smell, texture, or color, you should look for clear visual and tactile cues before deciding how to handle dough that’s gone too far.
Recognize Over-Proofing Signs
Recognizing over-proofed dough is essential to avoid ending up with a flat or dense baked good. Signs include an oversized, bubbly appearance, and a dough that leaves a permanent indentation when pressed.
It may also emit a fermented smell and feel fragile, with a weak gluten structure that struggles to expand in the oven, risking collapse during baking.
Proper Reshaping Techniques
Reshaping over-proofed dough can help salvage it and improve your chances of a successful bake.
If some dough is left, gently fold and reshape it to create surface tension and restore structure. Use a light dusting of flour to prevent sticking, pinch and seal seams tightly, then let it rest for 3-4 hours.
Make certain the final shape is tight and smooth.
Timing and Monitoring
Monitoring your dough carefully during its second rise is essential to prevent over-proofing. By paying close attention, you can spot signs like excessive puffiness or bubbles early.
Using the finger poke test helps determine if the dough is over-proofed.
Setting a timer for about 20 minutes and observing environmental factors also helps control the timing and monitoring of the second rise.
Wrapping Up
Fixing over-proofed dough is achievable with careful steps like deflating, reshaping, and monitoring your dough’s second rise. By understanding the signs of over-proofing and applying proper techniques, you can still produce a good loaf with excellent oven spring. Keep an eye on your dough’s progress and adjust your baking process as needed. With practice, you’ll develop a better feel for timing and handling, ensuring your bread turns out well every time.


