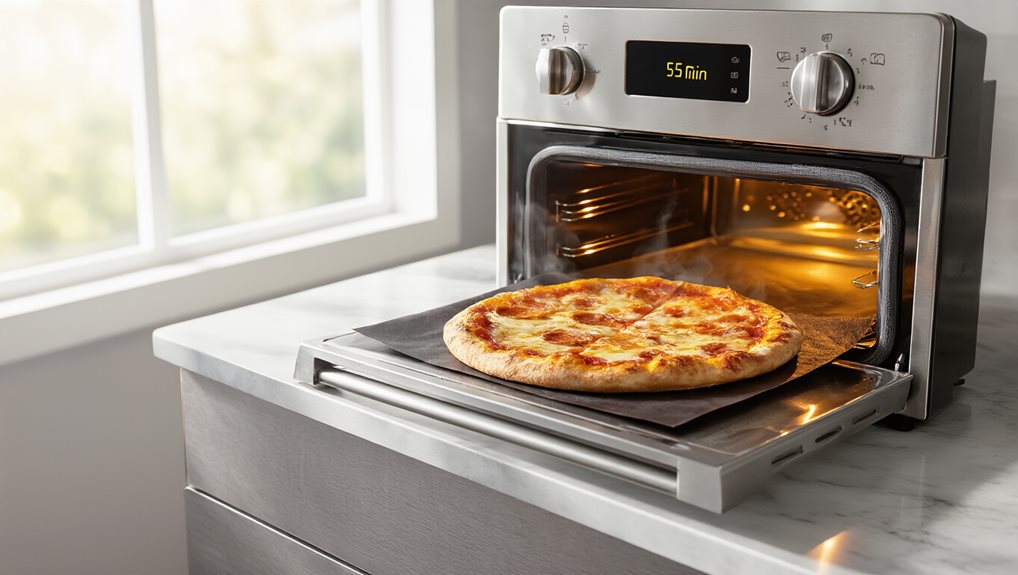
Preheat your oven to 450‑500 °F and let it stabilize for about 45 minutes, using a pre‑heated pizza stone or a foil‑lined baking sheet on the lowest rack. Slide the pizza onto the hot surface so the crust crisps instantly while the cheese melts evenly; rotate halfway through to prevent hot spots. For thin crusts keep the temperature near 375 °F to avoid drying, and for heavy toppings use a slightly lower 350 °F setting. If you need it faster, a quick 30‑second microwave boost before the oven can cut the total time. Follow these steps and you’ll get a perfectly reheated slice, plus extra tips if you keep going.
Quick Guide
- Preheat oven to 450–500 °F for 45‑60 minutes, using a pre‑heated pizza stone or steel for optimal crispness.
- Place pizza on the hot surface, dusted with cornmeal or semolina, and bake on the lowest rack for a crisp bottom.
- Bake thin‑crust pizza 7‑10 minutes, deep‑dish 10‑15 minutes at 450 °F, or 20‑30 minutes at 325 °F covered for thicker pies.
- Rotate pizza halfway through and lift an edge to check for golden‑brown crust and puffed rim to confirm doneness.
- If browning too quickly, loosely cover with foil; store leftovers in an airtight container refrigerated below 40 °F.
Preheat the Oven for Reheating Pizza
If you want your pizza to heat evenly, start by preheating the oven to the right temperature. With an electric oven, allow 15‑20 minutes to reach 450°F, then add ten minutes for stabilization. Store any leftover chocolate syrup in a cool, dark place if it’s unopened, since heat and sunlight can shorten its shelf life.
Gas ovens need 15‑30 minutes plus five to ten minutes for floor heat.
Use an infrared thermometer to verify the dome and floor are steady before placing the pizza. Metal ovens heat faster than brick pizza ovens.
Choose the Right Temperature for Your Pizza Style
You’ll want a moderate 375°F for a thin‑crust slice so the crust crisps without drying out, while a deep‑dish pizza benefits from a higher 425‑450°F to heat the thick layers quickly.
If your pizza is loaded with heavy toppings, set the oven to a lower 350°F to let the cheese melt and the toppings warm evenly without burning the crust. To keep any leftover soda you’re serving with it tasting lively, store unopened cans in a cool, dark spot since heat and light can speed carbonation loss.
Adjust the temperature based on your crust type and topping load, then keep an eye on the clock to avoid overcooking.
375°F ensures even warming without overheating any area.
Moderate Thin Crust
A preheated oven set to 375°F (190°C) gives thin‑crust pizza the even heat it needs to melt cheese and crisp the base without burning toppings. Place slices directly on the lowest rack or a pizza stone for bottom crispness, and bake 5‑8 minutes, checking at six minutes. The cheese should bubble, the crust stay brittle, not rubbery, and the slice warm uniformly.
High Heat for Deep‑Dish
Where does the perfect deep‑dish reheating temperature lie? Aim for 425‑450 °F, preheating an oiled sheet or foil‑covered pan. Spray the sheet, space slices, and spritz water to keep moisture. Cover loosely with foil, rotate halfway, and watch the crust turn golden while cheese melts. Check every five minutes; 15‑20 minutes usually yields a hot, crisp slice without burning.
Low Heat for Toppings‑Heavy Pizza
Ever wonder why a toppings‑heavy slice can end up soggy or burnt when you crank the oven up? Preheat a conventional oven to 350°F–375°F, place the pizza on a preheated sheet or directly on the rack, and bake 7‑12 minutes. Cover loosely with foil if you need extra moisture, and watch until the cheese bubbles and the crust crisps.
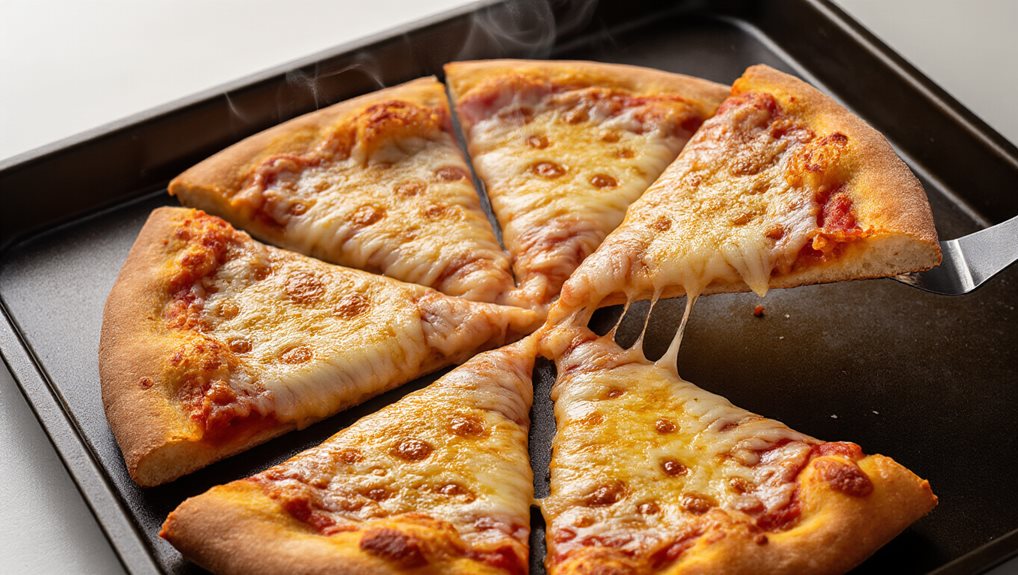
Prepare the Baking Surface and Foil for Easy Cleanup
How can you keep your oven clean while reheating pizza? Line a baking sheet with heavy‑duty aluminum foil, crimping the edges to trap drips and oils. Choose a perforated metal pan or a pre‑heated stone for even crisping, then dust the surface with cornmeal or semolina to prevent sticking. Store leftover seasonings in airtight spice jars with BPA-free silicone gaskets to protect them from moisture and air exposure in humid kitchens. After cooking, discard the foil and wipe the sheet with a damp cloth.
Position the Rack for a Crispy Bottom or Softer Crust
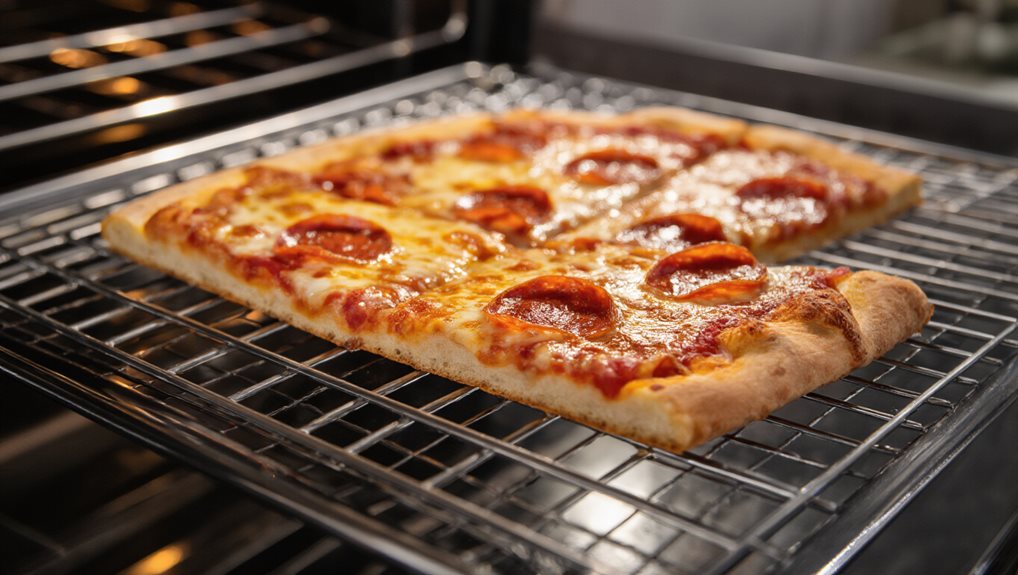
Want a perfectly crisp pizza bottom without sacrificing a tender crust? Place the stone or steel on the lowest rack; the heat radiates directly from the oven base, golden‑browning the dough underside.
If you prefer a softer crust, move the pizza to the middle rack halfway through, balancing top and bottom heat. This simple rack shift controls crispiness while keeping the toppings intact.
Once it’s out of the oven, store leftover slices in an airtight container and refrigerate at or below 40°F to keep them fresh.
Set Bake Time Based on Crust Thickness and Toppings
After positioning the rack to get the crust you prefer, you’ll need to adjust the bake time according to how thick the crust is and what toppings are on the pizza.
Thin crust with light toppings needs 7‑10 minutes at 350‑450°F; heavy toppings add 2‑3 minutes.
Thick or deep‑dish crusts require 10‑15 minutes at 450°F, or 20‑30 minutes covered at 325°F.
Use foil for heavy toppings to prevent drying.
If you’re adding eggplant as a topping, remember that eggplant seeds are edible and can taste less bitter when cooked.
Check Crust Doneness Without Pulling the Whole Pan
You can gauge crust doneness by lifting a slice edge; if it separates cleanly and the base stays firm, the crust is ready. Look for a golden‑brown edge and a slight puffed rim, which show even browning and proper heat penetration. A quick visual check of the slice’s lift and color lets you confirm readiness without pulling the whole pan out.
Lift Slice Test
Ever wondered how to tell if your pizza crust is perfectly crisp without pulling the whole pan out of the oven? Use tongs to lift a single slice after five minutes at 350°F. If the crust separates cleanly, showing golden‑brown bottom and no dough residue, it’s ready. Return it if it sticks, then re‑check in one‑minute intervals until the lift is effortless.
Visual Edge Check
If the lift‑test shows the crust is still sticking, you can still gauge doneness by watching the edges. Look for a golden‑brown hue and puffed‑up edges; they mean the heat reached the crust. Charred spots or blisters signal high heat, while pale or dense edges need more time. A firm, crisp rim that makes a hollow tap confirms readiness without lifting the pan.
Adjust for Thin Crusts or Heavy Toppings to Avoid Drying Out
A thin‑crust slice with a generous topping load needs a careful balance of heat and time, because the crust dries out faster than the toppings can warm up.
Set the oven to 350°F, place the slice on foil, and cover it with another foil sheet to trap moisture.
Check the crust after seven minutes; if it droops, add a minute or two.
This method keeps the base crisp while the toppings melt evenly.
Add a Brief Microwave Boost for Faster Reheating
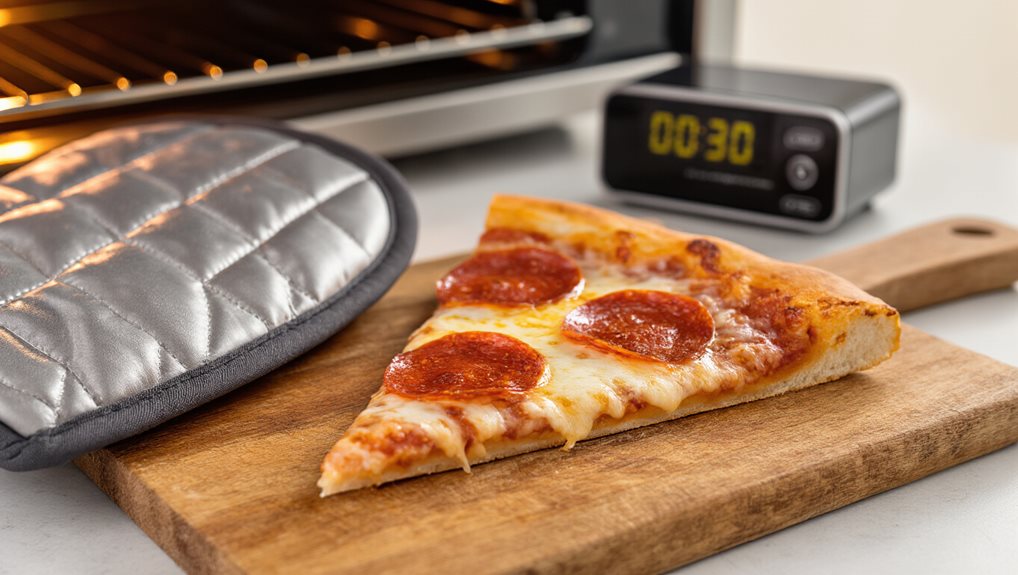
You start with a quick 30‑second microwave burst to bring the pizza up to a warm temperature, then slide it into a pre‑heated oven to finish the job.
The brief microwave step cuts the total reheating time by a couple of minutes while keeping the crust from drying out.
Quick 30‑Second Microwave
Ever wondered why a single slice of pizza heats up faster when you add a cup of water? Place the slice on a microwave‑safe plate, set a water‑filled mug beside it, then run a 30‑second interval. The water absorbs excess microwaves, spreading heat evenly, keeping the crust crisp while the cheese melts. Check after each cycle, adjust power if needed, and stop when the pizza feels warm throughout.
Transfer to Preheated Oven
Why not give your pizza a quick microwave lift before sliding it into a preheated oven? Microwave for 30 seconds, then place the slice on a sheet pan or pizza peel. Preheat a conventional oven to 375°F (190°C) for 10‑15 minutes, or a pizza oven to 600°F (315°C) for 20‑30 minutes. Position the pan on the middle rack and heat for five minutes, letting cheese melt and crust crisp evenly.
Finish With Crispy Bottom
If you want a crispy bottom without waiting for the oven, a quick microwave boost does the trick. Place the slice in the microwave alongside a glass half‑filled with water, then run it 30‑35 seconds. The water creates steam that absorbs excess moisture, keeping the crust firm while the cheese melts. You’ll feel a stiff, less soggy base when you lift the pizza.
Use a Pre‑Heated Pizza Stone or Hot Tray for Extra Crunch

What happens when you slide a pizza onto a pre‑heated stone or steel? The surface instantly grabs heat, crust the bottom crisp.
Preheat the stone or steel at 450‑500°F for 45‑60 minutes; steel reaches that temperature faster and stores more energy, so it rebounds to 500°F in 2‑3 minutes after each slice.
Stone holds heat longer but recovers slower.
Choose steel for a darker, crunchier base, or stone for a gentler, paler finish.
Both give a noticeable upgrade over a plain baking sheet.
Troubleshoot Common Reheating Issues and Final Tips
Ever notice how a slice can come out soggy, burnt, or unevenly heated despite following the same steps?
Rotate the pizza halfway, use a pre‑heated cast‑iron pan or oven stone, and keep the rack low for crisp bottoms. Cover with foil to stop over‑browning, and stick to 350°F for 10‑15 minutes.
Air‑fry for 4‑5 minutes if you need speed, and always check for hot spots before serving.
Wrapping Up
Now you’ve got the basics: preheat the oven, set the right temperature, and choose a suitable rack or stone. Keep an eye on crust thickness and toppings, and add a quick microwave boost if you’re short on time. These steps give you a crispy bottom without drying the cheese, so your reheated pizza tastes almost as good as fresh. Follow the tips, and you’ll avoid soggy or burnt slices every time.

