Pick a high‑quality non‑stick or ceramic‑coated pan, then preheat it on medium‑low for two to three minutes until it’s about 320°F (or 270–290°F for stainless steel). Add a teaspoon of high‑smoke‑point oil and melt roughly five grams of butter, tilting the pan so the fat coats the edges. Crack the eggs on a flat surface, let the yolks fall into a bowl, then slide them gently into the pan. Use a silicone spatula to lift the eggs, and you’ll have clean, non‑sticking results; keep going to discover more tips.
Quick Guide
- Choose a high‑quality non‑stick pan (ceramic‑coated, PFAS‑free, induction‑compatible) that spreads heat evenly.
- Preheat the pan on medium‑low for 2–3 minutes, aiming for ~320 °F (non‑stick) or ~270–290 °F (stainless steel).
- Add a teaspoon of high‑smoke‑point oil and melt ~5 g butter, coating the surface evenly before the eggs.
- Crack eggs on a flat surface, separate yolk into a bowl, then slide them into the pan without squeezing the yolks.
- Use a silicone spatula to lift eggs, and clean the pan promptly with warm water to preserve its non‑stick surface.
Pick the Pan That Guarantees Non‑Stick Eggs
Ever wondered which pan will truly keep your eggs from clinging? Choose a ceramic‑coated non‑stick pan; Consumer Reports showed four fried eggs sliding off using only gravity, and the coating spreads heat evenly, preventing hot spots.
It’s PFAS‑free, cools quickly for precise control, and lasts years. Store your cooking oil in a cool, dark place around 60°F to maintain oil freshness and consistent non-stick performance.
Hybrid stainless‑steel‑ceramic pans add induction compatibility and oven safety, while traditional PTFE pans lack rapid cooling. The CeramiClad™ coating provides two layers of proprietary non‑stick durability that outlast many competitors.
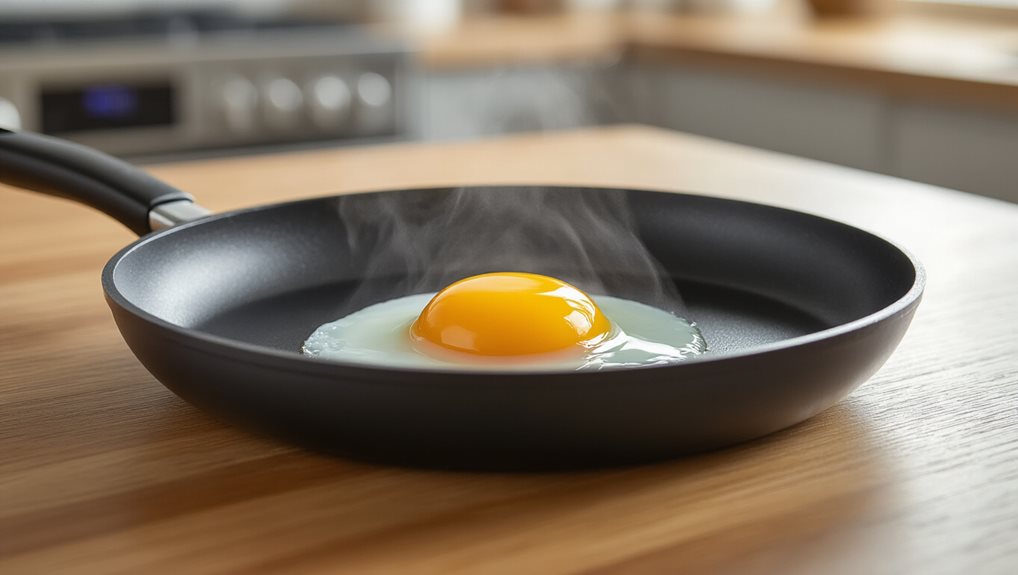
Preheat the Pan to the Ideal Temperature
When you preheat the pan, aim for a steady medium‑low heat—about 320 °F for most non‑stick surfaces and 270‑290 °F if you’re using stainless steel.
Heat the pan for two to three minutes, then melt a pat of butter. Just as smoked ham hocks are sometimes labeled fully cooked on the packaging, treat your pan’s heat cues as the “doneness” signal before adding eggs.
Listen for a gentle sizzle and watch tiny bubbles form; this shows the surface is around 290 °F, perfect for eggs to set and release without sticking. Room‑temperature eggs help prevent thermal shock and further reduce sticking.
Apply the Best Fat for Non‑Stick Eggs
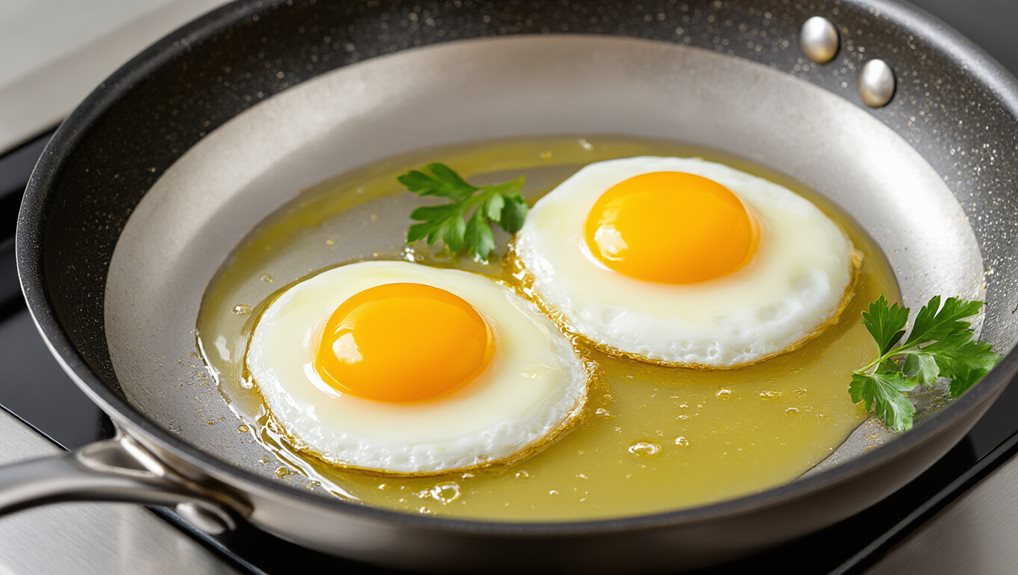
After the pan reaches the right temperature, the next step is to add the right fat so the eggs won’t cling.
Use one teaspoon of high‑smoke‑point oil, then melt about five grams of butter.
Spread the butter evenly, tilting the pan to coat the edges.
The oil protects the butter from burning, while the butter’s foam releases the eggs, keeping calories under eighty.
If you’re topping your eggs with goat cheese, remember that fresh goat cheese typically lasts up to three weeks once opened.
Add Eggs Without Breaking Yolks
How can you keep yolks intact while adding eggs to the pan?
Crack each egg on a flat surface, then gently pull the shell apart with your thumbs, letting the yolk fall into a bowl first.
If you prefer a knife, hold the pointy end toward your fingertips and give a swift, firm flick with a butter knife.
Transfer the yolk from the shell to the pan without squeezing.
This method minimizes pressure, keeps yolks whole, and avoids shell fragments.
For any leftover egg mixture, store it in BPA-free containers after it cools to room temperature to help prevent odors and leaks.
Serve Cleanly, No Stuck Residue
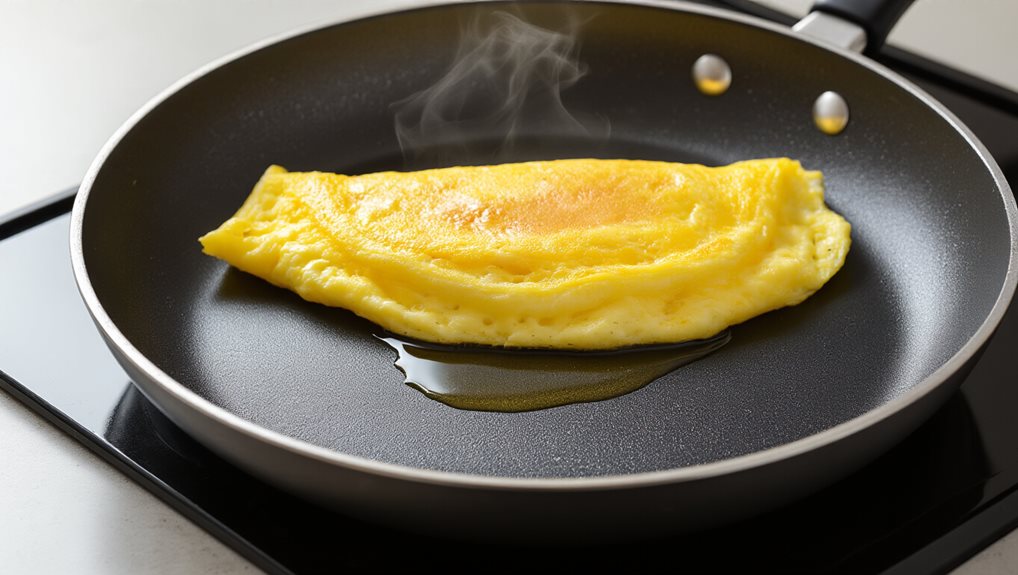
You’ve already mastered keeping yolks whole, now make sure those perfect eggs leave the pan spotless. After cooking, slide a silicone spatula under the eggs, gently lift, and let any residual butter or oil coat the surface. The even‑heated pan and sufficient fat prevent residue, so the pan stays clean. Store delicate seasonings for your eggs in UV-resistant glass jars with BPA-free silicone gaskets to help keep flavors fresh and prevent moisture from affecting your spice blends.
Quickly wash with warm, so a,,, and pan and non.
Wrapping Up
By choosing the right pan, preheating it properly, and using a suitable fat, you’ll keep eggs from sticking and enjoy a clean release every time. Add the eggs gently, keep the heat steady, and you’ll get a smooth, intact yolk with no residue. This simple process saves cleanup, preserves flavor, and makes breakfast effortless. Follow these steps consistently, and you’ll achieve non‑stick eggs without fuss.
