Start by removing loose food, then choose a method that matches your pan’s material and burn severity. For stainless steel, spread a thick baking‑soda‑water paste, let it sit 15‑30 minutes, scrub with a nylon brush, and rinse. If the scorch is medium, boil a mix of water and baking soda until it bubbles, simmer 1‑2 minutes, cool, then scrub. Non‑stick or ceramic pans respond well to a lemon‑water simmer or a quick vinegar‑baking‑soda boil. After any treatment, rinse thoroughly and dry. If these steps don’t work, the next section shows deeper hacks and when to replace the pan.
Quick Guide
- For stainless steel, apply Bar Keepers Friend paste, let sit 60 seconds, then scrub and rinse with hot water.
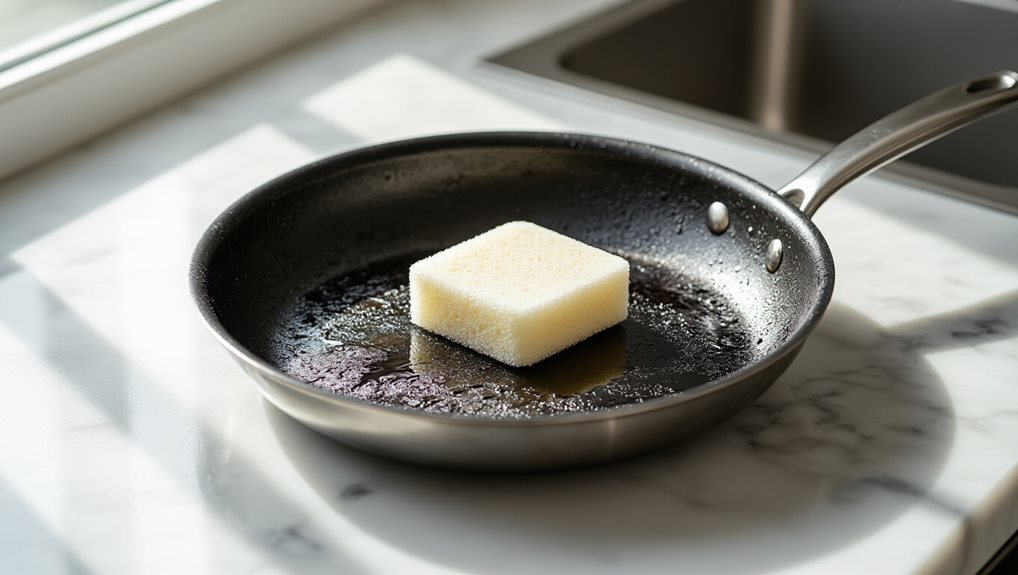
- For general pans, boil water with dish soap, let it simmer to loosen residue, then gently scrub with a sponge.
- For non‑stick or ceramic, simmer lemon slices or a cream‑of‑tartar solution to lift char without harming the coating.
- For stubborn burns, make a thick baking‑soda paste (3 parts soda, 1 part water), apply, let sit 15–30 minutes, scrub with a nylon brush, and rinse.
- If the pan is warped, cracked, or severely rusted, replace it; damaged pans can leach metals and cause unsafe heating.
Which Cleaning Method Fits Your Burnt Pan?
Which cleaning method fits your burnt pan depends on the material and how severe the scorch is. If you have stainless steel, a Bar Keepers Friend paste works in 60 seconds, then hot‑water rinse and scrub. Boiling water with dish soap loosens residue on any pan, followed by a gentle sponge. For non‑stick or ceramic, a lemon boil or cream‑of‑tartar solution lifts char without harming the surface. For longer-lasting meal prep after cleaning, consider vacuum sealing leftovers to keep them fresh 5–7× longer. Overheating a non‑stick pan can damage the coating, so avoid high‑heat exposure to preserve its integrity.
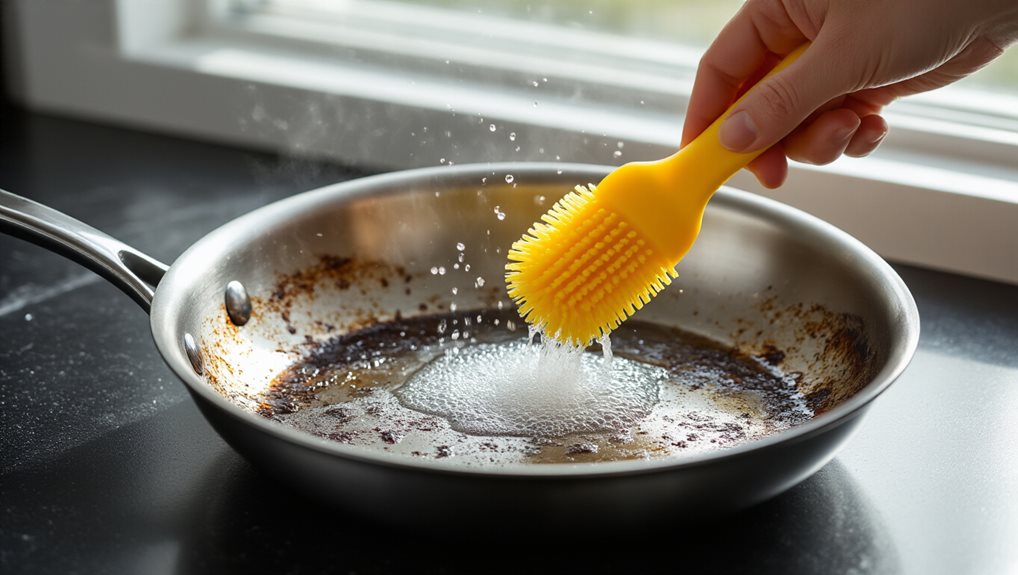
Apply a Baking‑Soda Paste to Clean a Burnt Pan
If your pan’s bottom is stubbornly charred, a simple baking‑soda paste can break down the residue without harsh chemicals. Cooking can help reduce bitterness in foods like eggplant seeds.
First, remove loose debris and let the pan cool.
Mix three parts baking soda with one part water until the paste is thick enough to coat evenly.
Spread it over the scorched area, let it sit fifteen to thirty minutes, then scrub with a nylon brush and rinse thoroughly.
Add a little vinegar to the paste for extra cleaning power.
Quick‑Boil a Baking‑Soda Solution for Medium Burns
You’ll start by mixing water and baking soda in the pan, using roughly half a cup of water to four tablespoons of soda, then let the solution simmer until you see steady bubbles forming.
Those bubbles lift the burnt residue, so keep the heat at a gentle boil and watch the pan for a minute or two before removing it from the stove.
After it cools, scrub the loosened bits with a non‑stick sponge and rinse thoroughly to reveal a clean bottom.
Just like boiling eggs too long can trigger iron sulfide and leave a greenish yolk, keeping this baking-soda boil gentle helps avoid baking on new discoloration while you loosen the burnt layer.
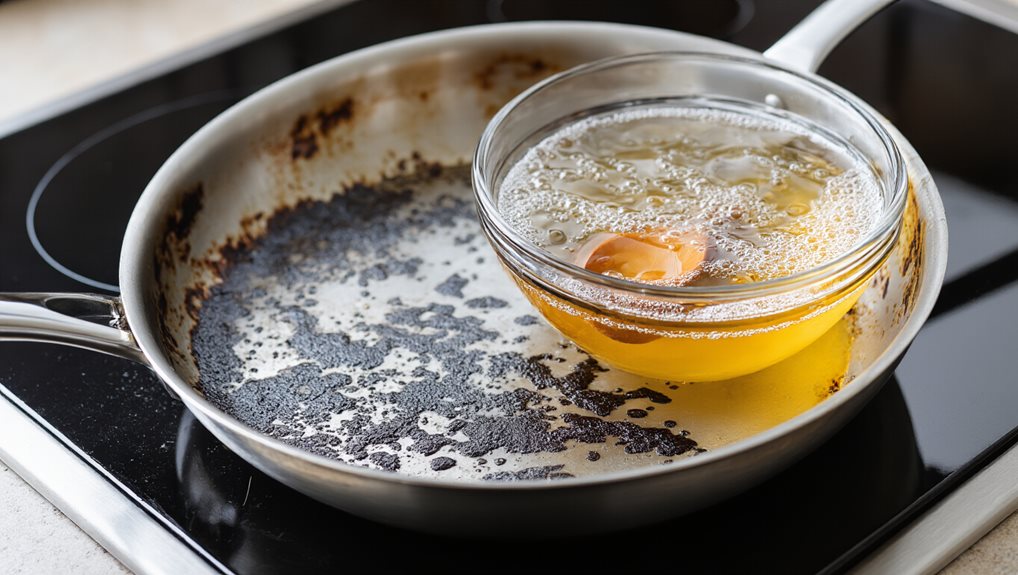
Prepare Water‑Baking Soda Mixture
Start by clearing any loose food or debris from the pan, then pour a thin layer of water onto the bottom so it just covers the burnt spot.
Sprinkle two tablespoons of baking soda evenly over the water, letting it coat the entire burnt area.
Add a little more water if needed, stirring gently until the mixture reaches a paste‑like consistency, ready for quick boiling.
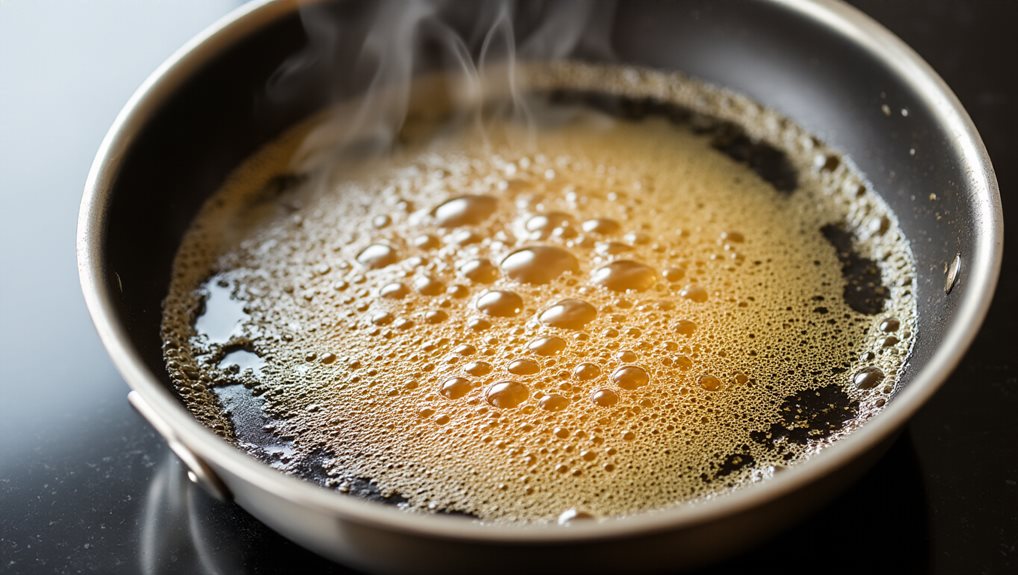
Simmer Until Bubbles Form
Usually, you’ll let the pan sit on medium heat and watch the mixture bubble up as it simmers. Add a quarter‑cup baking soda to two inches of water, then bring it to a rapid simmer on setting 4. Bubbles will form, creating steady foam that lifts burnt residues. Keep it simmering for about fifteen minutes, then turn off the heat and let the pan cool for thirty minutes before proceeding.
Scrub and Rinse Thoroughly
Ever wonder how a quick boil can turn a stubborn, burnt‑on pan into a clean surface? After the solution boils for a couple minutes, let the pan cool, then scrub with a nylon brush or non‑stick sponge. Add extra baking‑soda on tough spots, use a plastic scraper if needed, and finally rinse thoroughly with warm water to remove all residue.
Vinegar‑Baking‑Soda Boil to Lift Baked‑On Food
Ever wondered how a simple boil can erase stubborn, baked‑on food? Fill the pan with water, add a quarter‑cup white vinegar, and bring it to a rolling boil. After a minute, stir in a quarter‑cup baking soda—watch the fizz. Simmer 15‑20 minutes, then cool for 30 minutes. Dump the liquid, rinse, and gently scrub. The residue lifts easily, leaving the bottom clean. If you’re melting chocolate in the same pan later, remember it can take about 20–30 minutes to set at room temperature, so let the cookware fully cool and dry first.
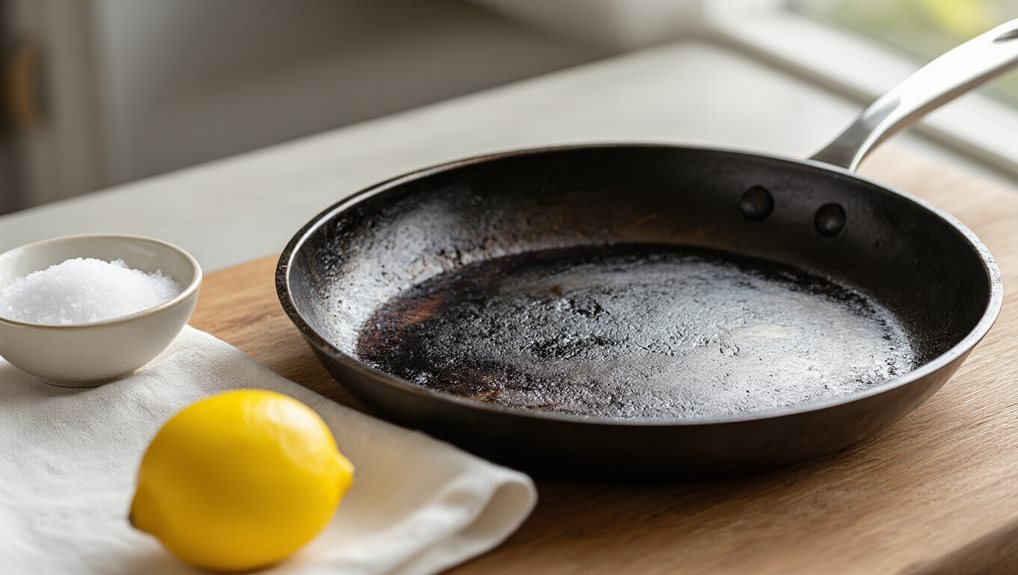
Lemon‑Water Simmer for a Gentle, Fresh Clean
If you want a gentle, fresh way to lift burnt residue, a lemon‑water simmer works well. Slice one or two lemons, add them to water covering the pan, and bring to a medium simmer for 10‑15 minutes. The citric acid loosens food particles while peel oils provide mild abrasion and a pleasant scent. After cooling, wipe with a soft sponge; the pan shines without scratches. To protect your finish after cleaning, avoid rubbing the surface with rancid oil that smells like crayons or nail polish remover, since degraded oils can leave unpleasant residue.
Aluminum‑Foil Ball Scrub: Cheap, Scratch‑Free
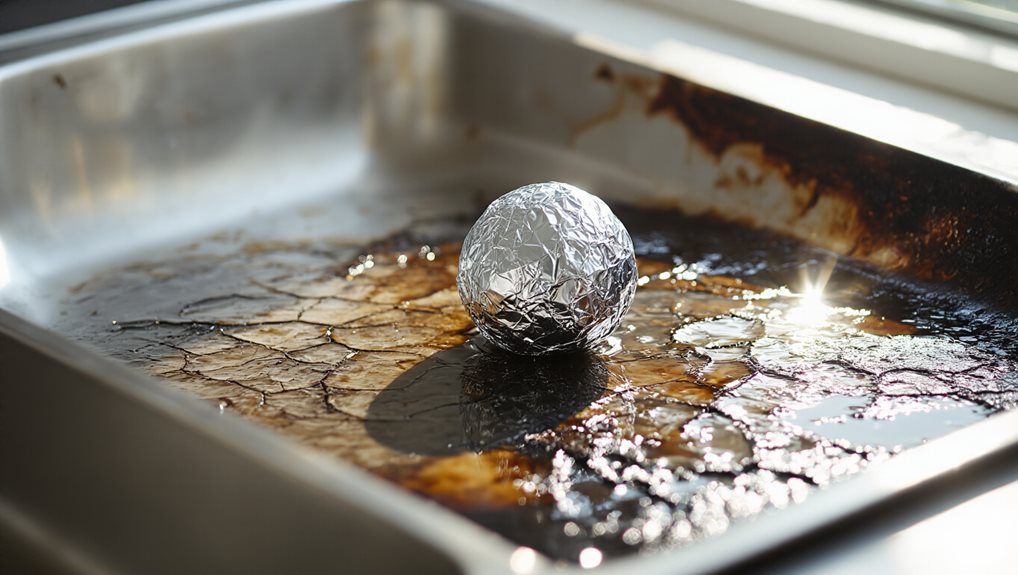
How can you tackle stubborn burnt marks without spending a fortune or risking scratches?
Crumple a sheet of regular aluminum foil into a fist‑sized ball, keeping it tight but not torn. Grip it firmly and scrub the pan bottom in circular motions, adding a little water for lubrication. The gentle abrasion lifts residue without harming non‑stick or delicate coatings, and you can re‑crumple the ball as needed. Rinse and dry the pan afterward.
Pan‑Specific Hacks When Standard Methods Fail
What should you do when the usual soaking, scrubbing, or baking‑soda tricks still leave a stubborn ring of carbon? Try heating the pan, then spraying an oven‑stove cleaner, letting it sit up to 20 minutes, and scraping with a metal spatula.
For cast‑iron, boil water and vinegar, then add baking soda.
You can also soak with a dryer sheet and dish soap, or simmer lemons or cola to dissolve the residue.
Scrub Safely: Protect Non‑Stick & Enamel Surfaces
Even after heating the pan and using an oven‑stove cleaner, you still need to treat non‑stick and enamel surfaces with extra care. Gently scrub with a non‑abrasive sponge and mild soap, then rinse and dry completely. Avoid steel wool, harsh detergents, and abrasive pads. For stubborn spots, use a baking‑soda paste or vinegar‑salt mix, let it sit, then rinse.
Hand‑wash enamel, stack with cloth separators, and replace if coating peels.
Prevent Future Burn‑Ons on Stainless Steel
You’ll keep burns at bay by monitoring the temperature and never cranking the heat past a steady, medium level. Choose a pan with a thick, even‑walled stainless‑steel base so the heat spreads uniformly and the food won’t stick. By combining careful heat control with the right cookware, you’ll prevent future burn‑ons without extra hassle.
Heat Temperature Control
Ever wondered why a stainless‑steel pan burns food even when you think the heat is moderate? Preheat on medium for two to three minutes, then test with water droplets that should dance like mercury. Add oil only after the pan reaches temperature, and cut the burner about 30 % once food hits the surface. Adjust one level down if sizzling gets aggressive, and match pan size to burner for even heat.
Use Proper Cookware
Why does choosing the right cookware matter when you want to keep a stainless‑steel pan free of burn‑ons? You should pick 18/10 steel with full aluminum cladding, preferably 5‑ply, because it spreads heat evenly and resists rust. Integrated induction compatibility and sealed rims prevent hot spots and food buildup. Oven‑safe handles and stay‑cool grips also reduce accidental overheating, extending pan life and cutting future cleaning.
Know When a Pan Is Beyond Repair
When a pan’s bottom shows deep scratches, peeling coating, or permanent warping, it’s time to contemplate replacement rather than repair.
You should watch for dark discoloration, flaking, or rust that can leach metals into food.
Warped bases cause uneven heating and instability, especially on induction.
Cracks, severe rust, or broken handles also signal the pan’s life has ended, so replace it promptly.
Wrapping Up
Pick the right method for the burn level, follow the steps, and your pan will be clean without damage. Regular maintenance and quick action prevent stubborn residue, while proper scrubbing protects non‑stick or enamel surfaces. If a pan shows deep warping or cracked coating, it’s time to replace it. Using these simple, affordable tricks keeps your cookware performing well and extends its lifespan.

