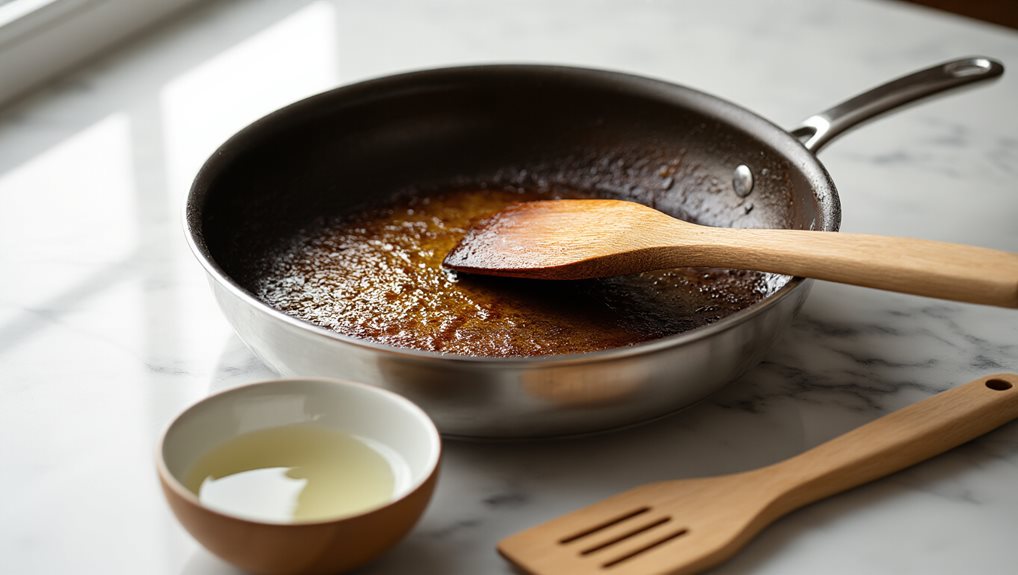
First, let the pan cool completely, then tap it over a trash bin and wipe loose crumbs with a dry paper towel. For a thick crust, mix three parts baking soda with one part water, spread the paste on the burnt area, and let it sit 15–30 minutes before gently scrubbing with a soft brush. If the residue persists, fill the pan with water, add 1–2 tablespoons baking soda per quart, and boil 10–15 minutes; for very stubborn sugar, simmer 3 % hydrogen peroxide with a splash of water for 5–10 minutes, then wipe clean, rinse, and dry promptly. Continue for more detailed steps.
Quick Guide
- Let the pan cool completely, then tap it gently over a trash bin to dislodge loose debris.
- Fill the pan with boiling water and 1–2 Tbsp baking soda; soak 10–15 minutes to loosen burnt sugar.
- If residue remains, apply a thick baking‑soda‑water paste, let sit 15–30 minutes, then scrub gently with a soft brush.
- For stainless steel, simmer 3% hydrogen peroxide with a splash of water 5–10 minutes, rinse, and dry promptly.
- Dry the pan immediately after rinsing; restore seasoning on cast iron if needed.
Pick the Best Method for Your Pan
Which method fits your pan best? Identify your cookware first: cast iron benefits from boiling water, preserving seasoning while loosening sugar. Baking soda paste works on general cookware, offering a mild abrasive that lifts residue without soap. Store your white vinegar in a cool, dark place to slow oxidation and keep it at its best for cleaning. Stainless steel responds well to a simmering baking‑soda solution, which fizzing helps dissolve burnt material. Choose accordingly for effective, gentle cleaning. Adding a splash of white vinegar can boost the fizzing action on stainless steel, making the baking‑soda fizz even more effective.
Prep the Pan: Remove Debris & Cool Safely
First, let the pan cool completely—about 20‑30 minutes—so you won’t burn yourself and the hardened sugar won’t crack the surface.
Next, tap the pan gently over a trash bin and wipe away any loose bits with a dry cloth, avoiding any scraping that could scratch the metal.
Just like proper storage techniques protect K-Cups from moisture and heat, letting the pan cool and keeping it dry helps prevent warping and makes cleanup easier.
Finally, keep safety in mind by handling the pan with oven mitts and never rush the cooling with cold water, which can warp the pan.
Clear Loose Debris
How can you safely clear the loose debris before tackling the stuck sugar? First, make sure the pan is fully cooled; wear oven mitts if it’s still warm. Gently tap the edges over a sink, then use a wooden spoon or soft spatula to scrape off flakes. Wipe the surface with a dry paper towel, collecting debris in a trash bin. Dispose of it promptly to avoid re‑adhesion. You can also fill the pot with water and bring it to a boil to loosen any remaining caramelized sugar.
Cool Before Handling
After you’ve cleared the loose debris, the next step is to let the pan cool completely before you touch it.
Allow 10‑30 minutes, depending on thickness and heat level, until the surface feels just warm.
Test with the back of your hand; no sizzle means it’s safe.
Full cooling prevents burns and avoids steam when you later add boiling water.
Safety First Measures
Ever wonder how to keep yourself safe while you prep a pan covered in burnt sugar? First, tap the pan gently over the sink to dislodge loose debris, then wipe crumbs with a dry cloth. Feel the outer edge with a mitt or tongs; wait for steam to stop. Wear heat‑resistant gloves, place the pan on a stable, heat‑proof surface, and keep a fire extinguisher and eye protection nearby.
Apply Baking‑Soda Paste to Lift Sugar
Mix a thick baking‑soda paste using just enough water to keep it spreadable, then coat the burnt‑sugar area evenly.
Grab a soft brush and scrub gently, letting the paste work into the residue without scratching the pan.
When the paste loosens the sugar, you’ll see it lift away with just a light wipe.
If you’re dipping snacks while you clean, remember that opened sauce should be refrigerated for freshness.
Prepare Paste Consistency
A good baking‑soda paste starts with a simple 3‑to‑1 ratio of soda to water, giving you a thick, peanut‑butter‑like mixture that clings to burnt sugar.
Mix the soda and hot water in a bowl, stirring until smooth and non‑gritty.
Aim for a spreadable consistency that holds its shape, then let it sit briefly before applying to the pan.
This texture ensures the paste adheres well and lifts sugar efficiently.
Scrub Gently With Brush
What’s the best way to get that stubborn, caramelized crust off without scraping the pan?
Spread a thick baking‑soda paste over the burnt sugar, then let it sit fifteen to thirty minutes. After it softens, use a soft‑bristled brush, scrubbing in gentle circles with light pressure and hot water. The mild abrasive lifts the sugar without scratching, and you’ll see most of the residue disappear.
Boil Baking‑Soda Solution for Stubborn Caramel
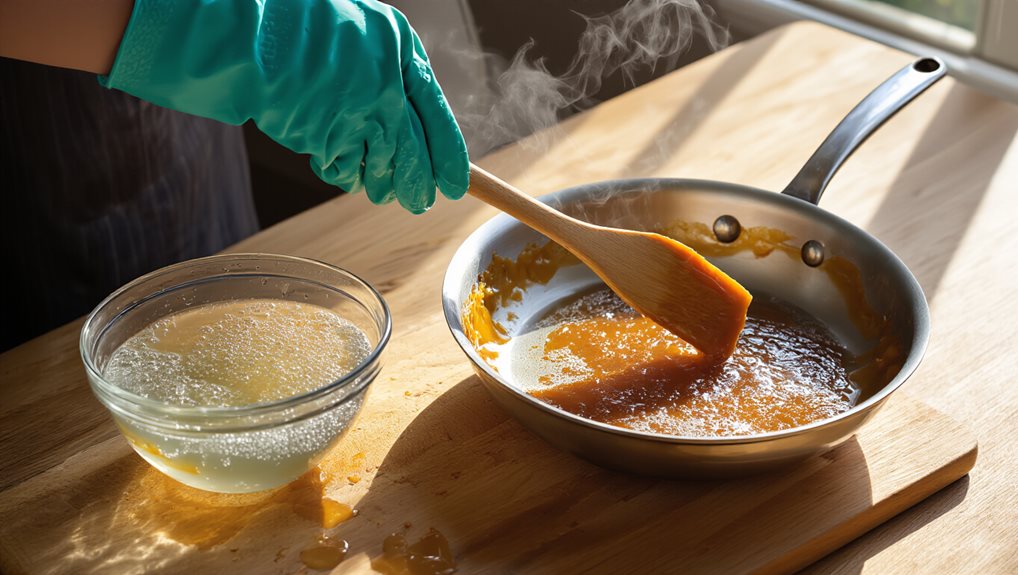
Boiling a baking‑soda solution is one of the quickest ways to loosen stubborn caramel that’s stuck to the bottom and sides of a pan. Fill the pan with water, add one to two tablespoons of baking soda per quart, and bring it to a rolling boil. Keep it boiling ten to fifteen minutes, then turn off the heat and let it soak another twenty minutes. The alkaline steam breaks down carbonized sugar, making it easy to wipe away with a soft sponge. Once the pan is clean, remember that for items like Brie, thaw in refrigerator overnight to preserve the best possible texture after freezing.
Use Hot Water to Dissolve Light Sugar Residue
After loosening the stubborn caramel with a baking‑soda boil, you can tackle the remaining light sugar residue simply by soaking the pan in hot water. Fill it with about an inch of water, heat until hot but not boiling, and let it sit for thirty minutes or overnight. The heat rehydrates the sugar, loosening it so you can stir, drain, and rinse the pan easily. For best results, keep the pan in an airtight container while it soaks to limit moisture exposure that can encourage mold growth.
Boil Water in Cast‑Iron Without Damaging Seasoning
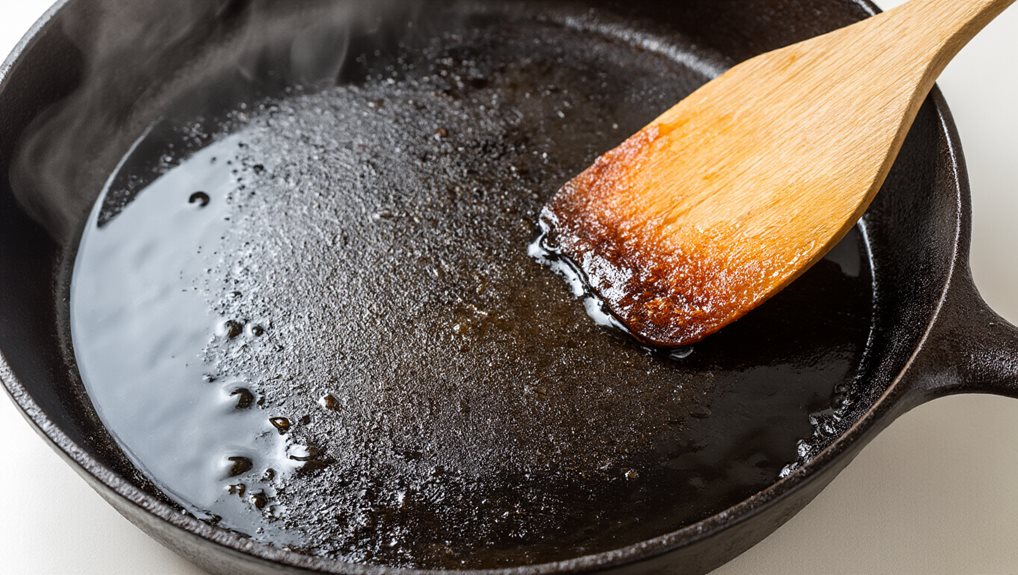
Ever wondered if you can bring a pot of water to a gentle boil in your cast‑iron skillet without ruining its seasoning? You can, but keep it brief. Use moderate heat, avoid a rolling boil, and limit the time to a few minutes. Watch for dark flakes; if they appear, re‑season promptly. Prefer stainless pots for regular boiling to protect your pan’s coating.
Simmer Hydrogen Peroxide for Severe Char
First, you’ll want to mix a quarter‑inch of 3 % hydrogen peroxide with a splash of water in the pan, then bring it to a gentle simmer until the char starts to loosen, usually around five to ten minutes. While it simmers, give the pan a occasional swirl to let the oxidizing solution penetrate the burnt sugar and break it down.
After you turn off the heat, let the pan cool slightly, then wipe the residue away with a soft cloth or sponge for a clean surface.
Prepare Peroxide Solution
A half‑cup of 3 % hydrogen peroxide mixed with a splash of dish soap creates a potent yet gentle cleaning solution that tackles severe burnt‑sugar residue on stainless‑steel pans.
Add enough hot water to submerge the burnt area, stirring until the mixture looks slightly greasy. This ensures the oxidizer contacts every carbonized spot, letting the peroxide work while you prepare to simmer.
Simmer to Loosen Char
How do you turn stubborn, caramelized sugar into a wipe‑away mess? Pour about a quarter‑inch of 3 % hydrogen peroxide over the char, then heat the pan to a gentle simmer. Swirl occasionally for five to ten minutes; the peroxide bubbles lift the carbonized layer. Most of the residue detaches, leaving a nearly clean stainless surface without scrubbing.
Wipe Cleanly After Cooling
After the simmer ends, let the pan cool just enough to handle safely—about five minutes is usually sufficient. Then grab a soft cloth or sponge and gently wipe the loosened residue; the peroxide‑treated sugar lifts easily, so you need only light pressure.
Multiple soft passes work better than scrubbing, and a paper towel can finish the job without scratching the steel.
Choose the Right Scrubbing Tool for Each Method
Which tool you pick depends on the material of your pan and the cleaning method you’re using. For baking‑soda scrubs, use a nylon‑bristle brush on cast iron, a scouring sponge for gentle abrasion, or a non‑scratching sponge on stainless steel.
With vinegar, a nylon brush works on copper, while a hard plastic sponge tackles hardened residue.
Boiling water calls for a wooden spatula to deglaze, and a wet brush afterward.
Choose non‑abrasive sponges for delicate surfaces and avoid metal scrubbers on seasoned cast iron.
Rinse, Dry, and Restore Your Pan After Cleaning
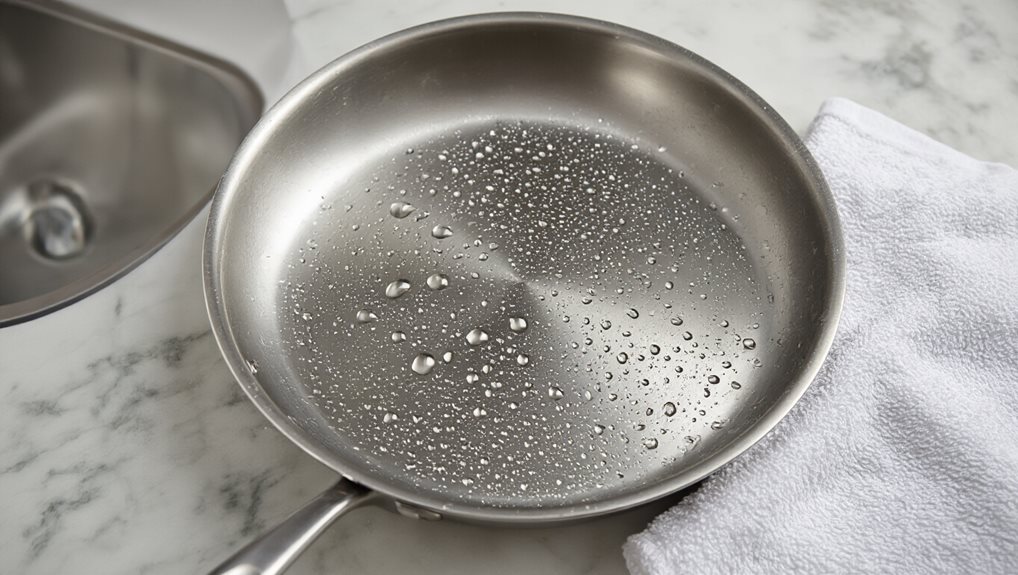
Choosing the right scrubber gets you far, but the work isn’t done until you rinse, dry, and restore the pan. Fill it with boiling water, let it sit ten to fifteen minutes, then swirl and pour out. Dry immediately with a paper towel, wiping any moisture.
For stainless steel, simmer hydrogen peroxide five minutes, then rinse and dry.
For cast iron, repeat the hot‑water boil, dry promptly, and preserve the seasoning.
Troubleshoot: Persistent Sugar or Seasoning Issues
Where does the stubborn sugar or ruined seasoning go when your usual tricks fail?
If baking‑soda paste doesn’t lift the caramel, try pouring boiling water into a cooled pan, let it sit ten minutes, then discard the sugary liquid.
For stainless steel, simmer 3 % hydrogen peroxide for five minutes; it dissolves most residue without scrubbing.
Cast iron should only see water boiling to protect its seasoning.
Wrapping Up
Pick the method that matches your pan, follow the steps, and you’ll have it clean again. Use the baking‑soda paste for light caramel, the boiled solution for stubborn bits, and hydrogen peroxide only for severe char. Choose the right scrubber, rinse thoroughly, and dry the surface. If residue remains, repeat the appropriate step or adjust the tool. Your pan will be ready for the next cooking session without lingering sugar or damage.
