Grab a disposable 16‑inch piping bag, half‑fill it, and use a coupler so you can swap tips without changing bags. Mix buttercream until it’s firm yet spreadable—test with a spatula and add a teaspoon of milk per cup if needed. Pipe a basic dome by holding the bag perpendicular, pressing evenly, then lifting the tip while rotating three times. Smooth the top with a 9‑inch offset spatula, and you’ll get neat, even cupcakes; the next steps will show you how to add flowers and edges.
Quick Guide
- Chill the cupcakes and buttercream to firm the frosting, then use a 9‑inch offset spatula for a smooth base layer.
- Fill a disposable 16‑inch piping bag halfway, band it, and turn the upper half inside‑out to keep the tip clean for consistent dollops.
- Pipe a basic dome by holding the bag perpendicular, tip ½ inch above the surface, squeezing evenly, and rotating inward three times before releasing.
- Smooth edges with the offset spatula, dragging in one motion toward the wrapper, then finish with a dab‑and‑scrape for a clean border.
- Store frosted cupcakes in an airtight container at room temperature (1‑2 days) or refrigerate if the frosting contains perishable ingredients.
Essential Tools & Ingredients for Cupcake Frosting Techniques
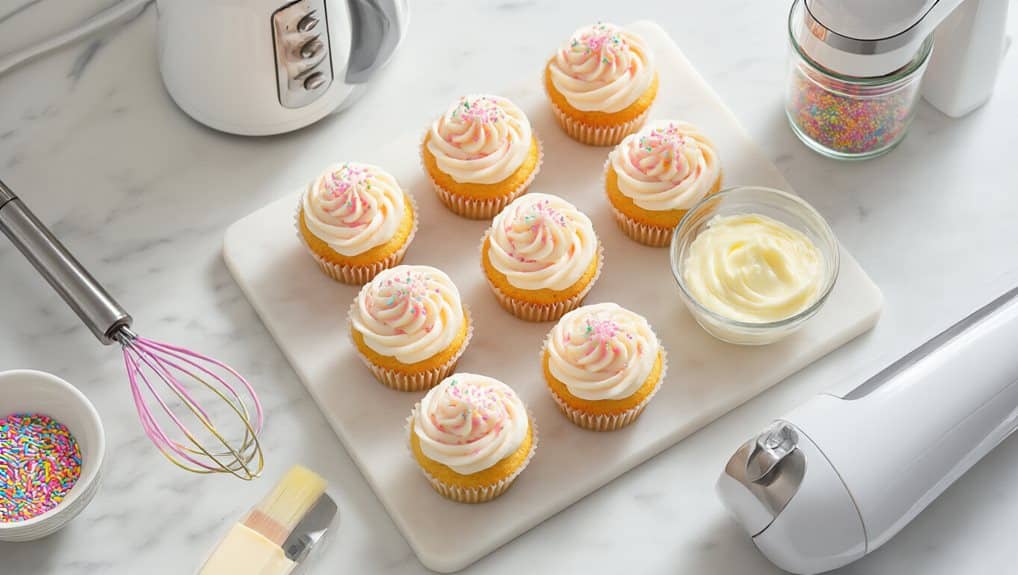
Ever wondered which tools make cupcake frosting look professional without a steep learning curve? You’ll want disposable 16‑inch piping bags, half‑filled and banded, with the upper half turned inside‑out for easy filling. Use an Ateco 844 for rosettes, a Wilton 1M for thick swirls, and a coupler to swap tips without new bags. A 9‑inch offset spatula spreads frosting evenly, while a cookie scoop or ice‑cream scoop measures consistent dollops. Cooking can also help reduce bitterness in ingredients like eggplant seeds when they’re incorporated into dishes. Proper frosting consistency is key to maintaining shape and volume during piping.
Mix Buttercream to the Right Consistency, Flavor & Color
You’ll start by checking the buttercream’s texture with the spatula test, adjusting sugar or milk until you get a firm peak that still bends slightly.
Next, balance the flavor by tasting and adding a pinch of salt, vanilla, or citrus to brighten the sweetness without overpowering it. For reference when measuring add-ins, one cup is about 7 ounces (200 grams).
Finally, mix in color using a small amount of gel or powder, stirring until the hue is even and the consistency stays smooth for piping.
Butter temperature can significantly affect how much heavy cream you’ll need to achieve the right consistency.
Perfect Buttercream Consistency
Usually the key to perfect buttercream lies in controlling temperature, mixing speed, and liquid adjustments, because each factor directly shapes the final texture and stability. Keep butter at room temperature, soft but not mushy, and mix on low speed with a paddle, adding powdered sugar in two batches. Adjust consistency with 1 tsp milk or cream per cup, testing peaks with a spatula, and scrub air bubbles by spreading with a rubber spatula.
Flavor Balance Tips
How do you keep buttercream flavorful without ruining its texture? Use freeze‑dried fruit powder for tangy notes; it adds flavor without moisture, keeping the frosting stiff for intricate designs. Blend cocoa powder or melted dark chocolate for rich chocolate balance, adjusting sugar if thin. Swap butter for peanut butter, Nutella, or Biscoff to introduce savory‑sweet depth while preserving structure. Use reduced fruit purée or extracts sparingly, testing small amounts to avoid thinning.
Color Mixing Techniques
Where do you start when mixing buttercream for perfect color, texture, and flavor? Begin with white buttercream, add a tiny drop of gel color—just a half‑drop for half a cup, a full drop for a full cup—then stir until smooth. Use a toothpick for precise amounts, and increase drops gradually. For pastel shades, keep the ratio low; for deeper hues, double the drops, always testing before scaling up.
Set Up Your Piping Station: Bags, Couplers & Tips
When you gather your piping supplies, start by choosing a 12‑inch or 16‑inch disposable bag—these sizes fit most cupcake tops without excess material, and they save you a wash later. Cut the bag tip to match a ½‑inch nozzle, then insert the larger coupler neck inside the cut end. Slip the smaller collar over the tip, tighten it, and secure the bag with a clip. Fill the bag halfway, press out air, and keep your scissors, spatula, and extra tips within reach. If you’re prepping frosting ahead, store it in glass containers because glass resists stains and odors and is dishwasher-safe.
Pipe a Perfect Basic Dome – Step‑by‑Step Guide
A solid basic dome starts with the bag held perpendicular to the cupcake and the tip positioned about half an inch above the surface.
Squeeze with even, medium pressure, letting frosting spread outward and form a central dollop.
Keep the tip in place, lift slowly while rotating inward three times, then release pressure and pull straight up for a smooth peak.
Practice on parchment for consistency.
If your frosting starts to crust, cover the piping bag with plastic wrap to help retain moisture.
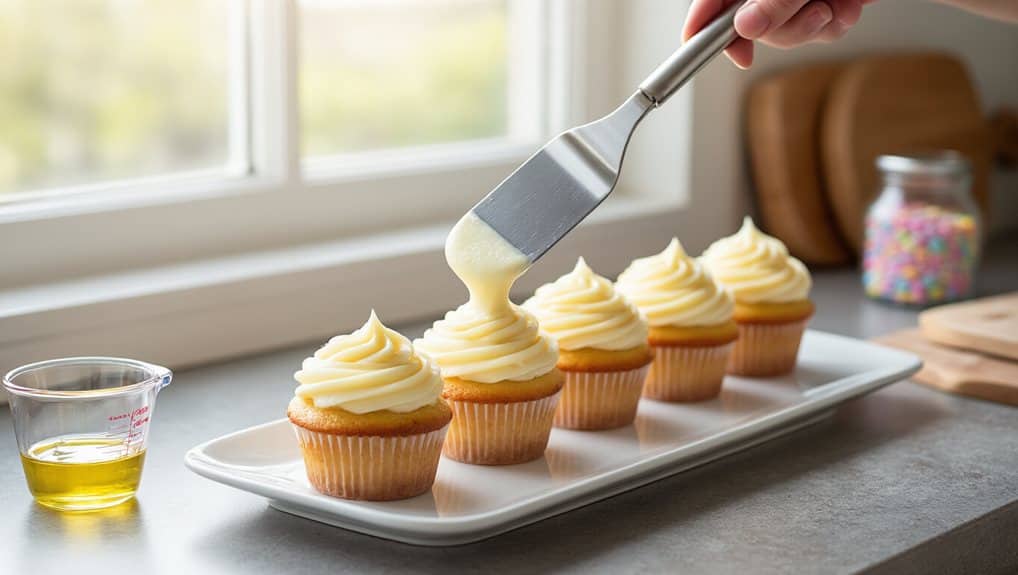
Smooth & Texture Domes With an Offset Spatula
Pick an offset spatula with a sturdy, blunt edge, then press it gently onto the frosting so the pressure stays even across the dome.
As you glide the spatula outward, keep it in contact with the surface to smooth the sides and avoid gaps.
If you’re freezing cupcakes ahead of time, use airtight, leakproof seals to prevent freezer burn and odor transfer.
Finally, give the edges a light tap or sweep to create a clean, uniform finish.
Choose the Ideal Spatula
A 5‑inch offset spatula is the sweet spot for frosting cupcakes, giving you enough blade length to cover each top while keeping the handle comfortably away from the frosting. Its bent handle lets you reach edges without your knuckles touching the cake, and the thin, flexible blade spreads frosting evenly.
Choose a model that feels light, offers precise control, and fits comfortably in your hand for smooth, textured domes.
Apply Even Pressure
Ever wonder why some cupcakes end up with perfectly flat tops while others sport uneven peaks? Hold the offset spatula flat against the frosting center and press down evenly. Keep the blade in contact, spreading in a circular motion without lifting. Use a steady hand, consistent pressure, and a non‑serrated edge to avoid crumbs and create a level dome before chilling.
Finish With Smooth Edges
After you’ve applied even pressure, the next step is to give the cupcake a clean, polished edge.
Keep the offset spatula on the frosting and drag it in one smooth motion toward the wrapper, using a dab‑and‑scrape technique.
Spiral gently from the outer edge to the center, pressing lightly to avoid splatter, and leave a tiny buffer for easy peeling.
Form a Classic Rosette – Uniform Petal Tips
How do you achieve perfectly uniform petal tips on a classic rosette?
Choose an open star tip like Wilton 1M, hold the bag at a 90‑degree angle, and keep it perpendicular to the cupcake center. Apply steady pressure while spiraling outward, rotating the bag to complete each petal. Consistent height and tip orientation give evenly textured, identical tips.
Create Tall Swirl Flowers – Build Height & Shape
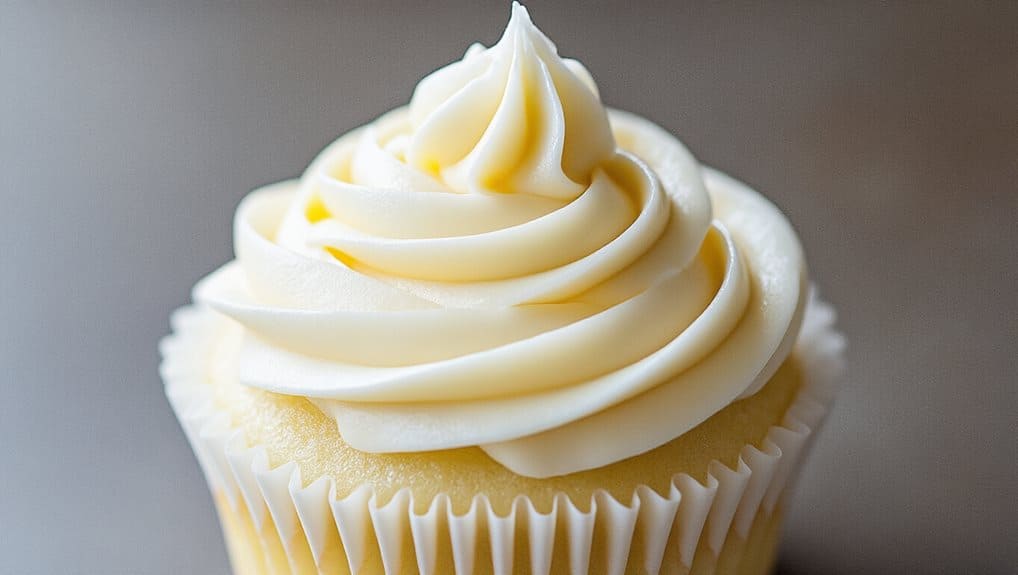
Instead of stopping at the classic rosette, you can turn those uniform petals into towering swirls that give cupcakes extra height and visual drama. Use a 2D or 2A tip, hold the bag at 90°, and start a centered dot. Raise the tip, pipe C‑shaped circles, then add overlapping layers, lifting the bag slightly each time. Finish by pulling straight up and smoothing the edges.
Avoid Common Beginner Mistakes and Fix Them Fast
Ever wondered why your cupcakes look perfect in the pan but fall apart once you frost them? Cool them completely on a wire rack for at least an hour; warm cakes melt buttercream and dry out.
Use a piping bag, not a spoon, and hold it at a 90‑degree angle.
Test frosting consistency on parchment, then chill a crumb coat before the final layer to prevent gaps and uneven edges.
Quick Cupcake Frosting Ideas: Stars, Mini‑Flowers & Edge Details
Looking for quick ways to dress up cupcakes without spending hours on decoration? Fit a pastry bag with a star tip, squeeze to make a central star, then raise the tip and pipe a tight circle, followed by a smaller inner circle.
For mini‑flowers, start at the edge at a 90‑degree angle, press lightly, lift the tip to form petals, and add a dollop in the center.
Edge swirls begin at the rim, pipe three rotations inward, finish with a small top circle, and lift the tip at the center.
Preserve Frosted Cupcakes: Storage & Transport Tips
You’ll want to keep your frosted cupcakes cool but not too cold, using airtight containers at room temperature for a day or two, or the fridge if the frosting contains perishable ingredients. When you’re ready to move them, choose sturdy boxes with inserts or single‑layer carriers that keep each cupcake from sliding, and seal the lid tightly to protect the frosting. If you need to freeze them, pre‑freeze until the frosting hardens, wrap each one individually, and store them in a solid airtight container to preserve texture and flavor.
Cool Storage Tips
How can you keep frosted cupcakes fresh and intact while you store or transport them? Use an airtight container on the countertop away from sunlight for one to two days, especially with buttercream or ganache.
For longer life, refrigerate in a sealed box for up to five days; chill cream‑cheese frosting.
Freeze after pre‑freezing one hour, wrap each cupcake, then store in a zip‑lock bag for three months.
Safe Transport Methods
Ever wondered how to keep your frosted cupcakes from sliding, melting, or getting smashed during a trip? Use a large cookie sheet with painter’s tape grid to lock cupcakes in place, then add parchment for a polished look.
For boxes, dot melted chocolate glue on the bottom, or choose a progressive carrier with wells.
Individual clear cups, wrapped in cellophane, stack safely in a sturdy box.
Wrapping Up
By mastering the right tools, consistent buttercream, and basic piping techniques, you’ll frost cupcakes that look as good as they taste. Smooth domes with an offset spatula, then add simple swirls or mini‑flowers for visual interest. Avoid common mistakes—over‑mixing, too‑soft frosting, or uneven pressure—to keep your designs neat. Finally, store cupcakes in a cool, airtight container and transport them carefully to preserve the finish. With these steps, you’ll confidently create polished, bakery‑quality cupcakes every time.