Pick a firm but moist cupcake, let it cool, then cut a neat cone‑shaped cavity with a sharp kitchen knife held vertically and warmed briefly for a clean edge. Spoon thick fillings like buttercream, pudding, or chilled ganache directly into the cone, leveling and pressing gently before replacing the trimmed plug to seal. For runny mixes, fill a quart Ziploc bag, snip a tiny corner, and squeeze steady pressure into the hole, using a spoon or fork to smooth the top. Finish with frosting or whipped cream, and you’ll uncover more tips ahead.
Quick Guide
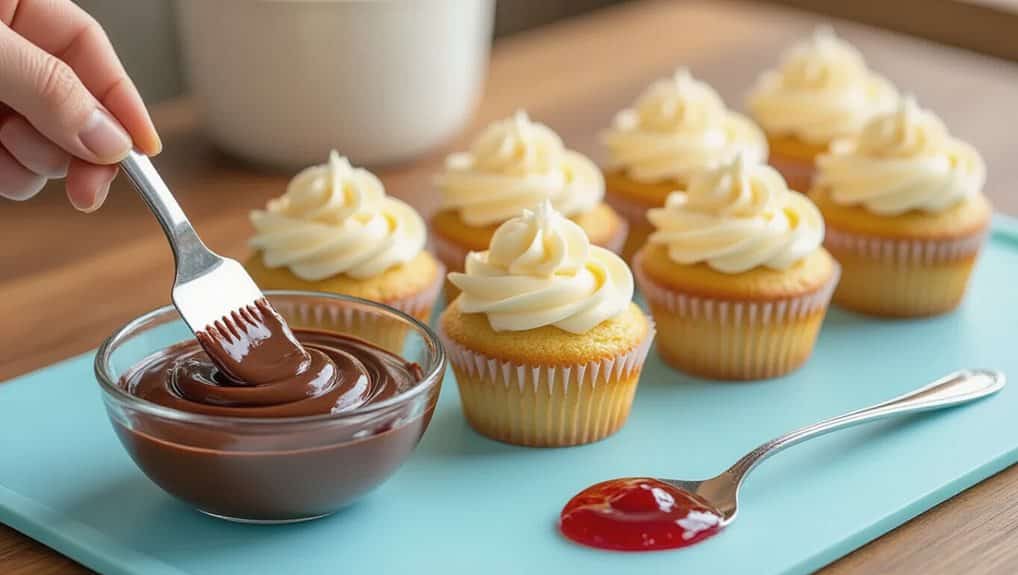
- Use a spoon, butter, or fork to spread soft fillings like buttercream, whipped ganache, or vanilla frosting directly into the cupcake cavity.
- Cut a clean cone‑shaped hole with a sharp, thin knife warmed in hot water, then fill with thick fillings such as pudding, chilled ganache, or dense jam.
- For runny fillings, place the mixture in a zip‑top freezer bag, snip a tiny corner, and squeeze gently to pipe into the cavity.
- Level the filling with the back of a spoon and replace the trimmed cake plug to seal and prevent spilling.
- Store any leftover filling in sealed containers in a cool, dry place until ready to use.
Pick the Right Cupcake Filling Without a Piping Bag
How do you choose a cupcake filling when you don’t have a piping bag? Pick a soft‑consistency frosting like buttercream or whipped ganache, because it spreads easily with a spoon, knife, or even a fork. Ensure the filling holds its shape after application and adheres well to the top. Homemade or canned varieties work best, and avoid overly runny mixes that will slide off. Some cooks prefer cooked ingredients to cut bitterness and improve flavor, similar to how eggplant seeds taste better when cooked. You can also use vanilla frosting for a classic flavor.
Prepare Puddings, Ganache, and Other Fillings for Optimal Consistency
Ever wonder why some cupcake fillings spill out while others stay perfectly in place? Use thick vanilla pudding, spooning a tablespoon into each cavity, and avoid runny mixes that soak the cake.
Chill chocolate ganache until it firms, then pipe a thumb‑sized dollop. Store extra filling in sealed containers in a cool, dry place to help it keep its quality longer.
Choose jam or lemon curd only when it’s dense, and keep buttercream, pastry cream, or whipped mousse pipeable but not sticky.
All fillings should fit a small well for stable, even results. Consistent batter ensures uniform cavity size for reliable filling placement.
Cut a Clean Cavity With a Kitchen or Paring Knife

A long, thin, sharp kitchen knife or a small paring knife works best for carving a clean cavity in a cupcake because its non‑serrated blade slices through buttercream and sponge without tearing.
Hold the blade vertically, tip down, and push from the side toward the center.
Warm the blade in hot water, dry it, then use a steady motion, keeping pressure even to create a uniform opening without crushing frosting.
For comparison, snack-size chip bags generally contain about 18 chips per ounce, showing how consistent portioning can be when items are uniformly sized.
Spoon Thick Fillings Using the Cone‑Shaped Cut
Pick a cake that’s firm enough to hold its shape, then spoon your thick filling into the cone cavity until it’s level, leaving a little room for the top plug.
Use a smooth, steady motion so the filling spreads evenly without air pockets, and tap the cupcake lightly to settle the mixture.
If you’re prepping cupcakes ahead, store them at 0°F to help maintain the best texture until serving.
Finally, replace the sliced base, press it gently, and you’ve sealed a sturdy, bite‑size pocket of flavor.
Choose Proper Cake
Select a cupcake that’s firm enough to hold its shape when you cut a 45‑degree, one‑inch‑deep cone from the center. Choose a cake that’s moist yet stable—dry, over‑baked cupcakes will crumble, while overly soft ones will collapse.
Let the cupcakes cool completely before cutting; this ensures clean edges and a solid base. A standard height accommodates the cone depth, keeping the structure intact after filling.
Fill Evenly, Smoothly
You’ll start by scooping the thick filling directly into the cone‑shaped cavity, letting the spoon’s curved edge guide the product to the bottom. Press gently to settle the jam or cream cheese, then level the surface with the spoon’s back.
Replace the trimmed plug, aligning it flush with the cake. The plug seals the filling, keeping it from spilling when you frost.
Pipe Runny Fillings With a Simple Ziploc‑Bag Tip

Pick a quart‑size Ziploc bag so it holds enough filling without bursting, then snip a tiny corner off the sealed end for a precise tip that matches the runny texture. When you squeeze, keep the pressure steady so the filling flows evenly into the cupcake’s center without splattering. This simple, controlled method lets you pipe pastry cream, thin sauces, or fruit purees quickly and cleanly. For make-ahead cupcakes, vacuum-seal filled or unfilled cakes to reduce freezer burn and keep them fresh 5–7× longer.
Choose Bag Size
Wondering which Ziploc bag size works best for piping runny fillings? A quart freezer bag holds about half a cup, gives steady grip, and its thick material resists bursts, making it perfect for a few cupcakes.
If you’re filling a larger batch, a gallon bag’s wide mouth and higher capacity let you squeeze more without over‑twisting, but it needs a palm squeeze for consistent flow.
Choose the bag that matches your filling volume and viscosity.
Snip Corner Precisely
After picking the right bag size, the next step is shaping the opening so the frosting flows just right. Cut a half‑inch corner, then tape the twist to stop leaks. Test on parchment; if the flow is too fast, trim a bit more. Hold the bag at a steady angle, twist above the frosting, and squeeze from your palm for smooth, controlled lines.
Squeeze Consistently
When you squeeze the bag, the pressure you apply with your palm determines how smoothly the runny filling streams out, so keep your grip firm yet relaxed.
Press from the top toward the tip, maintaining even pressure to avoid bursts.
Release gradually, holding the bag perpendicular for straight flow.
Test on parchment first, then pipe from the edge inward, lifting for a peak at the center.
Insert a Piping Tip Into the Cupcake for Precise Filling
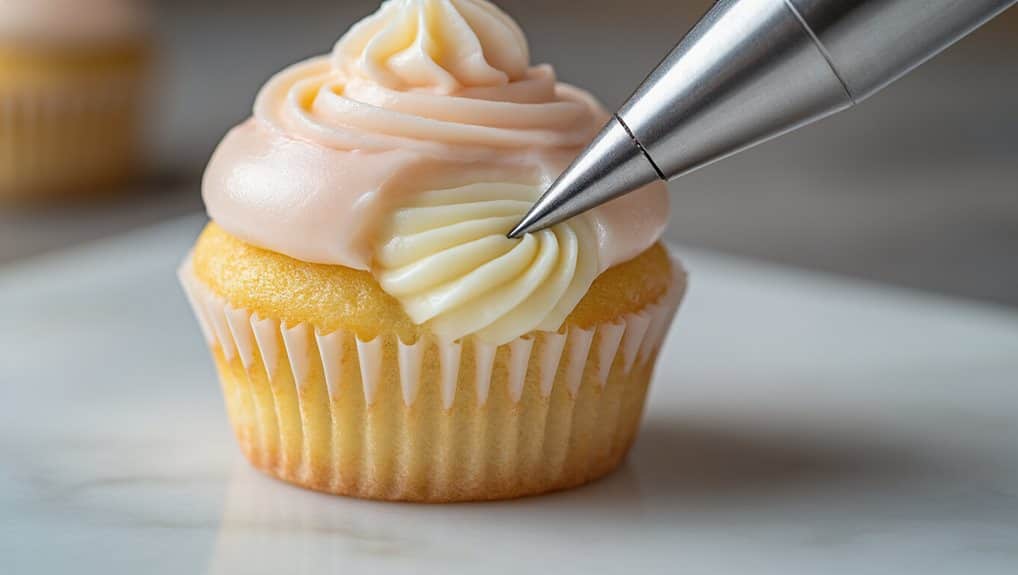
Insert the piping tip straight into the cupcake’s center, aiming for a depth of about two‑thirds to three‑quarters of the way down. Choose a tip that matches your filling—open‑star 1M for swirls, plain 808 for even heaps, or Bismarck for direct insertion. Cut the bag opening smaller than the tip, slip the tip in, then fill the bag. Hold the bag at a right angle, press gently with your dominant hand, and guide the tip outward in a spiral for even distribution.
Drizzle Simple Syrup for Extra Moisture and Flavor
Ever wondered how a quick drizzle can keep cupcakes moist and enhance their flavor? Mix equal parts sugar and water, heat until clear, then cool. Add vanilla if you like. Lightly brush or spray the cooled syrup onto trimmed tops, letting it soak for five to ten minutes before stacking. This simple coat locks moisture, adds sweetness, and extends freshness without extra tools.
Finish With Frosting, Whipped Cream, and Decorative Crunches
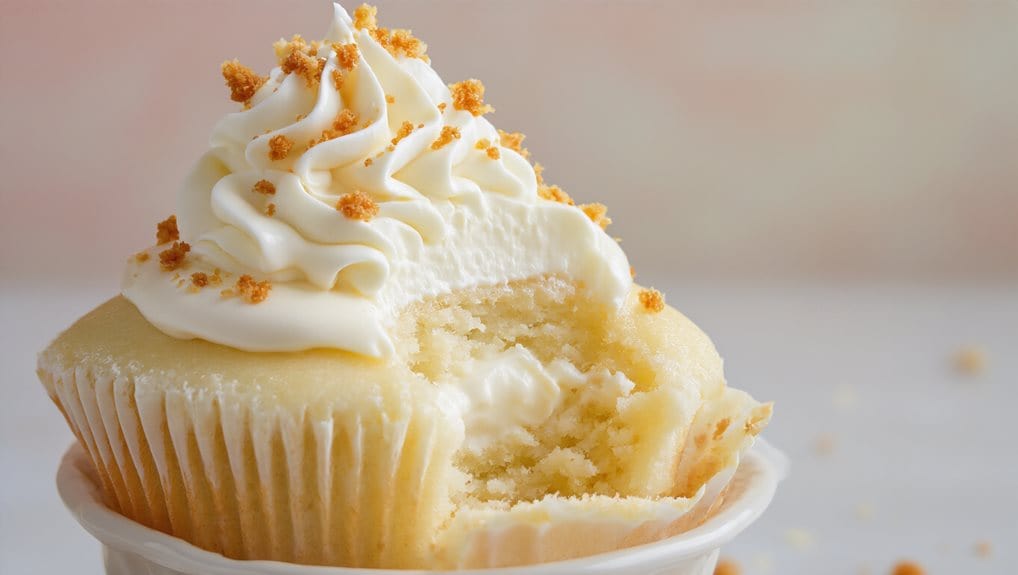
After you’ve locked in moisture with a syrup drizzle, you can finish the cupcakes by adding frosting, whipped cream, and a crunchy topping.
Pipe a classic swirl using a Wilton 1M tip, then smooth the dome with a spatula.
Add airy whipped‑cream rosettes using a drop‑flower tip, and sprinkle crushed nuts or cookie crumbs for texture.
Rotate the cup for even coverage.
Troubleshoot Common Problems and Keep Cupcakes Intact
Why do cupcakes sometimes fall apart or leak after you core them? You probably pierced too deep, letting filling seep into the liner. Insert the tool only halfway, keep a 45‑degree angle, and test one cupcake first. Pipe filler level with the hole, twist the bag tightly, and refrigerate briefly. Replace the cut top, trim the bottom piece, and cool fully before coring.
Wrapping Up
Now you’ve got the basics: choose a filling that matches your tool‑free method, prep it to the right consistency, and create a clean cavity with a knife. Use a spoon or a simple Ziploc‑bag tip to add thick or runny fillings, and consider a quick tip insertion for extra precision. Finish with syrup, frosting, or toppings for flavor and moisture, and you’ll keep cupcakes intact while impressing anyone who tastes them.
