Your fudge isn’t setting because the sugar mixture didn’t reach the soft ball stage, which sits between 237°F and 239°F. Without hitting this temperature range, proper sugar crystallization can’t happen, leaving you with fudge that stays soft or sticky. Stirring too early, rushing the cooling process, or using damp utensils can also interfere with setting. A candy thermometer takes the guesswork out of it, and there’s plenty more to know about getting fudge right.
Quick Guide
- Fudge may not set if the mixture doesn’t reach the ideal temperature range of 237°F–239°F during cooking.
- Stirring the mixture while it heats triggers premature crystallization, preventing fudge from setting properly.
- Rushing the cooling process or beating the fudge too soon disrupts sugar crystallization and softens the texture.
- Moisture from wet utensils or bowls can interfere with setting, causing fudge to remain soft or sticky.
- Overheating chocolate instead of melting it gently affects the overall texture, preventing proper setting.
Why Your Fudge Won’t Set
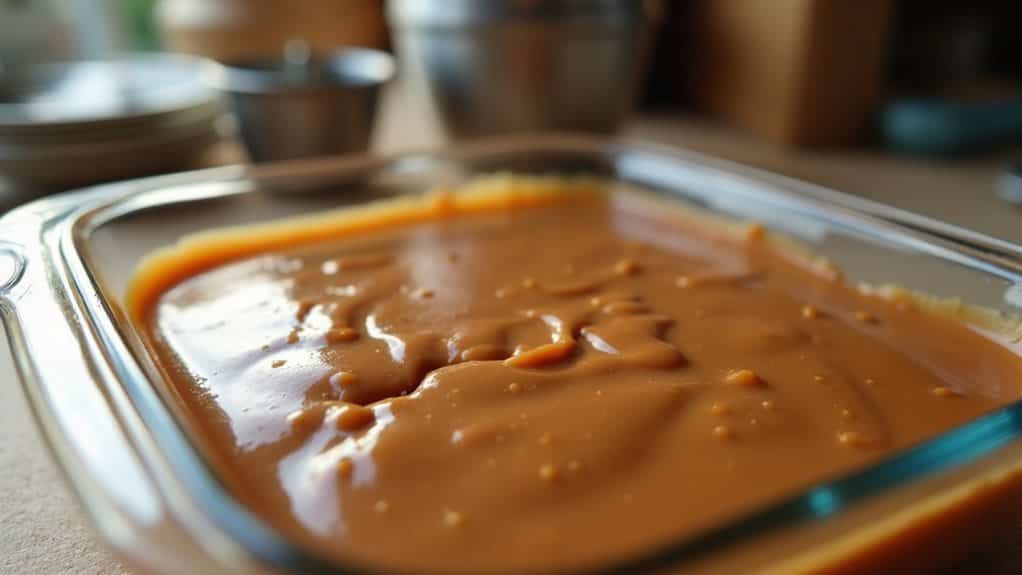
If your fudge turns out soft or runny, the most likely culprit is temperature. Without reaching 237°–239°F, the sugar won’t crystallize properly, leaving you with a sticky mess.
Stirring too early also disrupts crystallization before it should occur.
Additionally, skipping proper cooling prevents the fudge from setting correctly.
Understanding these factors helps you avoid common mistakes and achieve perfect results.
Just as eggplant seeds can taste bitter when raw but improve with cooking, fudge needs the right heat to develop the structure it needs to set.
The Temperature Sweet Spot for Fudge
When making fudge, you need to hit a very specific temperature range — between 237°F and 239°F — to get it to set properly.
At this soft ball stage, the sugar molecules crystallize in a way that gives your fudge its firm, smooth texture.
That’s why you should always use a candy thermometer; even a few degrees off in either direction can leave you with fudge that’s too soft, too grainy, or too dry.
Also, if you’re flavoring your fudge with avocado oil, watch for signs of rancidity like an off smell or bitter taste, since degraded oil can negatively affect both flavor and quality.
Optimal Fudge Temperature Range
Getting your fudge to set properly comes down to hitting a very specific temperature range: between 237°F and 239°F, known as the soft ball stage. Using a candy thermometer guarantees you stay within this temperature range, promoting ideal sugar crystallization.
Drop below 237°F, and your fudge consistency turns soft or sticky.
Exceed 239°F, and it becomes hard and grainy.
Thermometer Use Matters
A candy thermometer isn’t just a helpful tool—it’s the difference between fudge that sets perfectly and a batch you’ll end up throwing away. Proper temperature control means hitting 237°F to 239°F, the exact soft ball stage your fudge needs.
Clip it to your pan’s side for accurate readings throughout cooking, ensuring consistent fudge consistency every time you make a batch.
Mistakes That Stop Fudge From Setting
Making perfect fudge requires precise technique, and even small missteps can ruin the final texture.
If you stir the mixture during heating, you’ll trigger sugar crystallization too early, leaving you with sticky fudge.
Not reaching the correct temperature means it won’t set firmly.
Rushing the cooling process or beating too soon causes crystallization interference, preventing that smooth, firm consistency you’re aiming for.
Also, if your recipe includes chocolate, overheating it instead of using a gentle double boiler can scorch it and throw off the mixture’s ability to set smoothly.
How to Fix Fudge That Didn’t Set
If your fudge didn’t set, don’t toss it out just yet—you can often rescue it with a simple reheat.
Add about 1.5 cups of water and slowly bring the mixture up to 237°F. Proper temperature guarantees correct crystallization.
Once done, let the cooling process happen fully before beating to avoid grainy fudge.
If it’s still soft, refrigerate it for a few hours.
Make sure your utensils and bowls are completely dry, since even a little moisture contact can cause chocolate to seize and clump.
How to Tell When Fudge Has Set Properly
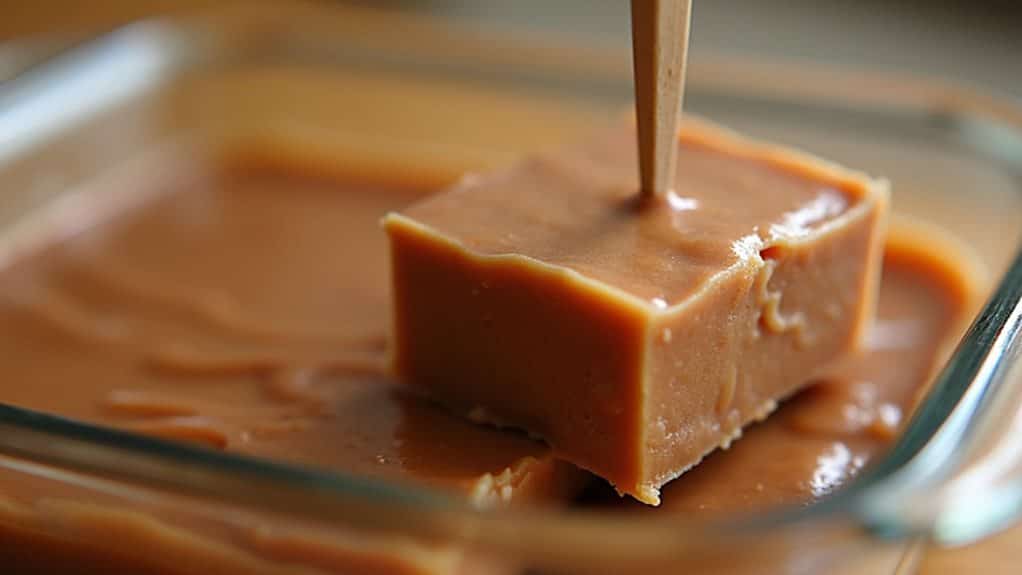
Once your fudge has had time to cool, you can check for a few visual cues to determine if it’s set properly, like a matte finish replacing the glossy sheen it had when it was still warm.
You can also perform a quick finger test by lightly pressing the surface; if it feels firm and slightly springy, it’s likely ready to cut.
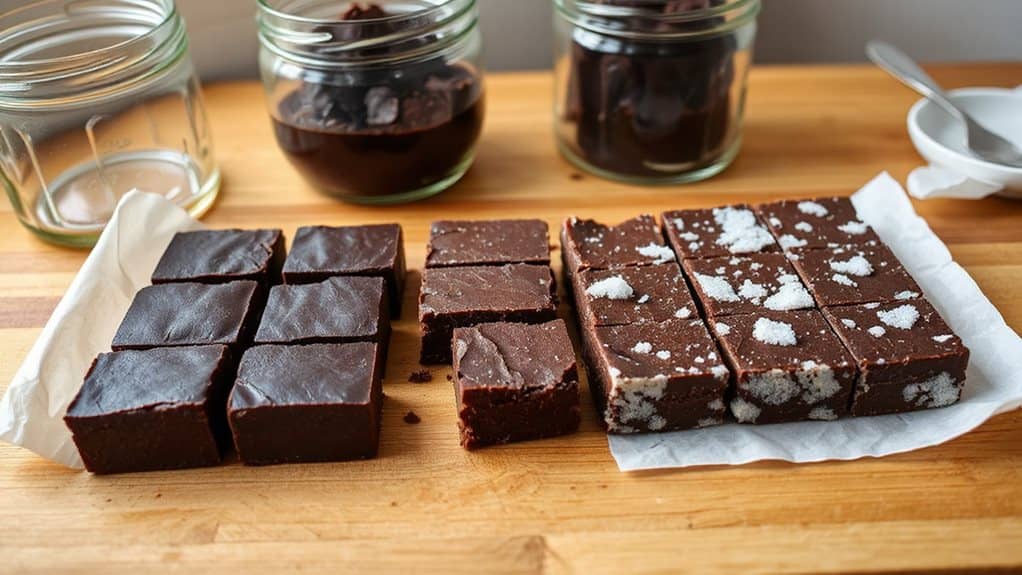
Properly set fudge should hold its shape cleanly when sliced into squares, with a smooth texture that isn’t sticky or tacky to the touch.
Visual Cues for Doneness
Knowing when your fudge has set properly comes down to a few reliable visual cues. Initially, you’ll notice a glossy surface, which signals that crystallization is occurring.
As cooling progresses, the fudge shifts from shiny to matte, developing a firm texture.
Once it holds its shape when cut and no longer sticks to your hands, it’s done.
Testing Fudge Firmness
Beyond the visual cues, you’ll want to physically test your fudge to verify it’s set properly. Press the surface gently; it shouldn’t leave an indentation.
Lift a piece to check the texture—it should hold together without crumbling.
A thermometer helps guarantee fudge firmness by confirming the soft ball stage during the setting process, giving you consistent, reliable results every time.
Proper Texture Indicators
When your fudge has set properly, it’ll display several clear, reliable indicators. The texture becomes smooth and cohesive, losing its glossy sheen for a matte finish.
You’ll notice firmness when it holds its shape after cutting.
Proper crystallization depends on reaching the right temperature, so check for consistent pulling away from the pan’s sides and a soft-ball formation in cold water.
How to Get Fudge Right Every Time
Getting fudge right every time comes down to precision and patience. Use a candy thermometer to hit 237-239°F, ensuring proper setting without guesswork.
Avoid stirring during heating to prevent unwanted sugar crystallization.
Once cooked, let the cooling process complete fully before beating.
Consistent temperature control throughout cooking and cooling guarantees your fudge firms up correctly every single time. Keep bowls and spatulas completely dry to prevent moisture seizing that can turn melted chocolate grainy and thick.
Wrapping Up
Making perfect fudge isn’t complicated once you understand what’s happening at the chemical level. You’ve now got the knowledge to avoid the most common mistakes, fix a batch that’s gone wrong, and recognize when your fudge has set correctly. Keep a candy thermometer handy, don’t rush the cooling process, and you’ll consistently produce fudge with that smooth, firm texture you’re after.